Prep time: 15 minutes
Cook time: 10 minutes
Total time: 25 minutes
Servings: 20 gummies
Homemade gummies are more than just a snack; they are a delightful treat that brings back childhood memories while satisfying your sweets craving. These chewy, vibrant confections can be enjoyed by everyone, from busy parents looking to whip up an easy treat with their kids to those on a health kick wanting a fun way to indulge without compromising on nutrition. Making your own gummies allows you to control the ingredients, ensuring a wholesome treat that suits various dietary preferences.
In this article, we’ll dive into how to make homemade gummies that burst with flavor while being simple and cost-effective. This recipe isn’t just about creating a sweet bite; it’s about enjoying the entire process of cooking and creating cherished moments with loved ones. You will learn how to choose the right flavors, experiment with different ingredients, and make gummies that suit various preferences, all while being engaged and excited in the kitchen.
What Is Homemade Gummies: A Fun and Healthy Treat!?
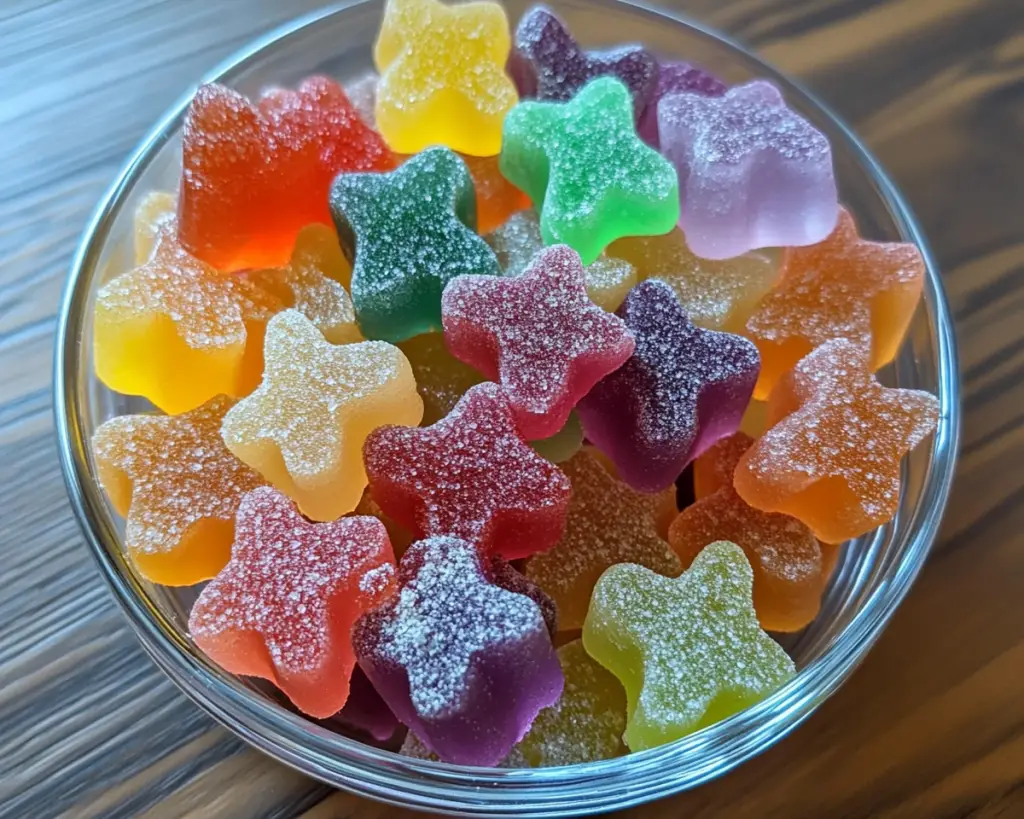
Homemade gummies are essentially gelatin-based sweets that can be crafted in a plethora of flavors and shapes, making them appealing to both children and adults alike. Traditionally made from gelatin, sugar, and flavored liquid, these treats are fully customizable to suit personal tastes. The chewy texture is a huge part of their charm—each gummy gently gives way to an explosion of flavor with every bite. The simplicity of making your own gummies means you can avoid preservatives and artificial colors commonly found in store-bought varieties.
These treats originated centuries ago, with gelatin itself being first used in ancient Rome. Over the years, their popularity grew, particularly among children, making them a staple at birthday parties and celebrations. What sets homemade gummies apart is the ability to tailor the ingredients—to use vibrant fruit juices instead of artificial flavors or to incorporate nutritious elements like pureed fruits or vegetables for an added health kick. The flavor profiles can range from tangy and fruity to sweet and effervescent, fulfilling everyone’s cravings.
The versatility of homemade gummies enhances their charm as you can create seasonal variations, incorporating fresh fruits or theme-based shapes for holidays. Whether you prefer classic grape or experimenting with exotic passion fruit, these gummies satisfy diverse palates while providing an enjoyable cooking experience.
Why You’ll Love This
There are countless reasons why homemade gummies should be your new favorite treat. First and foremost, the flavor is simply unbeatable. When you craft your gummies from scratch, you can create unique flavor combinations that are hard to find in stores. Using fresh, high-quality ingredients allows each gummy to showcase vibrant flavors, ensuring a delightful treat that won’t disappoint your taste buds.
The ease of preparation will resonate with even the busiest of individuals. The process requires simple ingredients and straightforward methods—perfect for novice cooks or those seeking a fun family activity. In just about 25 minutes, you can have a batch of colorful gummies ready to indulge in. Moreover, this treat is significantly more economical than buying them off the shelf, allowing you to create large quantities at home.
Many misconceptions surround homemade gummies, such as the belief that they are difficult to make or require specialized equipment. In reality, most people have everything they need already at home, making this cooking task more accessible than you might think. Plus, you can experiment with your ingredients, providing a fun opportunity to create flavors specifically suited to your taste preferences or those of your friends and family.
Ingredients You’ll Need
- Gelatin: The key ingredient that gives gummies their chewy texture. You can find unflavored gelatin easily in stores. If you’re looking for a vegan substitute, consider using agar-agar instead.
- Fruit juice: Freshly squeezed or high-quality juice forms the flavor base for your gummies. You can opt for apple, orange, grape, or any other favorite. Always choose 100% juice without added sugars for a healthier choice.
- Sweetener: Honey, agave syrup, or maple syrup can balance the tartness of the fruit juice. Adjust the amount to suit your taste preferences, and feel free to use natural sweeteners.
- Citric acid: This is optional but adds a delightful tart kick. It enhances flavor and creates that zing we often associate with store-bought gummies.
- Flavoring extracts: If you want to intensify the fruit flavor, consider adding a few drops of vanilla or citrus extracts.
- Food coloring: Optional if you want to make your gummies visually striking and engaging for kids.
Choosing the right quality for each ingredient will have a direct impact on the final outcome. For example, fresh juices bring a vibrant color and flavor, while using quality gelatin ensures the right texture without cloudiness. Play around with different juices and sweeteners to discover what you and your family prefer.
How to Make
- Start by gathering all your ingredients and equipment. You will need a mixing bowl, a whisk, a saucepan, and a mold for your gummies. Silicone molds work best as the gummies will pop out easily. You can choose fun shapes or simple squares, depending on your preference.
- In your mixing bowl, combine the fruit juice of your choice with the sweetener. If you’re using citric acid, along with any flavorings, add them here as well. Whisk it all until well mixed, ensuring that the sweetener dissolves completely. This step is crucial for achieving a balanced sugary flavor in the final product.
- Next, sprinkle the gelatin over the mixture and let it sit for a few minutes. This allows it to “bloom,” which means the gelatin will absorb the liquid and swell. After this resting period, gently whisk until the mixture is smooth and there are no lumps remaining. At this stage, if you’re using food coloring, add it to achieve your desired shade.
- Transfer the mixture to a medium saucepan and heat it over low-medium heat. Stir consistently until the gelatin is completely melted and the mixture appears clear. This is a delicate process—if it boils, it can affect the texture of your gummies.
- Once the mixture is heated through and smooth, carefully pour it into your molds. Use a dropper or a measuring cup for precise pouring if you’re utilizing intricate molds. Fill each cavity near-full but be careful not to overflow.
- Allow the gummies to cool on the counter for about 10-15 minutes. After they reach room temperature, transfer them to the refrigerator. This chilling process should take about 30-60 minutes, depending on the size of your molds. The gummies should become firm to the touch and will easily pop out without sticking.
- Once you remove them, place the gummies on parchment paper or in an airtight container. Store them in the fridge, where they’ll keep fresh for up to two weeks. Enjoy your homemade treats as a delightful snack, rewarding yourself for your fabulous cooking efforts!
Each step is crucial in ensuring that your gummies turn out perfectly textured and flavored. Don’t rush the boiling or cooling stages as they directly contribute to the gummy consistency. Feel free to experiment with different fruit combinations, and remember that patience and practice will only elevate your skills in making these delightful treats.
Variations & Substitutions
Fruit Punch Gummies: For a tropical twist, blend a variety of fruit juices such as pineapple, mango, and passion fruit. This fruity mix captures the essence of summer and will surely be a hit among friends and family. The combined sweetness of tropical fruits will infuse your gummies with vibrant colors and exciting flavors.
Superfood Gummies: Boost the nutritional value by adding pureed superfoods like spinach, beetroot, or berries. This technique works exceptionally well because these ingredients are packed with vitamins and nutrients while subtly enhancing the flavor and color of your gummies. Use berry puree for a sweet and nutritious snack that kids will surely enjoy.
Alcohol-Infused Gummies: For an adult twist, you can create fun party treats by incorporating flavors like margarita, mojito, or cocktail-based gummies. Simply replace part of the fruit juice with your favorite alcohol. Make sure to account for the additional liquid, monitoring the balance with gelatin to maintain the right texture.
Vegan Gummies: Replace animal-based gelatin with agar-agar or pectin for a vegan version. Both substitutes can provide a similar chewy texture without using animal products. In doing so, you can create a delicious vegan treat that everyone can enjoy at any gathering.
Each of these variations allows for creativity while also satisfying specific dietary needs or preferences. The versatility of homemade gummies ensures that there’s a flavor for everyone, making them a delightful addition to any gathering or an enjoyable family activity.
Common Mistakes to Avoid
One common mistake is allowing the mixture to boil during the heating process. Boiling can break down the gelatin, leading to a gummy texture that’s not as chewy. Always heat the mixture gently, stirring continuously and keeping a close eye on it.
Another oversight is not letting the mixture sit long enough during the ‘blooming’ phase. If you skip or rush this step, your gummies may turn out rubbery rather than yielding that perfect chewy texture.
It’s also essential to consider the ratio of sweetener to fruit juice. Using overly sweet juices can lead to cloying gummies. Adjust your sweetness to match the juice type, and taste as you mix!
Lastly, ensure you don’t leave the gummies out too long before chilling. A quick transfer to the fridge will guarantee they set correctly, maintaining their delightful chewiness.
All these tips are designed to help you create the best gummy possible—so pay attention, and you’ll be thrilled with your results!
Storage, Freezing & Reheating Tips
Storing your homemade gummies correctly is essential for maintaining their texture and flavor. Place the gummies in an airtight container lined with parchment paper to avoid sticking. They can be stored in the refrigerator for up to two weeks, which is great for having a reachable snack on hand but may also be a fantastic dessert option for gatherings.
If you decide to make larger batches, consider freezing your gummies. To do this, place them in a single layer on a baking sheet and freeze until solid. Afterward, you can transfer them to a freezer-safe bag or container. Frozen gummies can maintain their quality for up to three months. However, it’s worth mentioning that freezing might slightly alter their texture, making them more solid upon consumption. They can be eaten right out of the freezer or thawed in the refrigerator for a chewier consistency.
Always prioritize food safety by ensuring your work surfaces and utensils are clean before making your gummies. This will help to avoid contamination and ensure a longer shelf life for your tasty treats.
Frequently Asked Questions
Can I use flavored gelatin instead of unflavored?
While you can technically use flavored gelatin, this may drastically alter the taste of your gummies. Unflavored gelatin allows you control over the flavor combinations you want to achieve, making it versatile. If you choose to use the flavored type, be cautious with the amount of additional flavoring or sweetener you add, as it will impact the final product.
How can I make my gummies firmer?
If your gummies are too soft for your liking, you might need to increase the amount of gelatin or decrease the liquid content in your mixture. A rough guideline is adding one extra tablespoon of gelatin per cup of liquid. You can also explore using agar-agar as a firmer alternative if you’re experimenting with vegan recipes.
Can I add CBD or other supplements to my gummies?
Absolutely! When making gummy supplements, follow the standard recipe while diluting the supplement in a small amount of liquid before adding it to your mixture. Make sure to consult with a professional regarding safe dosage, especially if you are sharing them with others.
Can I make gummies without molds?
If you don’t have molds on hand, you can pour the mixture into a lined square dish. After the gummies set, use a knife to cut them into squares. Just make sure to dust them with a bit of cornstarch to prevent sticking.
What can I do with leftover gummies if they harden?
If your gummies have become too hard, you can try rehydrating them by placing them in a container with a piece of bread or apple slice for a few hours. This will help moisture transfer and restore their softness.
Conclusion:
Homemade gummies are a delightful treat that combines fun, flavor, and flexibility all in one recipe. With each batch, you get to customize your ingredients and easily adjust flavors to explore endless possibilities. So grab your tools, gather your loved ones, and embark on this playful culinary adventure. You’ll not only enjoy the sweet rewards but also create lasting memories. Don’t forget to share your creativity and unique gummy flavors with others! Try this recipe today, and you might just discover your new favorite sweet treat.


