Prep time: 20 minutes
Cook time: 30 minutes
Total time: 4 hours (including freezing)
Servings: 8
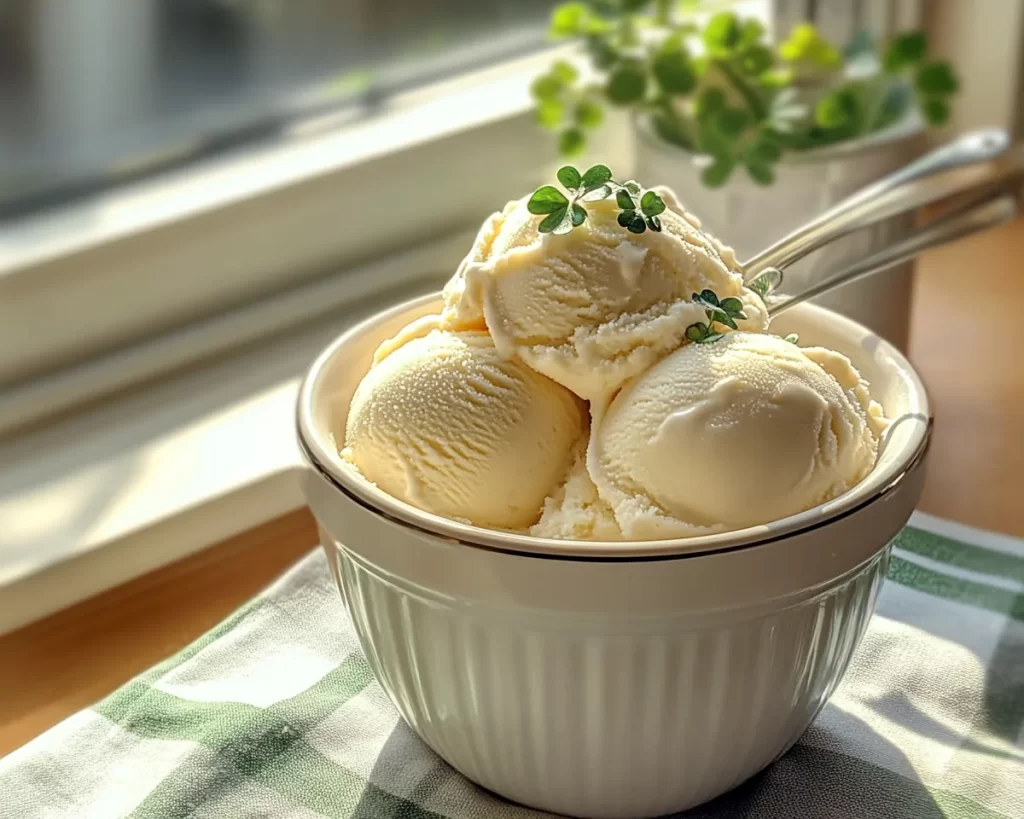
St. Patrick’s Day is a time for celebration, parades, and, of course, delicious food! If you’re looking for a fun and indulgent treat to share with your loved ones, then St. Patrick’s Day Irish Cream Ice Cream is the perfect choice. Imagine creamy, sweet ice cream blended with the luxurious flavors of Irish cream liqueur, balanced by a touch of vanilla and rich chocolate. It’s the kind of dessert that will transport you straight to a cozy Irish pub after just one heavenly scoop.
This recipe not only brings festive vibes to your table but is also incredibly easy to make. With just a handful of ingredients and some simple steps, you can create a delightful dessert that everyone will adore. Whether you’re celebrating St. Patrick’s Day or just want to treat yourself, this ice cream offers a refreshing, dreamy taste that you’ll want to enjoy all year long. Throughout this article, we’ll guide you through the process step by step, share helpful tips, and even offer variations and substitutions to suit your preferences.
What Is St Patrick’s Day Irish Cream Ice Cream?
St. Patrick’s Day Irish Cream Ice Cream is a rich, creamy dessert inspired by the famous Irish cream liqueur. The origins of this dish can be traced back to Ireland, where the combination of fresh cream and whiskey has long been celebrated. This ice cream blends the velvety texture of cream with the distinct, smooth flavors of Irish whiskey and cream liqueur, resulting in a dessert that is both luxurious and incredibly satisfying.
The ice cream is characterized by its silky smoothness and delightful flavor profile. When you take a bite, you can expect to feel the creaminess melting in your mouth, complemented by subtle sweetness and a hint of Irish whiskey that wraps around your taste buds. The combination of these flavors creates a delightful harmony, making it a perfect treat to indulge in on special occasions or even as a simple dessert at the end of a long day.
Some might envision a dessert that’s heavy or overly sweet, but this Irish Cream Ice Cream finds that perfect balance. It offers a pleasing richness without being too overpowering, allowing for an enjoyable experience that leaves you wanting more without feeling weighed down.
Why You’ll Love This
There are many reasons why this St. Patrick’s Day Irish Cream Ice Cream will become a favorite in your home. First and foremost, the taste is absolutely divine. The harmonious blend of cream and whiskey creates a flavor experience that feels both festive and comforting at the same time.
In terms of ease, even those new to the kitchen will find this recipe approachable. You don’t need any fancy equipment—just a mixing bowl, an ice cream maker, and a simple understanding of how to mix and freeze. It’s a straightforward process that yields delicious results, making it perfect for busy parents or beginner home cooks who want to impress without the fuss.
Furthermore, this recipe is budget-friendly. With just a few ingredients that you likely already have in your kitchen, you can whip up a dessert that rivals any shop-bought option while also allowing you to customize flavors to fit your preferences.
However, some might think that making ice cream at home is a hassle. While it does require some freezing time, the actual hands-on preparation is relatively quick, making this a great treat even for those on a busy schedule. If using store-bought Irish cream, the preparation can be even quicker!
Ingredients You’ll Need
To create this delightful St. Patrick’s Day Irish Cream Ice Cream, gather these ingredients:
- Heavy Cream: The base for your ice cream, heavy cream provides the rich, creamy texture. If you want a lighter option, consider using half-and-half, but be sure it may alter the texture slightly.
- Sweetened Condensed Milk: This ingredient adds sweetness and creaminess. It works as a sugar substitute and ensures a smooth texture in the final product.
- Irish Cream Liqueur: This key ingredient is where the flavor shines through. It can also be substituted with a non-alcoholic version if desired, such as Irish cream syrup.
- Vanilla Extract: For added warmth and depth of flavor. Always opt for pure vanilla extract for the best taste.
- Chocolate Chips: Adding chocolate chips takes this ice cream to the next level. You can use dark, milk, or even white chocolate, depending on your preference.
Each ingredient plays a specific role, and understanding these roles can help you successfully navigate substitutions, should you need to. For example, using less sugar in place of the sweetened condensed milk can cause the ice cream to become icy rather than creamy, so it’s important to keep in mind the functions of each ingredient when considering alternatives.
How to Make
Creating this delicious St. Patrick’s Day Irish Cream Ice Cream is a straightforward process that will yield delightful results. Follow these step-by-step instructions for perfect homemade ice cream:
- Begin by preparing your ice cream maker. If you’re using a bowl-style ice cream maker, ensure that the bowl is completely frozen for at least 24 hours. If using a compressor-style machine, follow the manufacturer’s instructions. This step is crucial as it determines how quickly your ice cream will freeze.
- In a large mixing bowl, combine the heavy cream and sweetened condensed milk. Whisk the two together until well blended. The sweetened condensed milk contributes to the creaminess and sweetness, while the heavy cream provides the essential fat needed for a smooth texture. Make sure there are no lumps in the mixture.
- Add the Irish cream liqueur and vanilla extract to the bowl. Stir gently until all the ingredients are thoroughly combined. The flavor from the Irish cream is the star of this dish, so if you like a stronger whiskey taste, feel free to add a bit more.
- Fold in the chocolate chips. This is an optional step, but the chocolate adds an enjoyable texture and richness to the ice cream. Be careful not to overmix, as you want to keep the lightness of the cream mixture.
- Pour the mixture into the prepared ice cream maker. Follow the manufacturer’s instructions regarding time. This process typically takes about 20–30 minutes until the ice cream reaches a soft-serve consistency.
- Transfer the ice cream to a suitable airtight container. Use a spatula to level off the top and ensure there are no air pockets. You can also press a piece of parchment paper directly on the surface to help prevent ice crystals from forming.
- Freeze the ice cream for at least 4 hours, or until it’s fully set. The longer it freezes, the firmer it will become. If you plan to store it longer, remember to check it periodically for texture.
- Before serving, let the ice cream soften for about 5–10 minutes at room temperature. This step will make scooping easier. Use an ice cream scoop warmed in hot water for perfectly shaped servings.
Enjoy this creamy, rich, and delightful treat with friends and family. The labor of love you put into making it will surely shine through in every delicious bite.
Variations & Substitutions
Mint Chocolate Irish Cream Ice Cream: Combine the original ingredients into the base, and add 1-2 teaspoons of peppermint extract. Fold in crushed mint chocolate candies or cookies for added texture. This variation is perfect for those who love classic mint flavors and adds a refreshing twist to the Irish cream base.
Nut-Free Version: To make this recipe nut-free, opt for dairy-free chocolate chips and non-dairy creamers. You can also use a coconut or oat-based sweetened condensed milk, ensuring that the ice cream retains its creamy texture without incorporating any nut products.
Alcohol-Free Version: If you prefer to exclude alcohol, substitute the Irish cream liqueur with a non-alcoholic Irish cream syrup. This allows you to enjoy similar flavors without the whiskey.
Vegan Irish Cream Ice Cream: To create a vegan version, replace the heavy cream with full-fat coconut milk and use a plant-based sweetened condensed milk. Use a non-dairy Irish cream syrup to keep the flavors aligned. This variation allows everyone to enjoy the festive flavor, regardless of dietary restrictions.
Chocolate Hazelnut Irish Cream Ice Cream: To enhance the depth of flavor, add a few tablespoons of chocolate hazelnut spread in the mixing process. This will give the ice cream a rich chocolate base and a nutty richness that pairs beautifully with the Irish cream.
Each of these variations brings its unique flair while allowing the original flavors to shine. Don’t hesitate to experiment and make this recipe your own.
Common Mistakes to Avoid
One common mistake is using the wrong type of cream. Avoid using light cream or half-and-half, as these won’t create the rich texture necessary for delightful ice cream. Remember, the higher the fat content, the creamier your dessert will be.
Another issue arises during freezing. Do not freeze the ice cream for too long without stirring. This step helps to incorporate air, preventing a dense final product. If your ice cream is too icy, it might mean it was frozen too quickly.
In addition, some people underestimate the importance of chilling the mixture before pouring it into the ice cream maker. Proper chilling enhances the flavor and helps achieve the right consistency.
Lastly, be cautious with the alcohol content. Although it’s essential for the distinct flavor, too much can interfere with the freezing process, leading to a less-than-ideal texture. The key is to balance the flavors while still allowing the ice cream to set properly.
Storage, Freezing & Reheating Tips
To store your St. Patrick’s Day Irish Cream Ice Cream, make sure to use an airtight container to maintain freshness. If possible, add a layer of plastic wrap directly on the ice cream before sealing with a lid. This will help to keep ice crystals from forming, ensuring that the texture remains creamy and delicious.
When freezing homemade ice cream, aim for a temperature of 0°F (-18°C) or lower. If your freezer isn’t cold enough, the ice cream may not freeze properly, leading to a less satisfying texture. Also, be mindful that homemade ice creams typically have a shorter shelf life, so it’s best to consume it within a few weeks for optimum flavor.
If you do find yourself needing to reheat the ice cream, it’s important to know that you can do so by simply letting it sit out for a few minutes at room temperature. This loosens up the texture, making it easier to scoop. Do not place it in a microwave, as this can lead to a melted, mushy texture that is far from enjoyable.
Lastly, for any leftover ice cream, consider incorporating it into milkshakes or ice cream cakes. You can whip up creative desserts that utilize the flavors you’ve created, allowing no part of your hard work to go to waste.
Frequently Asked Questions
Can I make this ice cream without an ice cream maker? Yes, you can make this ice cream without an ice cream maker. After mixing the ingredients, pour the mixture into an airtight container and place it in the freezer. Stir every 30 minutes for the first few hours to incorporate air. Continue this process until the ice cream is fully set.
How long does homemade ice cream last in the freezer? Homemade ice cream is best consumed within 2–4 weeks for the best flavor and texture. While it may last longer, the quality can begin to diminish after that period due to ice crystal formation.
Can I add other mix-ins to the ice cream? Absolutely! Feel free to incorporate your favorite mix-ins such as nuts, fruits, or cookie bits. Simply add them in the final stages of mixing before transferring the mixture to the ice cream maker.
Is it possible to make the ice cream dairy-free? Yes, you can create a dairy-free version by substituting the heavy cream and sweetened condensed milk with coconut cream and a plant-based sweetened condensed milk. Ensure that you choose an alcohol-free Irish cream syrup to keep the recipe vegan.
What should I do if my ice cream is too hard? If your ice cream is too hard to scoop after freezing, allow it to sit at room temperature for about 5–10 minutes. This will soften it enough to make scooping easier without melting it entirely.
Conclusion:
This St. Patrick’s Day Irish Cream Ice Cream is a delightful treat that combines ease of preparation with rich, festive flavors. Its creamy texture and sweet notes make it a perfect indulgence for any occasion. Whether you stick to the classic recipe or choose to customize it with your own twists, it’s sure to be a crowd-pleaser. I encourage you to give this recipe a try, explore different variations, and share the joy of homemade ice cream with your friends and family. Treat yourself—after all, you deserve a sweet moment!


