Prep time: 15 minutes
Cook time: 12 minutes
Total time: 27 minutes
Servings: 24 cookies
If you’re looking to indulge in something truly delightful, you’ve landed on the right page! Imagine pulling fresh, warm cookies from the oven, their enticing smell wafting through your kitchen. These Milk Cookies: Classic Milk Cookies (Soft) are the answer to your snacking cravings – soft, chewy, and layered with comforting flavors that remind you of home. Whether you’re a busy parent scrambling for a quick treat or a seasoned baker looking for something nostalgic, this recipe has you covered.
Milk cookies are not just any cookies; they capture the essence of sweet childhood memories, filled with warmth and joy. You’ll discover how simple ingredients transform into charming treats that pair perfectly with a glass of milk or a cup of tea. And the best part? You will learn the nuances of making these cookies soft, chewy, and oh-so mouthwatering.
What Is Milk Cookies: Classic Milk Cookies (Soft)?
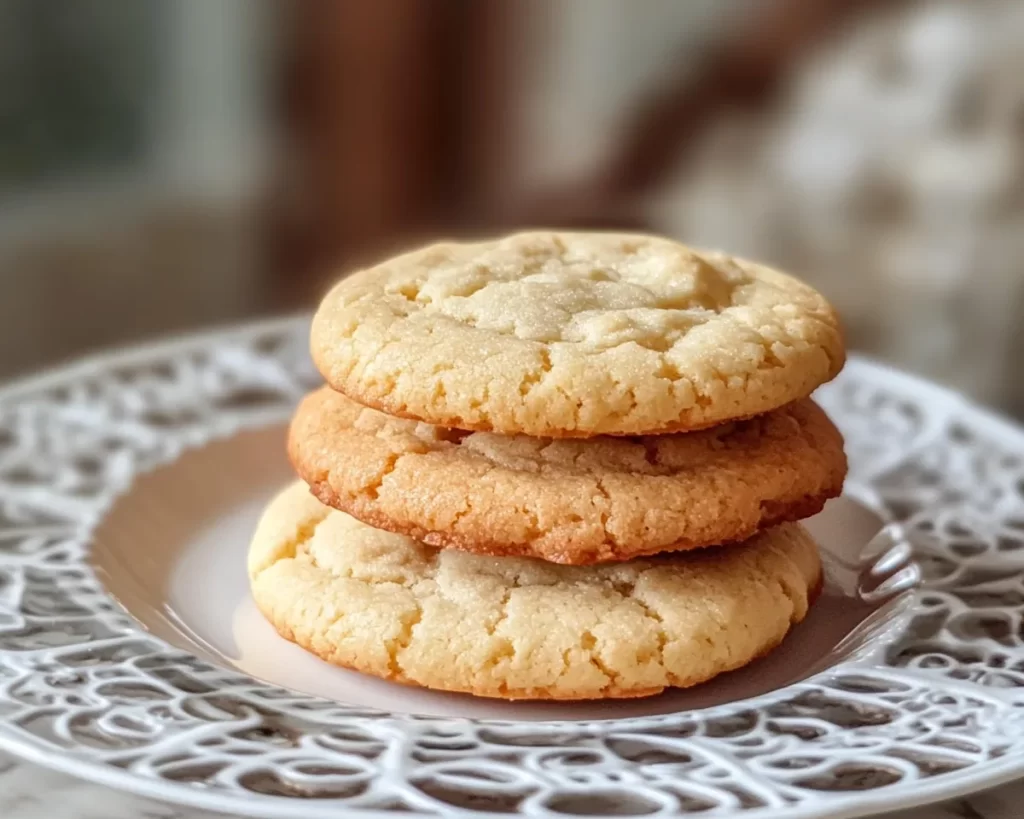
Milk cookies are a delightful classic that has delighted palates for generations. Originating from simple home-cooking traditions, these cookies are characterized by their soft and chewy texture, making them the perfect accompaniment to a glass of cold milk or a cup of coffee. The key ingredients, including butter, sugar, flour, and of course, milk, blend harmoniously to create a cookie that is subtly sweet with a tender crumb. Unlike crunchy biscuits, these cookies invite you to indulge in their soft bite, encapsulating nostalgia with every mouthful.
The flavors of milk cookies are gentle yet satisfying, often infused with a hint of vanilla or even a sprinkle of cinnamon for warmth. The *sticky, gooey center* and slightly crisp edges create the perfect contrast in textures that keep you reaching for just one more. As you take a bite, you’ll experience a melt-in-your-mouth quality that makes these cookies incredibly addictive. They are not just a dessert but a fond memory—each cookie tells a story waiting to be shared.
Why You’ll Love This
There are countless reasons why you will fall in love with these milk cookies! First and foremost, their **taste** is simply heavenly. The sweet and creamy flavor of milk permeates the cookie, while the butteriness adds richness that is hard to resist. Beyond their deliciousness, these cookies are incredibly easy to make, making them an ideal choice for beginners in the kitchen. All you need are a few simple ingredients, and in no time, you’ll be enjoying freshly baked cookies with minimal effort.
Another impressive aspect is their **cost-effectiveness**. With basic ingredients that most people already have at home, this recipe is a budget-friendly option. You won’t need to break the bank to whip up a delicious treat! Furthermore, these cookies are versatile in nature; you can easily customize them by adding chocolate chips, nuts, or even dried fruit for a twist.
Finally, the health element cannot be overlooked. While cookies aren’t typically considered a health food, these can be made lighter by using alternative ingredients, like whole wheat flour or coconut sugar. They can easily fit into a well-rounded diet when enjoyed in moderation.
Ingredients You’ll Need
- 1 cup (226g) unsalted butter, softened: This is the primary fat source that adds richness and helps achieve that soft, chewy texture.
- 1 cup (200g) sugar: White granulated sugar will provide sweetness. You can substitute half with brown sugar for a more caramel flavor.
- 2 large eggs: Eggs provide structure and moisture, helping the cookies to bind together effectively.
- 1 teaspoon vanilla extract: This adds depth to the flavor profile. For a unique spin, consider maple extract.
- 3 cups (360g) all-purpose flour: Flour is the main dry ingredient and determines the cookies’ structure. Always measure accurately for best results.
- 1 teaspoon baking soda: Baking soda ensures the cookies rise and become fluffy, fighting off any density.
- 1/2 teaspoon salt: This balances sweetness and enhances all other flavors in the cookie.
- 1/2 cup (120ml) whole milk: The star ingredient that gives these cookies their name and their distinctive softness.
Each ingredient plays a vital role, contributing to the overall flavor, texture, and appeal of these delightful cookies. If you’re looking to experiment, you can easily substitute gluten-free flour or alternative milk options to cater to specific dietary preferences.
How to Make
1. **Preheat Your Oven**: Start by preheating your oven to 350°F (175°C). You want the oven to be hot enough to achieve that perfect golden brown color on the cookies while keeping the inside soft.
2. **Cream the Butter and Sugar**: In a large mixing bowl, add the softened butter and sugar. Using an electric mixer, cream them together until the mixture becomes fluffy and light in color. This should take about 3-4 minutes. *The key to fluffy cookies is proper creaming, as it incorporates air into the mixture.*
3. **Incorporate the Eggs and Vanilla**: Once your butter-sugar mixture is fluffy, add in the eggs one by one, mixing well after each addition. Then pour in the vanilla extract. Continue to beat until fully combined, about 2-3 minutes. *The batter should be smooth and homogeneous at this stage.*
4. **Combine Dry Ingredients**: In a separate bowl, whisk together the flour, baking soda, and salt. Slowly add this dry mixture to your wet ingredients, mixing on low speed. Be cautious not to overmix, as this can affect the texture; stop when you don’t see any dry flour.
5. **Add the Milk**: Gradually pour in the whole milk while mixing at low speed. This will help blend it into the dough without splattering. *The dough should be soft but manageable at this point.*
6. **Scoop Out the Dough**: Using a cookie scoop or tablespoon, drop rounded balls of dough onto ungreased baking sheets, leaving enough space between each cookie as they will spread.
7. **Bake the Cookies**: Place your baking sheets into the preheated oven and bake for about 10-12 minutes, or until the edges are lightly golden. They will look slightly underbaked in the center, which is perfect for the soft texture you desire.
8. **Cool the Cookies**: Once baked, remove the cookies from the oven and allow them to cool on the baking sheets for about 5 minutes before transferring them to wire racks to cool completely. *This step is essential to prevent them from becoming too hard while cooling.*
9. **Enjoy!**: Finally, grab a glass of milk and enjoy your soft, chewy milk cookies while they are still slightly warm. Trust me; it’s an experience you’ll want to repeat again and again!
Variations & Substitutions
Chocolate Chip Variation: If you’re a fan of chocolate, consider adding 1 cup of chocolate chips to the dough before scooping them onto the baking sheets. This classic twist will yield a delightful contrast of rich chocolate against the sweet creaminess of the milk cookies. The melted chocolate will add a deeper, gooey texture that many people love, making the cookies even more irresistible.
Nutty Addition: For those who enjoy a crunchy texture, consider adding 1 cup of chopped nuts, such as walnuts or pecans. The nuts complement the soft cookie base perfectly, providing a satisfying crunch in every bite. Make sure to toast the nuts beforehand to enhance their flavor. This variation is also a perfect way to incorporate some healthy fats into your cookie treat.
Oatmeal Milk Cookies: For a heartier option, try incorporating 1 cup of rolled oats into the dough. This variation not only adds a rustic touch but also increases the health profile of your cookies. Oats give a chewy texture and help in keeping you fuller for longer. They are also a great way to sneak in some additional fiber into your snacks!
Vegan Version: If you follow a vegan diet, substitute the butter with coconut oil, the eggs with flax eggs or applesauce, and the whole milk with almond or soy milk. The resulting cookies may have a slightly different flavor but will still remain delightfully soft. This version is perfect for accommodating diverse dietary restrictions without compromising on taste.
Common Mistakes to Avoid
One common mistake when making cookies is not measuring ingredients accurately. When it comes to baking, *precision is critical*. Using too much flour can lead to dry cookies, while using too little can create overly gooey dough. Always use a kitchen scale if possible, or properly spoon and level your dry ingredients for accurate measurements.
Another issue arises from the **temperature of your butter**. If your butter is too warm, your cookies may spread too thin during baking, resulting in flat outcomes. Aim for softened butter that is cool to the touch but still pliable. Additionally, make sure to chill the dough for about 30 minutes if it feels too soft to scoop.
Finally, avoid overbaking your cookies. An oven’s residual heat continues to cook the cookies even after they’ve been removed. Look for *slightly underbaked* centers to ensure a soft texture. If you wait until they are fully browned, you may end up with cookies that are hard instead of chewy.
Storage, Freezing & Reheating Tips
Proper storage will keep your milk cookies fresh for days. Once cooled, place them in an airtight container at room temperature. They should stay good for up to one week. If you wish to maintain their soft texture longer, consider refrigerating them, which can help extend their shelf life.
Freezing is also an excellent option for meal prep enthusiasts. To freeze, line a baking sheet with parchment paper and lay the cookie dough balls on the sheet without touching each other. Freeze until solid, then transfer them to a freezer-safe bag or container, where they will keep well for up to three months. You can bake directly from the freezer by adding 2-3 minutes to their cooking time.
Reheating is simple; just pop them in a microwave for about 15-20 seconds, or you can reheat them in the oven at a low temperature (around 300°F or 150°C) for about 5-7 minutes. This way, they’ll regain that delightful softness!
Frequently Asked Questions
How do I make my milk cookies chewy?
To achieve a chewy texture in your milk cookies, ensure that you do not overbake them. The centers should appear slightly underbaked when you take them out of the oven, as they continue cooking on the baking sheet. Additionally, incorporating brown sugar rather than granulated sugar can enhance chewiness due to its moisture content.
Can I use low-fat milk instead of whole milk?
While you can use low-fat milk in the recipe, it may affect the richness and texture of the cookies. Whole milk adds creaminess and a softer texture, so if you opt for a low-fat alternative, consider adding a little extra butter or a splash of cream to achieve similar results.
Do I have to chill the dough before baking?
Chilling the dough helps prevent the cookies from spreading too much while baking. If you’re looking for a thicker cookie, refrigeration for at least 30 minutes is essential. If you’re short on time, however, you can bake the cookies right after mixing.
How can I prevent my cookies from spreading?
Make sure your butter is at the right temperature; overly soft butter can lead to cookies spreading too thin. Also, chilling the dough before baking helps retain their shape. Lastly, ensure that your baking sheets are not too hot before placing the cookie dough on them.
Can I add other flavors or spices to these cookies?
Absolutely! You can enhance your milk cookies by adding spices like cinnamon, nutmeg, or even cardamom for an aromatic twist. A pinch of instant coffee or espresso powder can also enhance the flavor profile without making the cookies taste like coffee.
Conclusion:
In summary, these Milk Cookies: Classic Milk Cookies (Soft) are not just a baked good but a cherished treat that brings joy to people of all ages. The combination of simple ingredients, effective techniques, and the personal touch you put into them make a world of difference. I encourage you to try this recipe, customize it to your liking, and perhaps share it with friends and family. You’ll not only be creating delicious cookies but also making wonderful memories along the way. Don’t hesitate—get baking today!


