Prep time: 30 minutes
Cook time: 30 minutes
Total time: 1 hour
Servings: 12
If you’re looking to celebrate a special occasion like a spring birthday with a truly delightful dessert, look no further than this exquisite Spring Birthday Cake: Lemon Vanilla Layer Cake. This delightful cake is not just visually appealing but also captures the essence of spring with its vibrant flavors. Imagine cutting into a beautifully layered cake adorned with light, fluffy lemon and vanilla frosting that celebrates the season. This charming cake is soft and moist and transports you to a sunny garden with every bite.
Creating your own Spring Birthday Cake is not just about impressing your guests; it’s about developing a connection with your baking process. You’ll learn the nuances of mixing, baking, and decorating that can elevate your home-cooking game. This recipe will guide you at every step, ensuring that the result is not just a cake but a memorable experience that you can proudly share with your loved ones.
Are you ready to take your baking skills to new heights? You are in for a treat as we dive into a comprehensive guide that will equip you with all the knowledge you need to bake the perfect Lemon Vanilla Layer Cake. From the ingredients you’ll need to variations that can give you a unique twist, I’ve got you covered!
What Is Spring Birthday Cake: Lemon Vanilla Layer Cake?
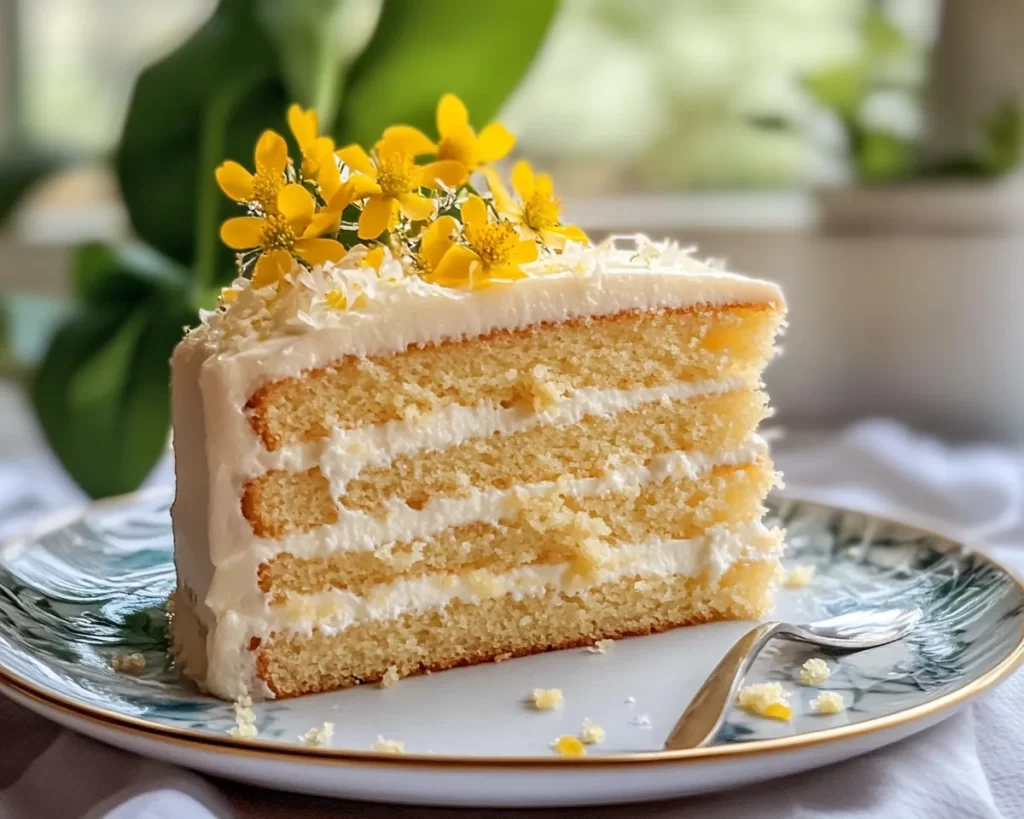
The Spring Birthday Cake, specifically the Lemon Vanilla Layer Cake, is a delicious dessert that embodies the bright and fresh flavors characteristic of springtime. This cake typically features multiple layers of velvety lemon-infused sponge cake alternating with rich vanilla buttercream frosting. The balance between the zesty lemon and sweet vanilla creates a delightful harmony that can please any crowd.
This cake hails from the tradition of layer cakes often served on celebratory occasions. Originating primarily in European baking, layered cakes have evolved to incorporate various flavors and techniques. The use of citrus, particularly lemon, in spring cakes symbolizes renewal and joy, making it the perfect centerpiece for any spring gathering or birthday celebration. The texture of the cake is light and airy, while the creamy frosting adds a lusciousness that melts in your mouth, making every slice an indulgent experience.
What sets this cake apart is not just its flavor but also its visual appeal. Bright yellow lemon zest peeking through the white frosting makes it a stunning addition to any table setting. The aroma wafting through your kitchen while this cake bakes will evoke memories of sunny days and joyful celebrations, enhancing the experience of making it as much as enjoying it.
Why You’ll Love This
You will absolutely love the Spring Birthday Cake: Lemon Vanilla Layer Cake for countless reasons. Firstly, the taste is utterly divine; the combination of **tart lemon** and **sweet vanilla** provides a refreshing yet indulgent flavor profile. As you savor each bite, the fluffy cake juxtaposed against silky frosting dances on your palate, creating a delightful experience that you and your guests will remember.
Moreover, this recipe is relatively easy to execute, making it a perfect choice for beginners and busy parents alike. Unlike some cake recipes that might require elaborate techniques or specialized tools, this one relies on simple steps that anyone can manage. You can have your kids help with mixing or decorating, turning it into a fun family activity.
Cost-effectiveness is another big win. Making this cake at home is generally more economical than purchasing a premade cake from a bakery. By sourcing fresh ingredients, you can enjoy a premium quality cake tailored to your tastes without breaking the bank.
Another fantastic aspect of this recipe is its versatility. You can easily customize it based on dietary preferences or ingredient availability. Whether you’d like to use gluten-free flour or substitute natural sweeteners, the foundation of this cake can accommodate various modifications. You can serve it at any spring gathering, birthday party, or even as a delightful treat for yourself.
Common misconceptions abounding are that baking a layered cake is only for experienced bakers. With this Lemon Vanilla Layer Cake recipe, I aim to debunk that myth. Once you have your ingredients lined up and follow the straightforward instructions, you’ll find that you can create a showstopper of a cake that deserves to be celebrated.
Ingredients You’ll Need
Here’s a detailed list of the ingredients you will need to create your Spring Birthday Cake: Lemon Vanilla Layer Cake:
- 2 ¾ cups all-purpose flour – The foundation of any cake, flour provides structure and texture. Feel free to substitute with gluten-free flour if needed.
- 1 ½ cups granulated sugar – This will sweeten your cake, balancing the tartness of the lemon. You can reduce the amount if you prefer a less sweet cake.
- 1 tablespoon baking powder – Essential for helping the cake rise. Ensure it’s fresh for the best results.
- ½ teaspoon baking soda – Another leavening agent that works well in combination with baking powder.
- ½ teaspoon salt – Enhances the flavor of the other ingredients.
- 1 cup unsalted butter, softened – Adds richness and moisture to the cake. Be sure to let it come to room temperature!
- 4 large eggs – These act as binding agents and contribute to the cake’s richness.
- 1 cup whole milk – Contributes moisture and helps create a tender cake. You can use a plant-based milk alternative if desired.
- 2 tablespoons freshly grated lemon zest – The zest will infuse the cake with incredible lemon flavor.
- ½ cup lemon juice – Freshly squeezed lemon juice adds a wonderful tartness and moisture to the cake.
- 1 teaspoon pure vanilla extract – Enhances flavor. Always opt for pure over imitation for the best results.
- 2 cups powdered sugar – For making the frosting, it creates that lovely, sweet consistency.
- ½ cup unsalted butter, softened – For the frosting, this will make your vanilla buttercream creamy and rich.
- 1-2 tablespoons milk or heavy cream – Adjust for desired frosting consistency.
- Additional lemon zest for garnish – Adds a beautiful finishing touch.
As you can see, a balance of dry and wet ingredients makes this cake not only flavorful but also moist and airy. Ensure that each component is fresh for optimal results; this will enhance the cake’s taste and texture.
How to Make
Now let’s dive into the step-by-step instructions on how to create your own Spring Birthday Cake: Lemon Vanilla Layer Cake!
- Preheat your oven: Start by preheating your oven to 350°F (175°C). This is a crucial first step; a properly heated oven ensures even cooking. While the oven warms up, you can prepare your baking pans.
- Prepare the baking pans: Grease and flour two 9-inch round cake pans. This prevents the cake from sticking and allows for clean removal once baked. You may also want to line the bottom of the pans with parchment paper for an even easier release.
- Mix dry ingredients: In a large bowl, whisk together the flour, baking powder, baking soda, and salt. This ensures that the leavening agents are evenly distributed throughout the flour — a key factor in cake consistency.
- Cream butter and sugar: In a separate bowl, cream together the softened butter and granulated sugar until light and fluffy, about 3-5 minutes. The air incorporated during this step will help your cake rise, leading to a beautifully fluffy texture. Be sure to scrape down the sides of the bowl as necessary to ensure even mixing.
- Add eggs one at a time: Incorporate the eggs, one at a time, mixing well after each addition. This step is vital as it helps to create an emulsified batter. You can also add the vanilla extract at this point to infuse flavor into the mixture.
- Combine wet ingredients: In a small bowl, stir together the milk, lemon juice, and lemon zest. Slowly add the wet mixture to the creamed butter and sugar, alternating with the dry ingredients. Begin and end with the dry ingredients to ensure a smooth batter. Mix until just combined; over-mixing can lead to a dense cake.
- Fill the prepared pans: Divide the batter evenly between the two prepared cake pans. Use a spatula to smooth the tops for an even bake. Gently tap the pans on the counter to eliminate any air bubbles trapped in the batter.
- Bake: Place the pans in your preheated oven and bake for 25-30 minutes or until a toothpick inserted into the center comes out clean. Your kitchen will be filled with the irresistible aroma of baking cake; resist the urge to open the oven too soon, as it can cause your cake to sink.
- Cool cakes: Once baked, remove the cakes from the oven and let them cool in the pans for about 10 minutes. Afterward, transfer them to a wire rack to cool completely. Letting them cool adequately is essential before frosting, as it prevents the frosting from melting.
- Prepare the frosting: In a clean bowl, beat the softened butter and powdered sugar until well combined. Gradually add milk or heavy cream until you reach your desired consistency. If you want a lemon-flavored frosting, consider adding a bit more lemon juice and less milk for flavor intensity.
- Assemble the cake: Once your cakes have completely cooled, level the tops with a knife if needed. Place one layer on a serving plate and spread a generous amount of frosting over the top. Gently place the second layer on top and frost the entire cake with the remaining frosting. Don’t forget to decorate with additional lemon zest for an appealing finish!
As you follow these instructions, you are not just baking; you are engaging in a sensory experience filled with wonderful aromas and delightful textures! Remember, baking is a learning process. Each time you make this cake, you will refine your skills and baking intuition.
Variations & Substitutions
Coconut Lemon Vanilla Layer Cake: If you’re a fan of coconut, you can easily incorporate shredded coconut into the cake batter. Use 1 cup of unsweetened shredded coconut in place of some of the flour, which adds a tropical twist to your cake. You could also use coconut extract instead of vanilla for a deeper coconut flavor. The combination of lemon and coconut creates a delightful beachy vibe, perfect for summer celebrations.
Gluten-Free Lemon Vanilla Layer Cake: Making this cake gluten-free is entirely possible. You can utilize a high-quality gluten-free flour blend in place of regular all-purpose flour. Be sure to include a stabilizer like xanthan gum if your flour blend doesn’t already include it. The result will still be a moist and fluffy cake that everyone can enjoy, regardless of dietary restrictions.
Lemon Raspberry Vanilla Layer Cake: For berry lovers, consider adding mashed fresh raspberries between the layers when assembling the cake. The tartness of the raspberries will beautifully complement the sweetness of the lemon and vanilla. You can even swirl some raspberry puree into the frosting for added flavor. This variation is a fantastic spring dessert that enhances the cake’s summery feel.
Dairy-Free Lemon Vanilla Layer Cake: To create a dairy-free version, substitute whole milk with a plant-based milk like almond or oat milk. Swap the butter for a dairy-free margarine or coconut oil. The cake will bake just as beautifully, allowing those with lactose intolerance to indulge in this delightful treat.
Vegan Lemon Vanilla Layer Cake: For a vegan version, substitute the eggs with flax eggs (1 tablespoon ground flaxseed mixed with 2.5 tablespoons of water for each egg). You can also use unsweetened applesauce or mashed bananas as a binding agent. Ensure that the milk and butter alternatives comply with vegan standards. This variation retains the freshness of lemon while being accessible for vegan diets.
These variations not only allow for broader appeal but also enable you to cater to different dietary needs, ensuring that this cake can be enjoyed by all!
Common Mistakes to Avoid
When embarking on the baking journey of making a Lemon Vanilla Layer Cake, it’s crucial to avoid some common pitfalls that can affect the outcome. One common mistake is not properly measuring the flour. Too much flour can lead to a dense cake, while too little may cause it to collapse. Always spoon your flour into the measuring cup and level it off for accuracy.
Another issue many face is opening the oven door too soon while the cake is baking. This can result in a soggy middle or a sunken cake, as the sudden temperature drop interferes with the baking process. Instead, rely on the toothpick test to check for doneness; insert a toothpick into the center, and if it comes out clean, your cake is ready.
Additionally, neglecting to allow the cakes to cool completely before frosting can lead to melting frosting and a disastrous appearance. Always ensure that your cakes are cool to touch before assembly.
Finally, don’t rush the frosting process. A cake that is too warm will warm up the frosting, causing it to slide off or become overly soft. By taking your time, you’ll create a stunning final product that reflects the effort you’ve put into it.
Storage, Freezing & Reheating Tips
Storing your Lemon Vanilla Layer Cake properly will help maintain its freshness and flavor. Once frosted, you can store the cake in an airtight container in the refrigerator, which is essential for preventing it from drying out and keeping the frosting intact. Ideally, the cake will stay fresh for 4 to 5 days; however, let it sit at room temperature for a few minutes before serving for the best texture and flavor.
If you have leftover cake or wish to prepare it in advance, freezing is an excellent option. To freeze, wrap each layer tightly in plastic wrap and then in aluminum foil before placing it in a freezer-safe bag. This will help prevent freezer burn and keep the cake moist. When you’re ready to enjoy, simply thaw layers in the refrigerator overnight before frosting and serving.
For simple reheating, if you have any leftover pieces of cake, place them on a microwave-safe dish and microwave for 10-15 seconds. This will revive the texture and make it taste freshly baked again. However, do note that reheating can slightly affect the frosting’s consistency, so it’s best to enjoy the cake at room temperature whenever possible.
Remember, the essence of baking is not just about the final product but also about food safety. Always ensure that your utensils and workspace are clean, and avoid leaving baked goods at room temperature for extended periods.
Frequently Asked Questions
Can I use other citrus fruits instead of lemon? Yes, absolutely! Oranges, limes, or even grapefruits can be great substitutes. Just be mindful that the taste will change according to the fruit’s acidity and sweetness balance. Adjust your sugar levels accordingly to maintain the cake’s delightful flavor.
Can I make this cake ahead of time? Yes! You can bake the cake layers a day in advance and store them wrapped in plastic wrap at room temperature. Frost the cake up to several hours before serving to keep it fresh. If you frost too early, consider refrigerating it until serving.
Can I make this a single-layer cake? Certainly! You can bake the batter in one larger pan instead of two layers. Just be aware that baking time will be longer; check for doneness with a toothpick inserted in the center after about 40-50 minutes.
What if my frosting is too soft? If your frosting is too runny, try adding more powdered sugar to thicken it up. Alternatively, you can refrigerate the frosting for 10-15 minutes to firm it, which might help if it’s warm from the mixing process.
Should I use fresh or bottled lemon juice? For the best flavor, I recommend using freshly squeezed lemon juice. Bottled lemon juice tends to lack the bright and zesty taste that fresh lemons provide. Fresh ingredients always yield superior results in baking.
Conclusion:
In summary, your Spring Birthday Cake: Lemon Vanilla Layer Cake is not just a dessert; it’s an experience that brings people together. With its bright flavors and beautiful layers, this cake embodies the spirit of spring. I encourage you to try this recipe, adapt it to your preferences, and share it with those you love. Whether it’s a birthday, a special occasion, or simply a treat for yourself, this cake is sure to be a hit! So, roll up your sleeves and start baking; the reward is well worth the effort. Happy baking!


