Prep time: 10 minutes
Cook time: 15 minutes
Total time: 25 minutes
Servings: 4
The weeknight dinner challenge is a familiar one for many families. Busy schedules, picky eaters, and the desire for a meal that’s both wholesome and delicious can seem daunting. Fear not! This recipe for Easy Dinner Recipes for Family: Baked Chicken Tenders in 25 Minutes is not only simple but also sure to please even the pickiest of eaters. Juicy, crispy, and delightful, these chicken tenders are just what you need for a quick family meal.
What Is Easy Dinner Recipes for Family: Baked Chicken Tenders in 25 Minutes?
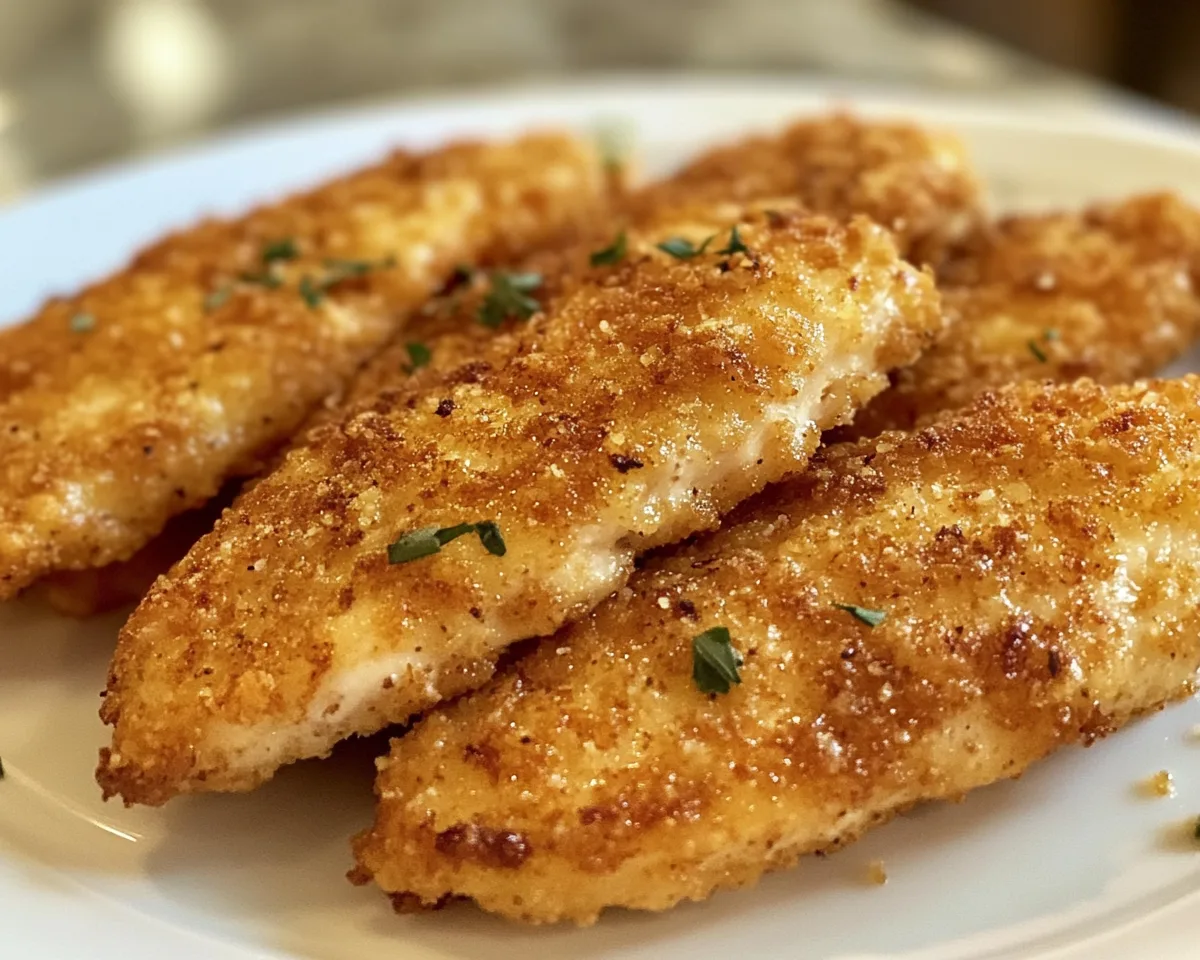
Baked chicken tenders are a healthier alternative to their fried counterparts. This recipe emphasizes ease and speed, perfect for busy nights when you need to get dinner on the table quickly. The chicken is marinated and then coated in a tasty mixture that achieves the desired crunch. They can be served with a variety of sides, making them a versatile choice for family meals.
Why You’ll Love This
You will appreciate this recipe for several reasons. First, it is unbelievably quick to prepare, taking only 25 minutes from start to finish. Additionally, it’s a great way to sneak in some protein into your diet without the added calories from frying. The tender meat is seasoned to perfection and has a satisfying crunch from the breadcrumb coating. Whether it’s a busy school night or a spontaneous family get-together, these chicken tenders fit the bill. Plus, you can customize the recipe with your favorite seasonings or sides.
Ingredients You’ll Need
- 1 lb boneless, skinless chicken breasts: Cut into strips – This serves as the main protein source and is incredibly versatile.
- 1 cup breadcrumbs: Use plain or seasoned – They provide the desired crunch and can be flavored to taste.
- 1/2 cup grated Parmesan cheese: Optional – Adds a rich flavor that complements the chicken.
- 1/2 cup milk: Or buttermilk – Helps the coating adhere and keeps the chicken tender.
- 1 tsp garlic powder: Adds a hint of depth to the flavor.
- 1 tsp onion powder: Complements the garlic powder for a beautifully balanced taste.
- Salt and pepper: To taste – Essential for enhancing all flavors.
- Cooking spray: For light coating on the baking sheet – Ensures the tenders do not stick during baking.
How to Make
- Preheat your oven to 400°F (200°C). Begin by preparing your baking sheet by lining it with parchment paper or lightly greasing it with cooking spray. This step ensures the tenders bake evenly and don’t stick.
- In a medium bowl, combine the milk, garlic powder, onion powder, salt, and pepper. Whisk these ingredients together until they are well blended. This mixture serves as the marinade that will keep your chicken juicy and flavorful.
- Place the chicken strips into the bowl with the milk mixture. Let them marinate for about 10 minutes. This allows the flavors to penetrate the chicken, resulting in a deliciously tender bite.
- While the chicken is marinating, combine the breadcrumbs and Parmesan cheese in another bowl. Mix thoroughly to ensure the cheese is evenly distributed throughout the breadcrumbs. This combination brings a depth of flavor and a crisp texture to the tenders.
- After marinating, take each chicken strip and shake off any excess milk mixture. Coat each piece in the breadcrumb mixture, pressing gently to ensure the crumbs stick. This step is vital for achieving that crunchy exterior everyone loves.
- Arrange the coated chicken strips on the prepared baking sheet and spray the tops lightly with cooking spray. This additional spray aids in getting a golden brown color without frying.
- Bake for 15 minutes or until the chicken tenders are golden brown and cooked through. You can check for doneness by cutting one open – the juices should run clear, and the meat should be no longer pink.
- Allow the tenders to cool for a couple of minutes before serving. This brief cooldown lets the juices redistribute, ensuring a juicy bite every time.
Variations & Substitutions
Spicy Chicken Tenders: For those who like a little heat, mix in cayenne pepper or crushed red pepper flakes into the breadcrumb mixture. This added spice creates an exciting flavor profile that pairs beautifully with a cooling dipping sauce like ranch or yogurt.
Gluten-Free Option: Substitute regular breadcrumbs with gluten-free alternatives such as almond flour or gluten-free panko breadcrumbs. This makes the dish accessible for family members who have gluten sensitivities while providing a tasty, crunchy texture.
Herb-Crusted Chicken Tenders: Mix dried herbs such as oregano, thyme, and rosemary into the breadcrumb blend for a fresh, aromatic flavor. You can also use fresh herbs if they are available, just finely chop them to add a burst of brightness to the chicken.
Parmesan Garlic Tenders: Boost the flavors further by adding additional parmesan or minced garlic directly into the milk marinade before dipping the chicken into the breadcrumbs. This intensifies the cheese flavor and complements the garlic taste beautifully.
Common Mistakes to Avoid
Not Marinating Long Enough: One common error is not allowing the chicken to marinate adequately. A shorter marination time results in less flavor and less juicy chicken. Aim for at least 10 minutes or longer if possible.
Overcrowding the Baking Sheet: If too many tenders are placed on a single baking sheet, they will steam instead of bake, resulting in less crispiness. Make sure they have enough space to allow hot air to circulate around each piece.
Skipping the Cooking Spray: Forgetting to spray the tops of the chicken tenders can lead to less golden and crispy coating. Even light spraying adds significant golden color and texture.
Choosing the Wrong Temperature: Baking at too low a temperature can lead to drying out the chicken while waiting for the breadcrumbs to crisp up. Always stick to the recommended temperature for best results.
Storage, Freezing & Reheating Tips
If you have leftovers, store the chicken tenders in an airtight container in the refrigerator for up to 3 days. When reheating, use the oven for best results. Preheat the oven to 375°F (190°C) and heat the tenders for about 10 minutes or until warmed through. This method helps retain their crispiness.
For longer storage, you can freeze the uncooked, coated chicken tenders. Place them in a single layer on a baking sheet and freeze until solid. Once frozen, transfer them into a zip-top freezer bag. They last up to 3 months in the freezer. Bake them straight from frozen, adding an extra 5 minutes to the cooking time.
Frequently Asked Questions
Can I use chicken thighs instead of breasts?
Absolutely! Chicken thighs are juicier and can offer a more flavorful tender. Just adjust the cooking time slightly, as thighs may take a bit longer to cook but should still reach an internal temperature of 165°F (75°C).
What can I serve with chicken tenders?
You have many options for sides. Serve with a fresh salad for a light touch or pair them with baked fries for a more indulgent meal. You can also include a veggie platter with dipping sauces to make it a complete dinner!
How do I ensure the chicken tenders stay crispy after cooking?
To maintain the crispiness, serve the tenders immediately after cooking. If you need to hold them for a short time, keep them on a wire rack; this allows air to circulate around them and prevents steam buildup, which can lead to sogginess.
Can I make these ahead of time?
You can prep the chicken tenders and breadcrumb mixture ahead. Store the chicken in the marinade and coating in the fridge until you’re ready to bake them. This preparation saves time during a busy week and still delivers a fresh meal!
What dipping sauces pair well with these tenders?
Ranch dressing, honey mustard, and barbecue sauce are classic options that complement the flavors of the baked chicken. If you enjoy a little kick, try a spicy aioli or sriracha mixed with mayonnaise as a modern twist.
Conclusion:
This Easy Dinner Recipe for Family: Baked Chicken Tenders in 25 Minutes is all about convenience and taste. With simple ingredients and straightforward preparation, you can serve an enjoyable meal without the hassle. Customize it to fit your family’s tastes, and enjoy a delightful dining experience that leaves you all satisfied. Grab your ingredients, and let’s get cooking!