Let’s Get Real
Okay, first things first – can we just take a moment to talk about the weather? It’s been a complete emotional rollercoaster over here – sunny one minute and then the skies open up like Mother Nature just binge-watched a tear-jerker movie. All I can think about is how cozy I’d feel if I was tucked away in my kitchen, whisking together a custard that’s so creamy, it might as well have a spa day. And if I’m being perfectly honest, homemade vanilla custard was something I never appreciated until I hit my 20s. As a kid, I was firmly in the “no gross, lumpy custard, thank you” camp. Now? Let’s just say, if there’s a custard fan club, I’m the president, the treasurer, and will gladly bring a tray of this heavenly goodness to the first meeting.
Why the sudden love for custard, you ask? Well, after a baked custard malfunction that left my kitchen looking like something out of a horror movie, I reluctantly went down the rabbit hole of perfecting my own vanilla custard recipe. After a few burnt pans and several “how did I even manage that?” moments, I emerged victorious, and trust me when I say this custard is like a warm hug on a chilly day.
Ingredients, Unfiltered
Now let’s break this down into the nitty-gritty components of what we’re tossing into this bowl of creamy happiness. Spoiler alert: you’re gonna love me for this!
What’s Really in Homemade Vanilla Custard
Milk: We’re not skimping here, folks. Whole milk is where it’s at. You might be tempted to grab that low-fat nonsense, but who are we kidding? Custard is all about the creaminess, and that’s gonna come from embracing the full-fat goodness.
Eggs: A custard classic. And can I just say how satisfying it is to crack eggs? It’s practically a stress reliever. Just be sure to whisk them like you mean it! While I fancy myself a professional at egg cracking, there’s inevitably a rogue shell that ends up splashing somewhere it shouldn’t. Ah, the joys of home cooking.
Sugar: Sweet, sweet sugar, the magic grain that transforms the world. You need about half a cup for that perfectly balanced sweetness. But keep it real; I’ve been known to go a little rogue and sneak in extra because hey, never enough sugar!
Vanilla extract: A crafting essential for that delightful aroma and flavor. Splurge on the real stuff; imitation vanilla is like packing a sandwich with a plastic fork instead of a knife. What’s the point? More flavor = more fun.
Salt: Just a pinch. Don’t be afraid of it! Salt is a custard’s best friend. Think of it as the sidekick that makes the hero even *more* heroic.
Cornstarch: If you want your custard to have that smooth, heavenly consistency instead of becoming a lumpy mess, trust in the cornstarch. It’s the little agent of thickening magic disguised as a simple powder. I once tried to use flour instead (don’t ask), and let’s just say it wasn’t my proudest moment.
Let’s Talk Health (or Not)
Is This Even Healthy? Let’s Discuss
Alright, let’s get real here. This isn’t your kale smoothie, my friends. It’s a rich and luscious custard, and yes, there’s a fair amount of sugar and cream floating around in here. But you know what? Sometimes, happiness is found in a bowl of custard! Sure, it might not have all the superfoods and be gym-approved, but it’s good for the soul.
But let’s pretend we care about our waistlines for a second. Do you want a guilt trip? I won’t subject you to that. Just remember this is an occasional indulgence, not an everyday affair, unless you want to build a custard-based diet (who could blame you?) I mean, it’s totally possible!
Your Grocery List
Here’s What You’ll Need
– 2 cups whole milk
– 3 large eggs
– ½ cup granulated sugar
– 1 tablespoon pure vanilla extract
– 1 tablespoon cornstarch
– A pinch of salt
And just so we’re clear, this recipe serves about 4-6 people. But if you’re like me, it’s more like 1-2 people because I can and will eat half this batch in one sitting.
The Actual Cooking Part
Okay, Let’s Make This
Ready? Let’s do this.
1. **Gather your supplies.** You’ll need a medium saucepan (preferably one that doesn’t have a “don’t touch me, I’m dangerous” sign taped to it), a whisk, and a couple of mixing bowls.
2. **Mix the dry ingredients.** In a bowl, combine the sugar, cornstarch, and salt. This will help avoid lumpy custard. And believe me, no one wants to chew their dessert.
3. **Whisk those eggs!** In another bowl, add your eggs and give them a good whisking until they’re all frothy and combined. It’s like a mini workout, and you’re going to feel like the custard master you are.
4. **Heat the milk.** In a medium saucepan, over medium heat (not high, this isn’t a race) pour in the milk. Stir it gently, and wait until it’s steaming but not boiling. Don’t take your eyes off the pot, or you might end up with an overly excited milk situation. We don’t need that drama.
5. **Combine!** Here comes the fun part – slowly whisk the warm milk into your egg mixture. This is known as tempering, and it’s a fancy way to avoid scrambled eggs. Gradually mix it in to make sure those eggs don’t freak out and start cooking.
6. **Back to the stove.** Pour this silky mixture back into your saucepan. And let the magic happen on the stove as you whisk constantly over medium-low heat. You’ll see it come together, bubbling gently and thickening up – and you’ll feel like an absolute wizard of the kitchen.
7. **Finish with flavor.** Once it thickens and you can coat the back of a spoon with it (about 6-8 minutes), take it off the heat and stir in that glorious vanilla extract.
8. **Chill and thrill.** Pour your heavenly custard into serving dishes or a large bowl and let it cool to room temperature. After that, cover with plastic wrap directly on the surface of the custard (this prevents the dreaded film). Then stick it in the fridge for at least a couple of hours. Or, you know, just eat it warm if you can’t wait that long (I don’t judge).
Side Notes & Sassy Hacks
Bonus Tips You Didn’t Ask For
– **Infuse with Flavors!** Want to take your custard to an entirely new level? Try steeping different flavor agents in your milk. A cinnamon stick or citrus zest can elevate the profile! Just remember to remove them after steeping.
– **Don’t be Vanilla Basic!** If you’re feeling adventurous, experiment with other extracts like almond or coconut for a different twist, but don’t go too overboard—there’s a fine line between creativity and chaos.
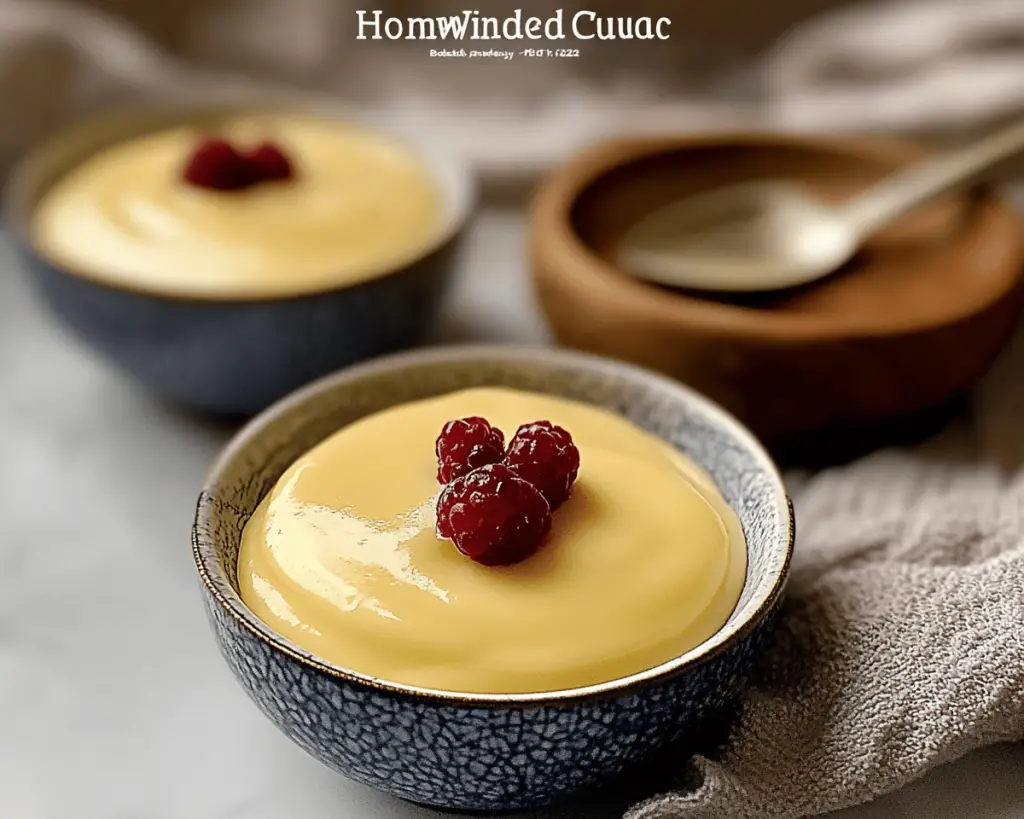
– **Toppings Galore!** This custard is a blank canvas! Top it with fresh berries, a drizzle of caramel sauce, or crushed cookies. Or, if you’re cheeky like me, eat it straight out of the bowl with a big grin on your face.
– **Texture Lovers Unite!** Want to add some texture? Fold in crushed wafers or graham crackers after it cools!
– **Totally Own It!** If you mess up (which I have…a lot), just call it “rustic.” That’s how fancy chefs get away with it, right?
Final Words of (Culinary) Wisdom
And there you have it – your impossibly delicious, homemade vanilla custard. It might seem daunting at first, but trust me, once you embrace your inner custard magician, there’s no going back. You’ve just opened a door to a world of creamy desserts that will have you singing their praises at every dinner party, family gathering, or cozy night in. If you try this (and I sincerely hope you do), remember to tag me in your creations or just send me a mental high-five. Happy whisking, my friends!


