phony. More like the quirky band at your favorite coffee shop.
3. **Chill Out:** After blending, pour this magic mixture into a container, cover it, and stick it in the fridge for at least 30 minutes. This isn’t the most thrilling part, but consider it an “ice cream timeout.” This allows the flavors to meld together like BFFs at a summer bonfire!
4. **Churn Baby, Churn:** If you have an ice cream maker, get it out and follow its instructions. You’ll want to pour that chilled mixture in and churn away for about 20-30 minutes. If you’re like me and are constantly forgetting to sign up for ice cream maker club (because who needs another gadget, right?), fear not! You can also use a shallow dish. Pour the mixture in, stick it in the freezer, and give it a good stir every 30 minutes for about 2-3 hours. Note: This method requires a few extra muscles and definitely invites a few pity parties, but hey — if I can do it, so can you!
5. **Freezer Time:** Once the ice cream reaches that glorious soft-serve consistency, transfer it to a freezer-safe container. Cover it tightly—no one likes frostbite ice cream! Now it’s time for the hardest step: let it freeze for at least 4 hours or overnight. (Seriously. Who designed this waiting game? It’s like torturing yourself for the perfect end result.)
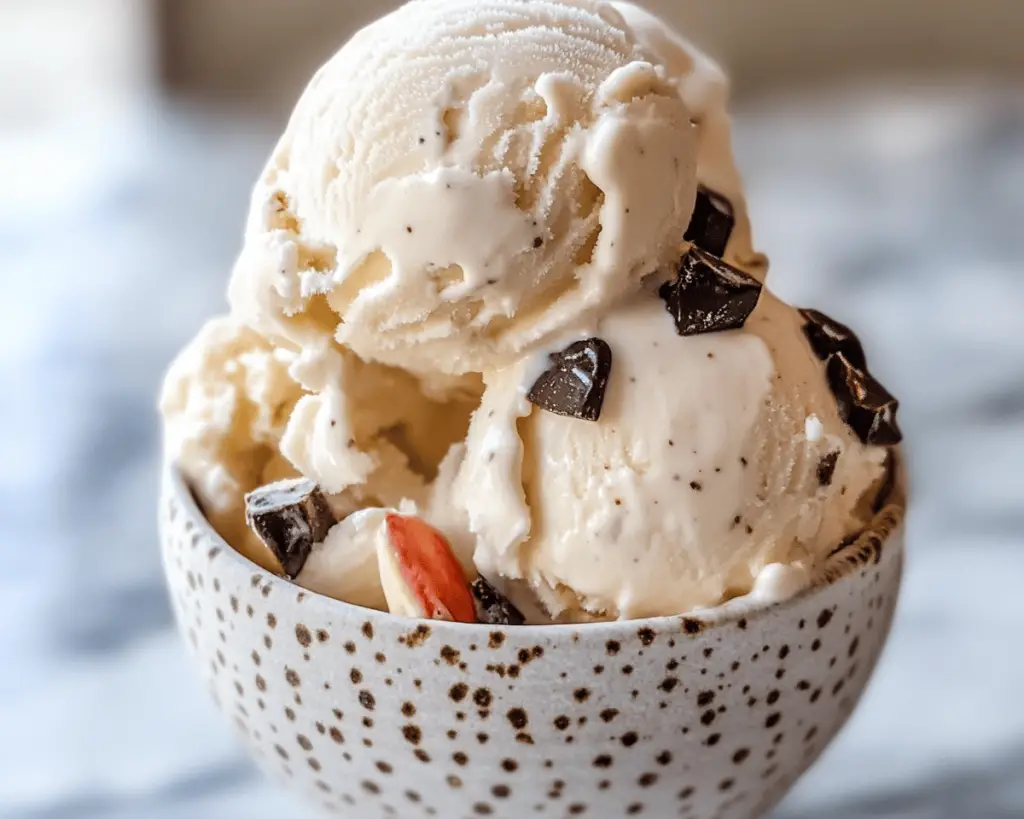
6. **Scoop it Good:** The moment has arrived! Scoop your almond milk ice cream into bowls (preferably your fanciest ones, because nothing says ‘I’m an adult’ like drinking margaritas from a wine glass). You can either enjoy it plain or sprinkle on some optional add-ins. Get wild! Throw in some chocolate chips, crushed cookies, or fresh fruit. Honestly, my ice cream has seen some wild days. I once topped it with peanut butter drizzle and a handful of crumbled pretzels—it was a salty-sweet party in my mouth.
7. **Enjoy:** Sit down with a big spoon, grab a cozy blanket, and savor each glorious bite. And let me just tell you: this will be the moment the chaotic kitchen battles fade away and you’re left, staring blissfully at your creation. Heaven in a bowl, my friends.
Side Notes & Sassy Hacks
Bonus Tips You Didn’t Ask For
– **Storage:** If you manage to have any leftover ice cream (and let’s hope you do, because I never do), it can be stored in an airtight container for up to a week. Just be prepared for a rock-hard ice cream block. Trust me, when sweet dreams go wrong! Just let it sit on the counter for about 15 minutes to soften up before diving back in.
– **Flavor Buds:** Feeling adventurous? Throw in some almond extract for a nuttier flavor or try swapping in coconut milk for a creamy twist. Goes to show that nothing is off-limits when ice cream is involved.
– **Nutty Realness:** Don’t have xanthan gum? You can use cornstarch as a substitute. Just mix a tablespoon of cornstarch with a little almond milk, heat it until it thickens, and then incorporate it into your mixture. You know, making your life easier one hack at a time.
– **Mixology Time:** Want a boozy treat? Try adding a splash of your favorite liqueur like amaretto or Kahlúa. Honestly, why did I not think of this sooner? Create your own happy hours at home—alcoholic ice cream anyone?
– **Presentation:** If you’re feeling fancy, serve your ice cream with fresh fruits, crushed nuts, or create an ice cream sundae bar. Invite some friends (or don’t, no judgment), and show off your ice cream prowess. Bonus points for cute serving bowls!
Final Words of (Culinary) Wisdom
What a ride, right? I hope by now you’re convinced that making your own almond milk ice cream is not only easy-peasy but super rewarding. Honestly, there’s a magical satisfaction in knowing you created this creamy concoction with your own two hands. Feel free to tag me or send me a mental high-five when you make it. I’d love to see your chaos in action! So go ahead, whip out those blender skills and channel your inner ice cream divinity. Here’s to a summer filled with homemade deliciousness—cheers!


