Let’s Get Real
So here’s the deal: the weather has gone all kinds of crazy lately, and at this point, I feel like Mother Nature has officially lost her marbles. One day it’s warm enough to wear shorts, and the next, I’m shaking in my boots (literally) as the snow starts falling. It’s like seasonal bipolar disorder. Why do I bring this up while diving into dessert? Because when you can’t rely on the weather, you can always rely on chocolate, and oh boy, do I have a showstopper for you: the Butterfinger Bomb Cake. Seriously, it’s the sweet hug we all need when dealing with life’s ups and downs.
Let’s talk about my tumultuous history with cake. I grew up thinking cake was just an excuse for weirdly colored frosting and those horrendous, crumbly birthday cakes that tasted more like sand than sugar. Fast forward a couple of decades, and now I’m practically a cake whisperer, convinced that a decent slice could solve just about any problem. Enter: the Butterfinger Bomb Cake, a game changer in my dessert universe.
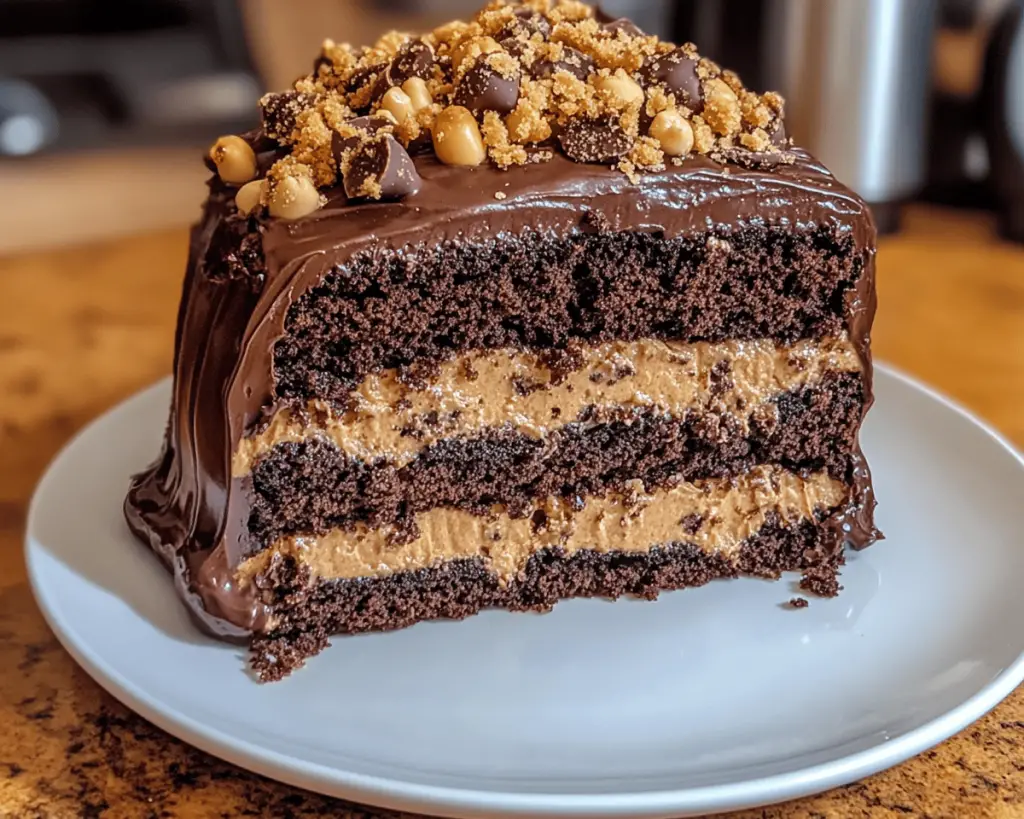
Picture this: layers of rich chocolate cake filled with creamy peanut butter frosting, a drizzle of chocolate ganache, and topped with crunchy Butterfinger candy pieces. Honestly, this cake is not just a dessert; it’s an experience. A deliciously sticky, sweet, mouthwatering experience. The best part? You get all the satisfaction of a cake without feeling like you’ve just ingested a brick. No offense to bricks—they have their place in the world, but not in my dessert!
Ingredients, Unfiltered
Now, let’s chat about what goes into this glorious creation. No need to be shy; we’re all friends here! Each ingredient plays a vital role—like a trusty band of misfits—ready to jam together and create a flavor explosion.
What’s Really in Butterfinger Bomb Cake
All-Purpose Flour: This is the backbone of your cake. It’s like the cool, calm friend who keeps everything from falling apart. Don’t go replacing it with cake flour unless you want to risk catastrophe. We’re going for a dense, moist vibe here, so stick with what works.
Cocoa Powder: The unsweetened kind is what we’re after to give our cake that bold chocolate punch. I like to use Dutch-processed cocoa because it’s all about that richness—kind of like when you see an ad for a velvety chocolate cake and think, “where has that cake been all my life?”
Sugar: Oh, sugar. You glorious, little crystals of joy—always lending the right amount of sweetness when life gets rough, which is basically every day of 2023. Remember, this is cake we’re making, not a salad, so don’t be stingy!
Baking Powder & Baking Soda: Our trusty leavening agents—the Batman and Robin for this chocolatey adventure. Baking powder for lift, baking soda for tenderness. I like to think of them as the dynamic duo that keeps your cake fluffy and fabulous.
Salt: Yes, salt! It’s the ultimate flavor enhancer. Don’t skimp on it because it will elevate every other ingredient, much like my motivational quotes leave a spark of joy in your day.
Eggs: The glue that holds our cake together. We’ve got to add some protein into the mix, people! These beauties also help create a tender crumb. Thank you, eggs, for being the unsung heroes of our baking journey.
Buttermilk: You know what’s better than milk? Buttermilk, obviously. It adds moisture and richness to the cake, making it velvety on the tongue. Words cannot express my love for this tangy liquid, but let’s not dwell on it too much.
Unsalted Butter: This is where the magic happens. Butter adds richness and a little bit of indulgence. If you’re still using margarine, let me just say—let it go. We’ve progressed to higher culinary realms. I use unsalted butter because I want complete control over my salt levels.
Peanut Butter: Here it is—our flavorful sidekick! I prefer creamy for this cake because it produces that smooth texture. Plus, guess what? We’re going to mix it with frosting later, and nobody wants crunchy surprises in their sweet treats. No thank you.
Powdered Sugar: The best friend of frosting everywhere. It’s super fine, which means it dives into that icing with zero clumps. Don’t even think about skipping it; I can hear your cake asking for it.
Heavy Cream: We’re going to create a ganache that would make even the most pristine chocolatier shed a tear. Heavy cream is essential here because we want a mixture that’s silky and rich, not a sad little puddle.
Butterfinger Bars: The show-stopping crunch! I always go for fun-sized because it puts me in a joyous mood, and honestly, I might just eat the leftovers while baking. You know what I mean?
Let’s Talk Health (or Not)
Is This Even Healthy? Let’s Discuss
Ah, the big question—“is it healthy?” First off, let’s address the elephant in the room: it’s cake, not a health food. We’re not here to pretend that a Butterfinger Bomb Cake is going to make us boatloads of vitamins. But, you know what? That’s perfectly fine.
Sure, there’s butter, there’s sugar, and yes, I sleep just fine at night. Because, let’s be real, this cake is not going to be an everyday indulgence. This is your special occasion cake—the kind that makes birthdays and celebrations official! So, if you find yourself shrugging off health concerns for one decadent slice of frosted happiness, I fully endorse that rebel-like behavior. Go ahead, indulge for the sake of joy!
Your Grocery List
Here’s What You’ll Need
– 2 cups all-purpose flour
– ¾ cup unsweetened cocoa powder
– 2 cups granulated sugar
– 1 tsp baking soda
– 1 tsp baking powder
– ½ tsp salt
– 4 large eggs
– 1 cup buttermilk
– ½ cup unsalted butter, melted
– 1 cup creamy peanut butter
– 1 cup heavy cream
– 1 ½ cups powdered sugar
– 2.5 fun-sized Butterfinger bars, crushed (plus more for topping)
This delightful cake serves about 12 people—which means you can be popular or have leftovers for yourself. Let’s be real, it’s the latter where true happiness lies, am I right?
The Actual Cooking Part
Okay, Let’s Make This
Let’s get this cake party started! Preheat your oven to 350°F (175°C). One of my favorite moments is the moment the oven starts humming—there’s something magical about the heat building up, and while you wait, you can only imagine what gloriousness is about to emerge.
1. **Mix It Up:** In a large mixing bowl, combine all the dry ingredients: all-purpose flour, cocoa powder, sugar, baking powder, baking soda, and salt. Stir it like you’re making magic happen! Get it all mixed thoroughly—you want them to cozy up and get to know each other.
2. **Get Wet:** In another bowl, whisk together the eggs, buttermilk, melted butter, and peanut butter until smooth. This is where the party really starts; it’s creamy and delightful. Once it’s all mixed, pour this mixture into the dry ingredients and stir.
3. **Batter Up:** Don’t over-mix; we’re looking for a nice smooth batter, not a levitating creature. Use a spatula or wooden spoon to scrape the sides and ensure everything gets incorporated.
4. **Bake It:** Grease and flour two 9-inch round cake pans and evenly divide your batter between the pans. Smooth down the top with a spatula and pop ’em in the oven. You’ll want to bake for about 30-35 minutes, or until a toothpick comes out clean.
5. **Chill Out:** While your cakes are baking and filling your house with heavenly smells, how about whipping up the frosting? In a fresh bowl, combine heavy cream and powdered sugar. Using a hand mixer (or whisking those arm muscles if you’re feeling strong), whip it until it forms soft peaks. The cooler whisking motion is therapeutic—trust me, you’ll thank me later.
6. **Frost Me:** Now, once your cakes are fully cooked and cooled, it’s time for the icing showdown. Grab your cake stand (or plate) and layer your first cake down. Slather on some of that whipped peanut butter frosting, sprinkle in some crushed Butterfingers, and then carefully place the second layer on top.
7. **Top It Off:** Use the remaining frosting to frost the entire cake—go for a rustic look, or channel your inner pastry chef for a sleek finish. Just remember, no one’s judging your frosting skills here, so relax! You can also drizzle over some ganache by melting chocolate with a tablespoon of heavy cream.
8. **Decorate Like a Boss:** Finally, it’s time to deck the hall (cake) with more crushed Butterfinger. I like to throw on more than I think I should because, let’s be honest, life is too short not to have enough Butterfinger.
9. **Let’s Serve It:** At this point, you might want to step back and admire your work. Snap a few pics for Instagram—this cake deserves its moment in the spotlight. Slice it up, and prepare to have your taste buds taken on an unforgettable ride!
Side Notes & Sassy Hacks
Bonus Tips You Didn’t Ask For
– **Ingredient Substitutions:** Allergic to something? I get it! Swap out the peanut butter for SunButter or almond butter if you’re feeling fancy. Just remember the consistency might change a teeny bit, but the cake should still turn out terrific.
– **Cake Layers:** Want thinner cake layers? Divide the batter more evenly across three pans. Then you can stack them for a more jaw-dropping tall cake. Who doesn’t want a multi-tiered dessert?
– **Keep It Fresh:** If you need to store your cake, keep it covered at room temperature for a few days. Spoiling it in the fridge could dry it out faster than a desert sun.
– **Frosting Skills:** To really impress your friends, try using a spatula to create a fun texture on the frosting. Play around with it—be creative! Sprinkles or chocolate shavings can also be a nice touch.
– **Slice Hot Tips:** Run your knife under hot water before slicing to make those clean cuts—nobody wants a cake that looks like it’s been attacked by a wild animal.
Final Words of (Culinary) Wisdom
And there you have it—the Butterfinger Bomb Cake in all its glory! This dessert is not just a sweet treat; it’s a slice of happiness that’s sure to brighten even the gloomiest of days. Please do me a favor: if you make this cake, tag me on social media or send me a mental high-five because I want to celebrate every sweet bite with you! Remember, life is short, so eat the cake—your taste buds will thank you!


