**Meta Title**: Graveyard Dirt Cake: Easy No-Bake Halloween Treat
**Meta Description**: Whip up a spooky Graveyard Dirt Cake! This no-bake Halloween dessert features layers of rich pudding, crushed cookies, and fun decorations.
You know that thrilling, spine-tingling excitement you feel as Halloween approaches? It’s that magical time of year when candy corn fills the aisles, spooky decorations adorn every neighborhood, and deliciously frightful treats become a staple at every gathering. Today, I want to share with you one of my absolute favorite Halloween desserts: the Graveyard Dirt Cake! This deliciously decadent, no-bake treat will thrill kids and adults alike with its layers of rich chocolate pudding, crushed Oreos, and whimsical decorations.
This Graveyard Dirt Cake is perfect for Halloween parties, school events, or even a cozy movie night in your haunted home. You may wonder what’s so special about this recipe? Its simplicity is just one reason! You’ll learn how to layer flavors and textures to create a visually striking dessert that’s as tasty as it is fun. So don your aprons, channel your inner monster, and let’s get baking (well, more like assembling since it’s no-bake)!
What is Graveyard Dirt Cake?
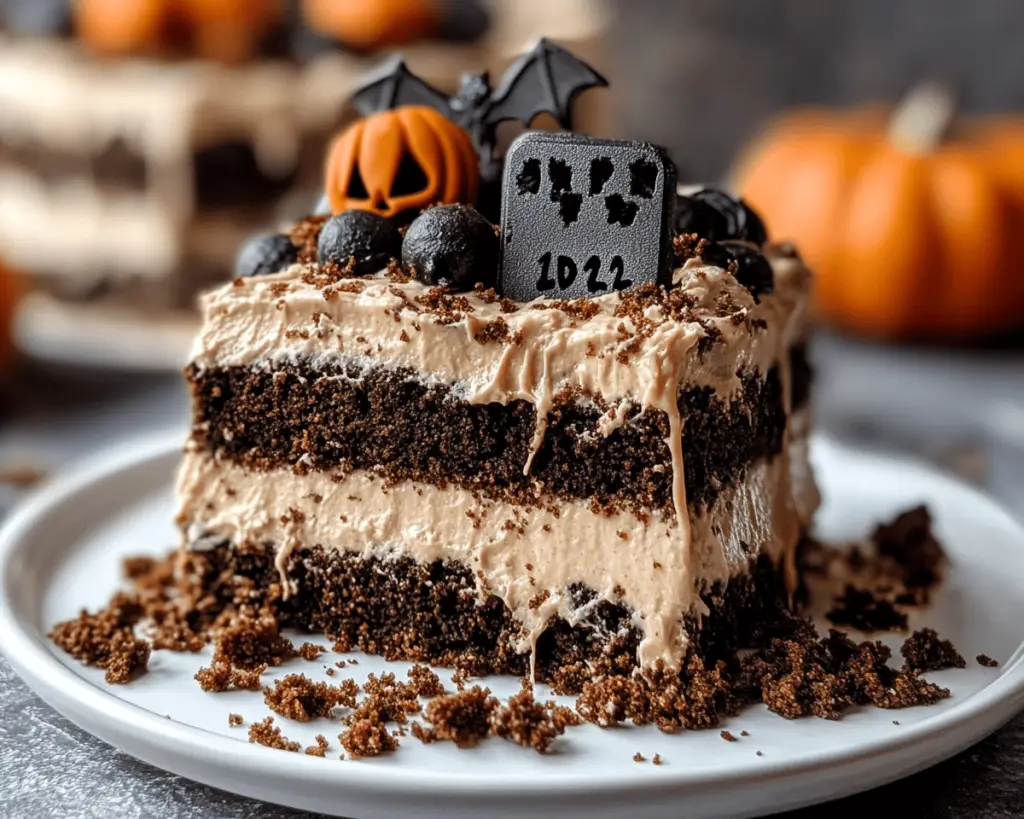
Graveyard Dirt Cake is a whimsical, spooky dessert typically made for celebrating Halloween. At its core, it consists of **layers of chocolate pudding**, crushed **Oreos** (to simulate dirt), and a variety of **fun toppings** that bring the graveyard theme to life. Things like gummy worms, candy tombstones, and even sprinkles can add to the creepiness while making it visually appealing.
Originating from the classic dessert sphere of “dirt cakes,” this playful version emerged as a festive trend that captures Halloween’s playful spookiness. The combination of creamy pudding and crunchy cookies produces a delectable contrast of textures. Each spoonful provides a rich, chocolatey experience, while the decorative elements add an element of surprise and delight—much like the thrill of wandering through a haunted house!
Why You’ll Love This Graveyard Dirt Cake
One of the best things about this Graveyard Dirt Cake is how easy it is to make. With no baking required, you can whip this up in under 30 minutes. Additionally, it’s a fantastic way to engage kids in the kitchen as they can help layer the ingredients and place the decorations. Not to mention, it’s a budget-friendly dessert that makes more than enough to serve a crowd!
What truly stands out is the versatility of this dessert. You can easily customize it for any Halloween gathering, from family parties to classroom treats. Plus, it can be made a day ahead of time and stored in the fridge, allowing the flavors to meld beautifully (that’s right—leftovers!). The Graveyard Dirt Cake isn’t just a delicious dessert; it’s a centerpiece that brings a dash of creativity and a hearty chuckle to the table.
Ingredients You’ll Need
To create this spooktacular Graveyard Dirt Cake, gather the following ingredients:
1. **Oreo Cookies** (24 to 30 cookies): These will form the “dirt” layer. If you want a gluten-free alternative, use gluten-free cookies.
2. **Cream Cheese** (8 oz, softened): Adds a rich, creamy texture and flavor to the pudding mix.
3. **Instant Chocolate Pudding Mix** (2 packages, 3.9 oz each): Provides the chocolate flavor that makes this dessert so decadent.
4. **Milk** (4 cups): Needed for the pudding and to create a smooth texture. Whole milk works best, but you can use any milk of your choice.
5. **Cool Whip or Whipped Topping** (16 oz): This is what makes the layers airy and light in texture.
6. **Gummy Worms** (to decorate): A playful addition that adds a pop of color and gives it that creepy-crawly vibe.
7. **Candy Tombstones (optional)**: Make your dessert even spookier by using specialty candy decorations.
8. **Chocolate Sprinkles or Crushed Nuts (optional)**: For additional texture and a delicious crunch.
How to Make Graveyard Dirt Cake
Now, let’s dive into the step-by-step guide for creating your Graveyard Dirt Cake:
1. **Prepare the Crust**: Start by crushing the Oreo cookies. Place them in a large, resealable plastic bag and use a rolling pin to crush them into fine crumbs (or you can use a food processor for quick results). About 2 cups of crumbs will give you the “dirt” layer you need. Set aside about half a cup for later as decorations!
2. **Make the Pudding Mixture**: In a large mixing bowl, beat together the **8 oz of softened cream cheese** until smooth. Gradually add the **4 cups of milk** and the **two packages of instant chocolate pudding mix**. Beat on medium speed until the mixture thickens, which should take about 3-5 minutes. Make sure to scrape down the sides of the bowl as needed to ensure even mixing.
3. **Fold in the Whipped Topping**: Gently fold in the **16 oz of Cool Whip** (or whipped topping) into the pudding mixture until well combined. This will give us that dreamy, fluffy texture that we love. Be careful not to deflate the whipped topping—use a spatula and a folding motion as you combine.
4. **Layer the Cake**: Grab your serving dish or a large glass bowl. Start by adding a layer of the crushed Oreos (the “dirt”) at the bottom, about one inch thick. Then, add a layer of the chocolate pudding mixture (about half the total amount) over the crushed cookies. Repeat this with another layer of Oreos, followed by the remaining pudding mixture. Finish off with a final layer of crushed Oreos on top to create the “dirt.”
5. **Decorate**: Now comes the fun part! Use the remaining crushed Oreos to sprinkle on top of the final layer. You can also add your **gummy worms** crawling out of the dirt and place **candy tombstones** strategically across the cake. Don’t be afraid to get creative; the more spooky decorations, the better!
6. **Chill and Serve**: Cover the cake with plastic wrap and refrigerate for at least 4 hours (or overnight, if possible). This allows the flavors to meld. When ready to serve, scoop out portions with a large spoon and watch the delighted expressions as your friends and family see your creepy creation.
Tips, Tricks & Variations
Creating your perfect Graveyard Dirt Cake can spark your creativity, and here are a few tips and tricks to consider:
– **Storage Tips**: Once prepared, this cake can be stored tightly covered in the refrigerator for up to 4 days. The flavors get better with time, so don’t hesitate to make it in advance!
– **Vegan Version**: Substitute dairy puddings with plant-based pudding mixes, vegan cream cheese, and coconut whipped cream for a delicious vegan alternative.
– **Adding Layers**: Feel free to get creative with flavors! Use vanilla pudding instead of chocolate or incorporate peanut butter into the cream cheese layer for a delightful twist.
– **Make it Spooky**: Consider using edible glitter, candy spiders, or Halloween-themed cookie decorations for a more theatrical presentation.
– **Serving Options**: This dessert can also be portioned into individual cups or jars for cute servings at parties or gatherings.
What to Serve With Graveyard Dirt Cake
A spooky dessert deserves an equally thrilling pairing! Here are some fun serving suggestions:
– **Witch’s Brew Punch**: A vibrant green or purple punch adds to the eerie atmosphere. You can delight guests with a mix of lemon-lime soda, lime sherbet, and grape juice for a refreshing drink.
– **Spooky Cheese Platter**: Pair your cake with a cheeseboard that includes dark cheeses and spooky toppings like dried figs and blackberries.
– **Pumpkin Spice Donuts**: These delightful treats will elevate the dessert tablescape while sticking with the fall theme.
Nutrition & Health Benefits
While Graveyard Dirt Cake might not win the title for healthiest dessert, here’s a quick look at what you’ll find nutritionally:
Each serving of this delightful dessert contains a blend of carbohydrates and sugars from the cookies and pudding, while the cream cheese adds some protein and fat. Depending on your ingredient choices (such as using reduced-fat cream cheese), you can lower calorie counts. Typically, one serving provides around 300-350 calories.
If you’re interested in health-related tips regarding desserts, check out this article on [Healthline](https://www.healthline.com/nutrition/healthy-desserts) for healthier alternatives and ideas.
Frequently Asked Questions
**1. Can I make Graveyard Dirt Cake ahead of time?**
Absolutely! In fact, it’s recommended to make it a day in advance to allow the flavors to blend and develop. Just make sure to cover it well in the refrigerator.
**2. Can I use different flavors of pudding?**
Certainly! While chocolate is traditional, vanilla or even pumpkin-flavored pudding can add a twist to this decadent dessert. Just adjust the crust depth accordingly for a cohesive look.
**3. What can I substitute for Oreos?**
If you’re looking for alternatives, any chocolate cookie can work, or try a gluten-free variant for dietary needs. In a pinch, crushed chocolate graham crackers can also create a delightful “dirt” base.
**4. How do I store leftovers?**
Cover the dessert tightly with plastic wrap or place it in an airtight container. It will last up to 4 days in the refrigerator, but be sure to enjoy your cake soon for the best taste and texture.
**5. Can I freeze Graveyard Dirt Cake?**
While you can freeze it, the texture of the whipped topping may not hold up well once thawed. If you plan to freeze it, consider freezing only the unassembled pudding and cookie layers, then assemble when ready to serve.
**6. How many servings does this recipe yield?**
This recipe will typically make about 12 servings, depending on your serving sizes. If you have a bigger crowd, consider doubling the recipe or using a larger dish.
**7. Can I use fresh ingredients as decorations?**
Feel free to experiment! Fresh strawberries or raspberries could offer a unique twist, and edible flowers can add a charming touch to your creepy creation—but remember to keep the Halloween theme!
**Conclusion**
There you have it—the delightful Graveyard Dirt Cake, an easy, no-bake Halloween dessert that’s sure to be a hit at any gathering. With its rich layers of chocolate pudding and crushed Oreo “dirt,” it not only tastes incredible but also serves as a playful centerpiece that evokes excitement and joy.
So gather your ingredients, summon your spooky spirit, and create this delightful treat for your friends and family. Once you’ve made your cake, be sure to snap a picture and share it! If you loved this recipe, I invite you to comment below or tag me on Instagram. Let’s make this Halloween filled with creepy-crawly fun and delicious memories!


