Prep time: 10 minutes
Cook time: 20 minutes
Total time: 30 minutes
Servings: 12 cookies
Indulging in a **delicious treat** doesn’t always mean spending hours in the kitchen. The Black Forest Cookie: Triple Chocolate Cherry Cookies brings you the classic flavors of the famous Black Forest cake—rich chocolate, tart cherries, and a hint of creaminess—all wrapped up in a soft, chewy cookie form. In just 30 minutes, you can have a warm batch of these delightful cookies ready to impress your family, friends, or even just yourself.
What Is Black Forest Cookie: Triple Chocolate Cherry Cookies in 30 Minutes?
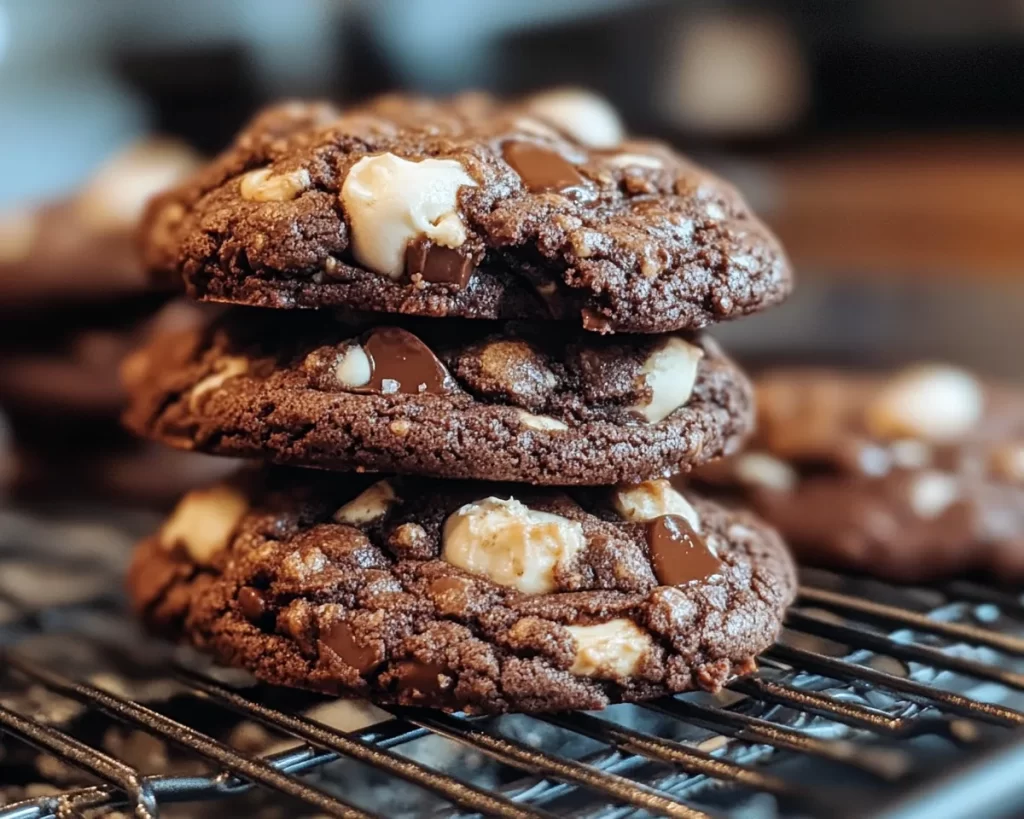
The Black Forest Cookie combines three types of chocolate—dark, milk, and white—into a single bite, creating a truly decadent experience. On top of that, the addition of dark, tart cherries gives a burst of flavor with every mouthful, perfectly balancing the sweetness. They are an easy-to-make treat that caters to busy individuals who still want to enjoy gourmet flavors without complicated techniques. Whether for a quick dessert after dinner or a sweet surprise for your lunchbox, these cookies are the answer.
Why You’ll Love This
You’re not just signing up for a cookie; you’re embracing a dessert experience packed with flavor and texture. These cookies are soft on the inside and slightly crisp on the outside, with chunks of chocolate melting in your mouth and cherries delivering a delightful tartness. They’re quick to whip up, making them the perfect choice for busy parents or beginner bakers looking to impress. Plus, the joy of creating something so indulgent in just half an hour is incredibly satisfying!
Ingredients You’ll Need
To make your own batch of Black Forest Cookies, gather the following ingredients:
- 1 cup unsalted butter, softened: This will give your cookies a rich flavor and tender texture.
- 1 cup granulated sugar: Adds sweetness and helps the cookies spread properly.
- 1 cup brown sugar: Contributes to the moistness and introduces a deeper flavor.
- 2 large eggs: Binds the ingredients and adds moisture.
- 2 teaspoons vanilla extract: Enhances the overall flavor profile of the cookies.
- 2 cups all-purpose flour: The primary structure of your cookies, providing the base.
- 1 cup cocoa powder: Adds deep chocolate flavor, making these cookies incredibly rich.
- 1 teaspoon baking soda: Acts as a leavening agent, ensuring your cookies rise perfectly.
- 1/2 teaspoon salt: Balances the sweetness and enhances the flavors.
- 1 cup dark chocolate chips: Melts into gooey pockets of chocolate.
- 1 cup milk chocolate chips: Adds a creamy sweetness to the cookie mix.
- 1 cup dried cherries: Provides a chewy texture and tartness that complements the chocolate beautifully.
How to Make
1. **Preheat your oven** to 350°F (175°C). This step is crucial for ensuring that your cookies bake evenly. While the oven heats, you can prepare your cookie dough.
2. In a large mixing bowl, **cream together the softened butter, granulated sugar, and brown sugar** until the mixture is light and fluffy. This typically takes about 3 to 5 minutes. The goal is to incorporate air into the mixture, which helps create a softer cookie.
3. **Add the eggs one at a time**, mixing well after each addition. Then stir in the vanilla extract. This will add flavor depth to your cookies. Make sure the eggs are at room temperature for a smoother blend.
4. In a separate bowl, **sift together the flour, cocoa powder, baking soda, and salt**. Sifting helps avoid clumps and ensures even distribution of the leavening agents, which is important for the cookie’s texture.
5. Gradually **add the dry ingredients** to the wet mixture, stirring until just combined. Overmixing at this step can lead to tough cookies, so stop as soon as everything is incorporated.
6. **Fold in the chocolate chips** and dried cherries gently. You want to ensure even distribution without breaking up the cherries. This step is where you get to mix in your favorite cookie add-ins, allowing for customization.
7. Using a cookie scoop or a tablespoon, **drop mounds of dough onto a lined baking sheet**, leaving enough space between them as they will spread while baking.
8. **Bake for 10-12 minutes**, or until the edges look set and the centers are slightly soft. Remember, they will firm up as they cool. Let the cookies cool on the baking sheet for a few minutes before transferring them to a wire rack to cool completely.
Variations & Substitutions
Dried Fruit Substitution: If you’re not a fan of cherries, you can easily substitute dried cranberries or even blueberries. Each will impart its unique flavor and tartness to the cookie, while still pairing nicely with the chocolate.
Nutty Addition: For those who appreciate a crunchy element, consider adding a cup of chopped nuts such as walnuts or pecans. This extra texture contrasts beautifully with the chewy cherries and melty chocolate.
Gluten-Free Alternative: To create a gluten-free version, swap out all-purpose flour for a gluten-free blend. Just ensure your cocoa powder is also certified gluten-free.
Vegan Option: To make these cookies vegan, substitute the eggs with flaxseed meal (1 tablespoon of flaxseed mixed with 2.5 tablespoons of water per egg), and use plant-based butter and chocolate chips. This way, you can enjoy the same delightful cookie without animal products.
Common Mistakes to Avoid
One common issue involves **overbaking the cookies**, leading to a dry texture. Always aim for soft centers, as they will continue to set while cooling. If the cookies seem too sticky when scooping, it may help to chill your dough for 15-20 minutes before baking.
Another mistake is measuring flour improperly; using a scoop can pack the flour down, resulting in drier cookies. Always spoon the flour into the measuring cup, then level off with a knife to ensure accuracy.
Lastly, remember that using **too much cocoa powder** can lead to a cookie that feels more like a brownie. Stick to the recipe’s proportion for that perfect chocolate balance.
Storage, Freezing & Reheating Tips
To keep your Black Forest Cookies fresh, store them in an airtight container at room temperature for up to a week. If you want to prolong their lifespan, consider freezing them. Place the cookies in a single layer in a freezer-safe container or bag, separating layers with parchment paper. They can be frozen for up to three months.
When you’re ready to enjoy, simply thaw them at room temperature or pop them in the microwave for a few seconds for that fresh-out-of-the-oven feel. Make sure to monitor them closely to prevent them from becoming too hot!
Frequently Asked Questions
Can I use fresh cherries instead of dried?
Using fresh cherries is certainly an option, but keep in mind they have higher moisture content and can alter the texture of your cookies. Ensure they are pitted and chopped, and consider reducing other liquid ingredients slightly to maintain the right consistency.
Why are my cookies flat?
Flat cookies are often a result of using too soft butter, not enough flour, or not chilling the dough before baking. Make sure your butter is softened to room temperature, but not melted. If the dough feels too soft or sticky, chill it for 30 minutes before baking.
Can I make the dough in advance?
Absolutely! You can prepare the dough and keep it in the refrigerator for up to 3 days before baking. This helps the flavors meld together, enhancing your cookies even more. Just remember to let the dough come to room temperature for easy scooping before baking.
How do I know when my cookies are done baking?
Look for cookies that have set edges but still appear slightly underbaked in the center. The cookies will continue to cook as they cool on the baking sheet, so pulling them out early helps keep that lovely chewy texture.
Are these cookies suitable for gifting?
Yes! These cookies are perfect for gifts and special occasions. You can package them beautifully in a festive box or jar, making a thoughtful gift for family or friends who appreciate homemade treats.
Conclusion: Embrace the easy joy of baking with these delectable Black Forest Cookies. With just a few simple ingredients and minimal time, you can whip up a batch that will have everyone coming back for more. Enjoy them fresh with a glass of milk or as part of a dessert platter at your next gathering!