Prep time: 30 minutes
Cook time: 45 minutes
Total time: 1 hour 15 minutes
Servings: 8
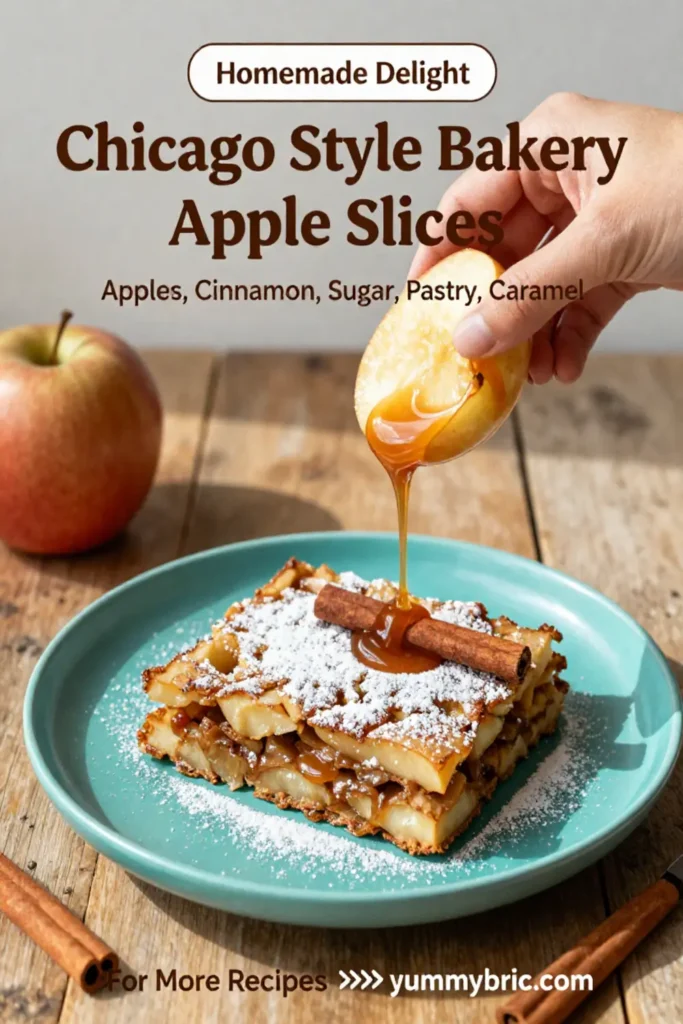
There’s nothing quite like a warm slice of **Chicago Style Bakery Apple Slices** to bring comfort to your home. These delicious pastry slices are bursting with freshly baked apples and cinnamon, perfect for dessert or even an afternoon snack. The flaky pastry pairs beautifully with the sweet, spiced apple filling, making it a crowd-pleaser. Let’s embark on a culinary journey to create this delightful treat that will make your kitchen smell heavenly.
What Is Chicago Style Bakery Apple Slices?
Chicago Style Bakery Apple Slices are a beloved dessert that combines a rich, flaky pastry crust with a sweet, tangy apple filling. Traditionally, these slices are made from fresh apples tossed in sugar and spice, all encased within buttery layers of pastry. The unique aspect of this recipe is its crisp texture on the outside, complemented by a tender and flavorful apple filling on the inside. This dessert is inspired by the classic treats found in the bustling bakeries of Chicago, where the focus is on quality ingredients and exceptional flavor.
Why You’ll Love This
There are countless reasons to love **Chicago Style Bakery Apple Slices**. For one, the recipe is relatively simple, making it accessible for both kitchen novices and seasoned bakers. The use of fresh ingredients ensures that each bite is packed with flavor and texture. The combination of sweet and tart apples, mixed with aromatic spices, creates a mouthwatering experience that tantalizes your taste buds. Additionally, these slices can be enjoyed warm out of the oven or at room temperature, making them perfect for any occasion, from family gatherings to cozy evenings at home.
Ingredients You’ll Need
- 2 cups of all-purpose flour: The foundation of the pastry crust that provides structure.
- 1 teaspoon of salt: Enhances the flavor of the pastry.
- 1 teaspoon of sugar: Balances the flavors in the crust.
- 1 cup of cold unsalted butter: Creates a flaky texture when baked.
- 6 cups of peeled and sliced apples: The star ingredient; Granny Smith apples are ideal for a balance of sweetness and tartness.
- 3/4 cup of granulated sugar: Sweetens the apple filling.
- 2 teaspoons of cinnamon: Adds warmth and spice to the filling.
- 1 tablespoon of lemon juice: Brightens the flavor of the apples.
- 1 tablespoon of cornstarch: Helps thicken the apple filling.
- 1 egg (for egg wash): Gives the pastry a golden finish.

How to Make
- Prepare the Pastry: In a large mixing bowl, combine the all-purpose flour, salt, and sugar. Cut the cold unsalted butter into small cubes and add it to the flour mixture. Using a pastry cutter or your fingers, mix until the mixture resembles coarse crumbs. Slowly add ice water, one tablespoon at a time, mixing until the dough comes together. Shape the dough into a disc, wrap it in plastic wrap, and refrigerate for at least 30 minutes.
- Make the Apple Filling: While the dough chills, peel, core, and slice the apples. In a large bowl, combine the sliced apples, granulated sugar, cinnamon, lemon juice, and cornstarch. Toss gently until the apples are well coated. Let the mixture sit for about 15 minutes to allow the flavors to meld.
- Roll Out the Dough: Preheat your oven to 375°F (190°C). Remove the chilled dough from the refrigerator and place it on a floured surface. Divide the dough in half. Roll out one half into a rectangle about 1/8-inch thick. Carefully transfer it to a greased baking sheet, letting the edges overhang.
- Fill the Pastry: Spoon the apple filling onto the rolled-out dough, spreading it evenly while leaving a 1-inch border around the edges. Roll out the second half of the dough the same way and gently place it over the apple filling.
- Seal and Cut: Press the edges of the dough together to seal the pastry. Use a knife to cut small slits in the top layer to allow steam to escape. Brush the top with a beaten egg to give it a beautiful golden color.
- Bake: Place the baking sheet in the preheated oven and bake for 35-45 minutes, or until the pastry is golden brown and the apple filling is bubbling. Keep an eye on the baking to ensure it doesn’t over-brown.
- Cool and Serve: Once out of the oven, let the pastry cool for at least 15 minutes. This allows the filling to set slightly. Cut into generous slices and serve warm, perhaps with a scoop of ice cream on the side for an extra touch of indulgence!
Variations & Substitutions
Caramel Apple Slices: For a twist on the traditional recipe, consider incorporating caramel into your filling. Simply drizzle some caramel sauce over the apple mixture before sealing the pastry. This will add a rich, sweet layer that pairs beautifully with the cinnamon-spiced apples.
Cherry-Almond Variation: If you want a change from apples, use fresh or frozen cherries instead. Mix in a teaspoon of almond extract to elevate the flavor profile. This combination contrasts tart cherries with sweet almonds, making for an equally delightful but different dessert.
Gluten-Free Version: For those with gluten sensitivities, substitute all-purpose flour with a gluten-free flour blend. Ensure your baking powder is also gluten-free. The texture might vary slightly, but the taste will remain delightful.
Vegan Option: To make this recipe vegan, replace the butter with a plant-based alternative and use a flax egg (1 tablespoon of ground flaxseed mixed with 2.5 tablespoons of water) instead of a traditional egg wash. This will maintain moisture while breaking down dietary barriers.
Common Mistakes to Avoid
Overworking the Dough: A common issue is over-kneading the pastry dough, which can lead to a tough texture rather than a flaky one. Aim to handle the dough minimally and avoid adding too much water.
Not Prepping Apples Properly: Make sure to slice the apples uniformly for even cooking. If they are too thick, they may not cook through, leading to a crunchy filling, while too thin might turn mushy.
Skipping the Chill: Don’t skip chilling the dough. It helps in achieving that crispy texture when baked. Room temperature butter with the mixture can lead to a dense pastry rather than a light and flaky one.
Ignoring the Steam Vents: Forgetting to cut slits in the top crust can cause the pastry to puff up excessively during baking and potentially burst. Those little cuts allow steam to escape, creating an even bake.
Storage, Freezing & Reheating Tips
For best results, store leftovers wrapped in plastic wrap or in an airtight container. They can be kept in the refrigerator for up to **3 days**. To maintain the pastry’s crispness, it’s advisable to reheat slices in the oven at 350°F (175°C) for about **10-15 minutes** until warm.
If you want to save some slices for later, these pastries can be frozen before baking. Assemble as directed, then wrap the unbaked slices tightly with plastic wrap and foil. Freeze for up to **3 months**. When ready to bake, simply extend the baking time by **10-15 minutes** to accommodate for the frozen state.
Frequently Asked Questions
Can I use other fruits instead of apples? Yes, you can experiment with other fruits such as pears or peaches. Just ensure you adjust the sugar levels according to the sweetness of the fruit you choose. For example, peaches might require less sugar than tart apples.
How do I know when the apples are cooked? You’ll know the apples are cooked when they are tender and the filling starts bubbling. Keep an eye on the golden color of the pastry as it is a good indicator that it’s close to being done.
Can I make this ahead of time? Absolutely! You can prepare the apple filling and dough a day in advance. Store them separately in the refrigerator. When you are ready to bake, assemble the slices and follow the baking instructions.
What can I serve with these apple slices? These delicious treats pair wonderfully with vanilla ice cream or a dollop of whipped cream. You can also serve them with a sprinkle of powdered sugar or a drizzle of caramel for extra sweetness.
Are Chicago Style Bakery Apple Slices difficult to make? Not at all! While they may seem daunting, this recipe is manageable for anyone, even if you’re new to baking. Just follow the steps closely, and you’ll be amazed at how easily they come together.
Conclusion: Baking **Chicago Style Bakery Apple Slices** is a rewarding experience that brings delightful flavors and textures to your table. With practice, you can master this recipe and impress your family and friends with delicious, home-baked goods. Enjoy the process, and savor every bite!