## Delightful Nun’s Puffs for Sweet Lovers
You know that feeling when you walk into a bakery and the sweet, intoxicating aroma of freshly baked goods envelops you like a warm hug? That’s exactly the sensation that Nun’s Puffs evoke—tiny, fluffy pastries that are not only delicious but also carry a charming story steeped in history. If you cherish the thrill of indulging in gourmet treats, join me as we dive into the delightful world of Nun’s Puffs. In this article, you’ll learn how to make these little mounds of sweetness at home, bringing that bakery experience right to your kitchen.
### What are Nun’s Puffs?
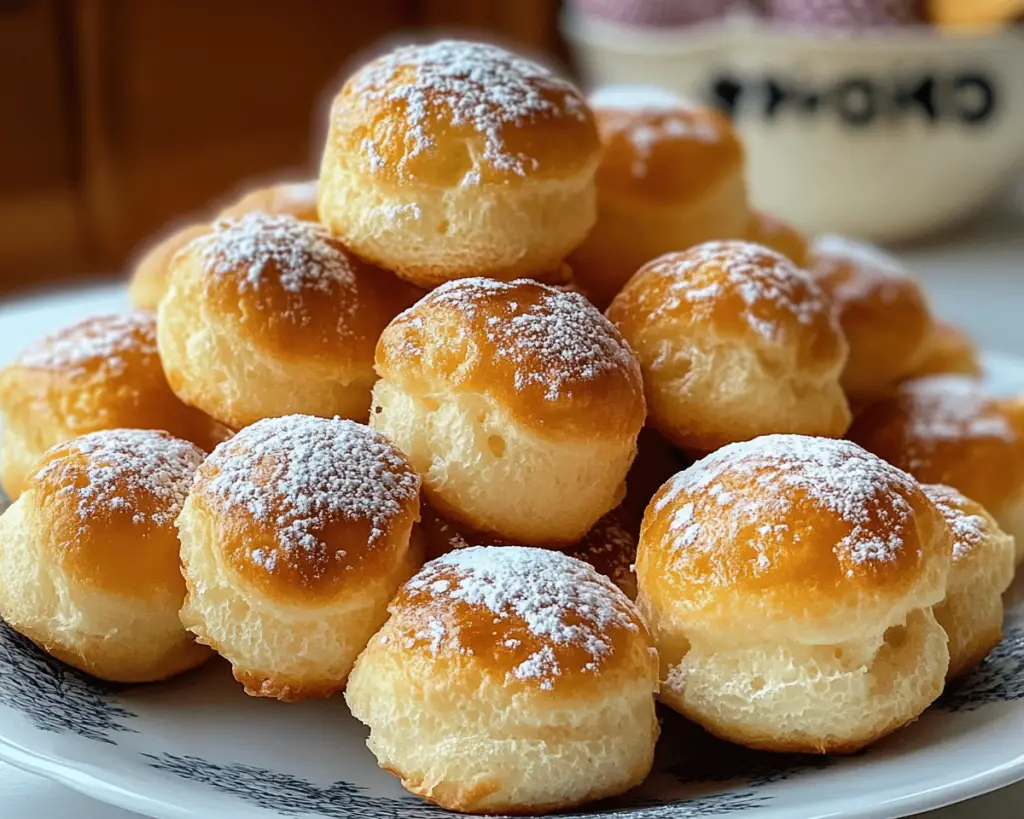
Nun’s Puffs are a traditional French pastry, often credited to the ingenuity of Generations of nuns who whipped up this divine treat. With their airy texture, reminiscent of a cream puff, these delightful pastries originate from the classic French recipe called *choux pastry*, a versatile dough made from flour, butter, and eggs. The magic in Nun’s Puffs lies in their combination of the light choux dough, which puffs up as it bakes, creating golden-brown, crispy edges that yield to a pillowy soft interior.
The flavors of Nun’s Puffs are modest yet intriguing—often infused with a hint of vanilla or orange zest, and sometimes dusted generously with powdered sugar once they’re out of the oven. People adore these charming puffs for their simplicity and the delightful contrast between their crunchy exterior and delicate, ethereal center.
### Why You’ll Love This Nun’s Puffs Recipe
What sets this Nun’s Puffs recipe apart is its sheer ease and finesse; you don’t need to be a master pastry chef to create these delectable confections. They come together quickly, making them perfect for both special occasions and casual snacking. Imagine hosting a brunch where these beauties are the star!
**Emotionally**, Nun’s Puffs bring back memories of gathering around the kitchen with family, sharing stories and laughter over sweet treats. **Practically**, they are budget-friendly, requiring only a handful of pantry staples. Plus, they’re fantastic for meal prep—make a batch one afternoon, and enjoy them throughout the week. Their lightness makes them the ideal sweet treat without the guilt!
### Ingredients You’ll Need
– **1 cup Water**: This will help create steam as they bake, giving the puffs their characteristic rise.
– **½ cup Unsalted Butter**: Adds richness and flavor; feel free to substitute with margarine for a dairy-free option.
– **1 cup All-Purpose Flour**: Gives structure to the puffs; using high-quality flour ensures the best texture.
– **4 Large Eggs**: Acts as a binder and provides lightness; room temperature eggs incorporate better.
– **1 tsp Vanilla Extract**: Enhances the overall flavor profile; you can replace it with almond extract for a nutty twist.
– **¼ tsp Salt**: Balances the sweetness and enhances overall flavor.
– **Powdered Sugar**: For dusting, an optional but beloved finishing touch.
– **Zest of 1 Orange**: This is optional but delightful for adding an aromatic citrus note.
### How to Make Nun’s Puffs
Now, let’s roll up our sleeves and get baking. Here’s a step-by-step guide to creating your own Nun’s Puffs.
1. **Prep Your Oven and Baking Sheet**: Start by preheating your oven to 400°F (200°C). Line a baking sheet with parchment paper, allowing the puffs to bake evenly and preventing sticking.
2. **Create the Dough**: In a medium saucepan, combine the water and unsalted butter. Place over medium heat until the butter is completely melted.
3. **Incorporate the Flour**: Once your butter and water are simmering, add the all-purpose flour and salt all at once. Stir vigorously with a wooden spoon until the mixture pulls away from the sides of the pan, about 2-3 minutes. The dough should form a ball, which means it’s ready!
4. **Add the Eggs**: Transfer the dough to a stand mixer and let it cool for a minute. Add the eggs one by one, mixing well after each addition until the dough is smooth and glossy. This step is crucial for achieving that perfect puff when baking.
5. **Flavor It Up**: Mix in the vanilla extract and optional orange zest, adjusting the flavors to your preference. You should smell the fragrant notes wafting from the mixer!
6. **Shape the Puffs**: Using a spoon or piping bag, dollop or pipe small mounds of dough onto the prepared baking sheet, spacing them about 2 inches apart. They will puff up significantly in the oven.
7. **Bake to Perfection**: Place the baking sheet in the preheated oven and bake for 20–25 minutes, or until the puffs are golden brown and have risen beautifully. Avoid opening the oven door while they bake, as the rush of cooler air can cause them to deflate.
8. **Dust with Sugar**: Once baked, remove the puffs from the oven and let them cool slightly before dusting with powdered sugar for a sweet finish.
### Tips, Tricks & Variations
1. **Storing Leftovers**: Nun’s Puffs are best enjoyed fresh, but you can store leftovers in an airtight container for up to 2 days. To refresh, pop them in a preheated oven for a few minutes to crisp them up again.
2. **Reheating**: If they lose their charm in texture, a brief time in the oven will revive that delightful puffiness.
3. **Spice Swaps**: **Experiment** with different flavorings! Try adding a pinch of cinnamon or nutmeg to the dough for warm notes, or enhance the vanilla with a splash of brandy or rum.
4. **Vegan Version**: Replace eggs with a mixture of ground flaxseed and water (1 tablespoon of flaxseed meal mixed with 2.5 tablespoons of water for one egg). It may alter the final texture slightly, but the puffs will still be delicious.
5. **Plating Ideas**: For an elegant touch, serve your Nun’s Puffs alongside a rich chocolate sauce or your favorite fruit compote for dipping. This adds a fabulous variation in taste and color to your presentation!
### What to Serve with Nun’s Puffs
Pair your Nun’s Puffs with a fragrant cup of coffee or a rich hot chocolate. Their light, airy texture contrasts beautifully with a creamy drink, elevating your midday snack or brunch. If you’re serving them for dessert, a scoop of vanilla ice cream or a dollop of whipped cream would elevate this indulgence even further.
For a gourmet twist, consider serving them with a side of fresh berries. The tartness of raspberries or strawberries beautifully complements the sweetness of the puffs, creating a colorful and vibrant plate.
### Nutrition & Health Benefits
While indulgent, Nun’s Puffs can be a surprising source of some nutrients. Each puff is a delightful treat that’s relatively low in calories (about 80 calories each, depending on the size). They are also a good source of energy, thanks to the carbohydrates from the flour, and provide a bit of protein from the eggs. Remember that moderation is key! Treat yourself to a couple of these beauties and savor every bite. You can learn more about nutrition and health benefits from credible sources like Healthline.
### Frequently Asked Questions
1. **Can I make Nun’s Puffs ahead of time?**
Yes, you can make the dough in advance and store it in the fridge for up to 24 hours. Just remember to let it come back to room temperature before baking.
2. **Can I freeze Nun’s Puffs?**
Absolutely! You can freeze them after baking. Just ensure they cool completely, then place them in an airtight container or freezer bag for up to 2 months. Reheat them in the oven when you’re ready to enjoy.
3. **What if my Nun’s Puffs don’t rise?**
This can happen if the dough wasn’t cooked long enough over heat before adding the eggs, or if the oven wasn’t hot enough. Ensuring you allow enough steam during baking is crucial!
4. **How can I make my Nun’s Puffs more decadent?**
Consider filling them with a rich cream or custard after baking for a luxurious twist. Chocolate ganache would also make a delightful filling.
5. **Are there gluten-free options for this recipe?**
Yes! You can use gluten-free all-purpose flour as a substitute. Ensure the flour blend contains xanthan gum or add some for that perfect texture.
### Conclusion
There you have it—delightful Nun’s Puffs that will transform your kitchen into a cozy haven filled with heavenly aromas. Whether you choose to indulge solo or share with loved ones, each bite is a testament to the simple joys that homemade pastries bring. So roll up your sleeves and whip up a batch tonight; you won’t regret it! If you loved this recipe, leave a comment or tag me on Instagram—I can’t wait to see your creations!


