**Prep time:** 5 minutes
**Cook time:** 0 minutes
**Total time:** 5 minutes
**Servings:** Makes enough icing for about 24 standard cookies
If you’re looking to elevate your sugar cookies, you’ve come to the right place! This Easy Glace Icing (Sugar Cookie Icing) is the perfect topping to bring your cookies to life with a glossy finish and delicious sweetness. Glaze icing is not only stunning to look at but also surprisingly simple to make. Whether you’re preparing for a holiday party, a birthday celebration, or just a quiet afternoon bake with the kids, this icing will take your sugar cookies from ordinary to extraordinary in just a few minutes.
What makes this icing special? Unlike buttercream, glace icing is poured over the cookies, creating a smooth, shiny surface that hardens slightly, allowing you to stack your cookies without worrying about smudges. Plus, it’s a versatile recipe – you can easily customize the flavors and colors to match any occasion. In this article, you’ll learn everything about creating the perfect glace icing, including tips, tricks, and variations to suit your taste.
What Is Glace Icing?
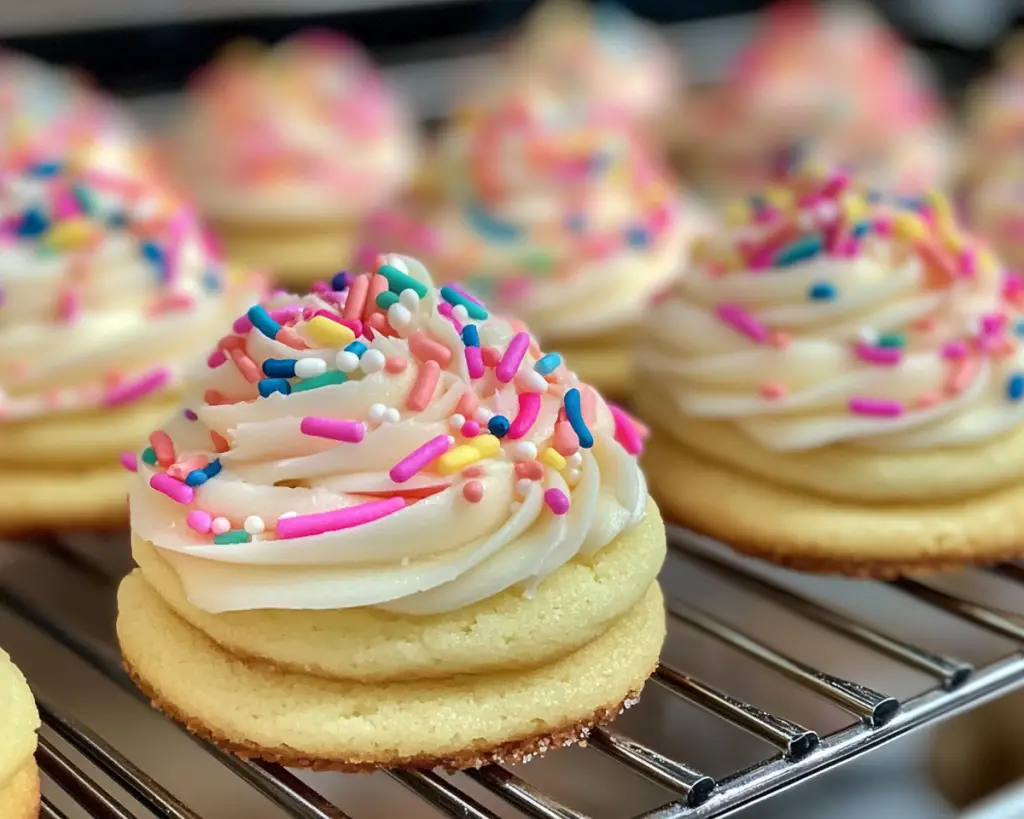
Glace icing is a simple method of icing usually made from powdered sugar and water or milk. This shiny icing is often used for decorating sugar cookies, adding a nice sheen and a lovely sweetness that pairs perfectly with the buttery flavor of the cookies. Originally, the French perfected this technique, and glacé means “glazed” in French, which is exactly how it looks once applied.
The texture of glace icing is smooth and semi-thick, allowing it to drizzle over cookies effortlessly while holding its shape. It sets up as it cools, forming a slight crust that’s ideal for stacking cookies or adding decorations without fear of a messy situation. The balance of sweetness and simplicity makes it a go-to choice for many bakers.
One of the best features of glace icing is its versatility. You can add various flavorings or colors to suit your preference. For instance, using vanilla extract adds warmth, while almond extract brings a lovely nutty undertone. Plus, when it comes to colors, you can easily achieve vibrant shades with food dyes — perfect for festive occasions!
Why You’ll Love This Glace Icing
There are plenty of reasons to love this Easy Glace Icing! First, it’s incredibly easy to whip up. Within just a few minutes, you can have a shiny and appealing icing ready to go. No complex techniques or special tools needed; just a bowl and a whisk will do the trick. You can also make this icing in bulk, which is especially useful for cookie-decorating parties or busy seasons when everyone is baking up a storm.
Another positive feature of glace icing is its cost-effectiveness. With just a few pantry staples like powdered sugar, water, and any desired flavorings, you’re set! You won’t need to shell out for specialty cake shops or professional cake decorators when you can create beautiful cookies at home.
Lastly, this icing is remarkably customizable. You can alter the thickness by adding more liquid for a glaze or reducing liquids for a thicker icing. The choice to use natural flavorings or extracts allows you to create something that matches your taste buds perfectly. Plus, it sets up quickly, allowing for fast decorating and enjoyment.
Now, let’s get into what you’ll need to make this gorgeous icing.
Ingredients You’ll Need
– **Powdered Sugar (2 cups):** This is the main ingredient for making your icing. It creates the smooth texture and sweetness. Substitute with a sugar-free powdered sweetener for a low-calorie option if necessary.
– **Milk or Water (3-4 tablespoons):** This is your liquid to dissolve the powdered sugar. Water will give you a lighter icing, while milk adds a richness. You can also use plant-based milk like almond or coconut for a dairy-free version.
– **Vanilla Extract (1 teaspoon):** This adds a classic flavor that makes every cookie delightful. Feel free to experiment with other extracts, such as almond or lemon, for a twist.
– **Food Coloring (optional):** Use gel food coloring for the best results. A little goes a long way, and the colors can be easily mixed to achieve the desired shade.
– **Corn Syrup (optional):** A tablespoon or two of corn syrup will give your icing a beautiful shine and help it to set.
These ingredients are typically easy to find in most grocery stores, and if you happen to have a well-stocked pantry, you may already have them on hand.
How to Make Glace Icing
1. **Prepare Your Ingredients:** Begin by gathering your powdered sugar, milk or water, vanilla extract, and any optional ingredients. Make sure your workspace is clean and organized for a smooth icing process.
2. **Combine powdered sugar and liquid:** In a medium-sized bowl, add 2 cups of powdered sugar. Gradually add 3 tablespoons of milk or water. Start with the lower amount, as you can always add more if needed.
3. **Mix until smooth:** Use a whisk or a spatula to stir the ingredients together. Mix until there are no lumps and the mixture is silky smooth. You want a consistency resembling a thick syrup – not too runny but easily pourable.
4. **Add extracts and color:** Once the icing is smooth, incorporate your vanilla extract for flavor. If you’re adding color, do so at this stage; remember to start with a few drops of gel food coloring and mix thoroughly until you achieve your desired shade.
5. **Adjust consistency:** If your icing is too thick, add a spoon of water or milk, one teaspoon at a time until you reach the desired consistency. If it’s too thin, sprinkle in more powdered sugar until thickened.
6. **Use immediately:** Once your icing is the perfect consistency, you can use it straight away. Pour it over your cooled sugar cookies, letting it drizzle down the sides for a beautiful finish.
7. **Let it set:** Allow your cookies to sit at room temperature for at least 30 minutes, or until the icing dries to a hard finish. If you’re in a hurry, you can pop them in the refrigerator for a shorter setting time.
Now you’re ready to enjoy your beautifully iced sugar cookies! Easy peasy, right?
5 Variations & Substitutions
1. **Chocolate Glace Icing:** To take your icing to the next level, melt 2 tablespoons of unsweetened cocoa powder into the liquid before mixing. This will provide a rich, chocolatey flavor that pairs well with vanilla sugar cookies and is perfect for chocolate lovers.
2. **Lemon Glaze:** Substitute the vanilla extract with fresh lemon juice for a zesty icing option. This adds a refreshing flavor contrast that brightens the sweetness of the sugar cookies and is a wonderful choice for spring and summer baking.
3. **Spiced Icing:** For a seasonal twist, incorporate spices like cinnamon or nutmeg into your icing. A teaspoon of cinnamon will make your icing perfect for autumn or holiday-themed cookies—simply whisk together the powdered sugar, a splash of milk, and the spice for a unique flavor.
4. **Colorful Royal Icing:** If you’re looking to decorate cookies similar to what you would with royal icing but want a simpler recipe, incorporate meringue powder (about 1 tablespoon) into the icing. This will give you a stiffer icing that holds its shape better for piping decorations.
5. **Dairy-Free Option:** Substitute the cow’s milk with any plant-based milk, such as almond, oat, or soy milk. This makes the icing suitable for vegans or those who have lactose intolerance while maintaining its creamy texture.
Common Mistakes to Avoid
Before you dive into icing those cookies, here are some common pitfalls to be aware of when making glaze icing:
– **Using hot liquid:** It’s crucial to remember to use room temperature liquid when combining with powdered sugar. Hot liquid can cause the icing to become too runny, and you won’t achieve that lovely, glossy finish.
– **Too thick icing:** While it’s essential for the icing to be thick enough to drizzle, overly thick icing can come off as clumpy and be challenging to spread. If this happens, just add a little more liquid to fix it. Start with a small amount and mix well.
– **Not letting cookies cool before icing:** Ensure your cookies are completely cooled before applying the icing. Warm cookies can cause the icing to melt and run, leading to a messy situation that you’ll want to avoid.
– **Ignoring setting time:** Once you’ve decorated, resist the urge to handle the cookies immediately. Giving them time to dry allows the icing to harden properly. If you’re in a hurry, try refrigerating them for about 15 minutes to speed up the setting process.
– **Using regular sugar instead of powdered sugar:** Regular granulated sugar does not dissolve well in liquids, which will lead to a gritty texture rather than the smooth surface you desire. Always use powdered sugar (also known as confectioners’ sugar) for the best results.
Storage, Freezing & Reheating Tips
If you happen to have leftover icing or want to prepare it in advance, here’s what to do for effective storage:
– **Storage:** Glace icing can be stored in an airtight container at room temperature for up to two days. If you keep it in the fridge, be mindful that it may harden; return it to room temperature and whisk before using again.
– **Freezing Icing:** You can freeze glace icing by placing it in a well-sealed container or freezer bag. It will last for about two months. To use, thaw in the refrigerator overnight and then let it sit at room temperature. Whisk to restore its consistency before icing.
– **Handling cookies:** Once iced cookies have set, you can store them in an airtight container at room temperature for up to a week. If you stack them, consider placing parchment paper between layers to avoid sticking.
Frequently Asked Questions
1. **Can I use this icing for other desserts?**
Absolutely! Glace icing works beautifully for various desserts besides sugar cookies. Use it to ice brownies, cakes, or even pour it over donuts for a sweet glaze.
2. **How can I make my icing more vibrant?**
When adding food coloring, use gel food coloring rather than liquid. Gel food colorings are more concentrated and allow you to achieve intense, vibrant hues without thinning your icing.
3. **Why is my icing grainy?**
If your icing is grainy, it’s likely due to the powdered sugar not being sifted before use. Always sift your powdered sugar to remove lumps and achieve a silky-smooth consistency.
4. **Can I flavor the icing?**
Yes! You can flavor glaze icing using any extracts, spices, or citrus juice like lemon or orange. Just remember to adjust the liquid amount accordingly to maintain the proper consistency.
5. **Can I decorate with this icing?**
Glace icing can be piped onto cookies, but it might not hold intricate shapes as well as royal icing. If you want to create designs, ensure your icing is on the thicker side, or consider adding corn syrup for more stability.
In conclusion, making Easy Glace Icing for your sugar cookies doesn’t have to be a daunting task. With just a few simple ingredients and minimal effort, you can create a fabulous topping that not only enhances the cookie’s flavor but also adds visual appeal. Don’t hesitate to get creative with flavors and colors to personalize your icing – it’s a chance to truly make your cookies unique!
So roll up your sleeves, gather your ingredients, and get ready to whip up a batch of lovely iced sugar cookies that you can proudly share at your next gathering—or simply enjoy all on your own. Happy baking!


