Prep time: 20 minutes
Cook time: 40 minutes
Total time: 1 hour
Servings: 8
There’s something nostalgic and comforting about the aroma of a freshly baked pie that fills your home. Maybe it transports you back to your grandmother’s kitchen, where each slice was crafted with love and a little secret that made it extraordinary. *Grandma’s Perfect Pie Crust Recipe* stands out not merely for its flakiness or golden hue, but for the cherished memories woven into every bite. Learning to make a pie crust this perfect is not just about the taste; it’s about the experience, the stories, and the pride that comes with baking.
In this article, you’ll not only discover how to create a crust that is as versatile as it is delicious but also learn essential tips, variations, and troubleshooting guide to make your baking experience enjoyable and successful. Whether you’re a busy parent looking to craft a quick dessert, a beginner eager to impress at your next gathering, or simply someone who loves the art of cooking, this recipe will serve you well. So, let’s roll up our sleeves and get started!
What Is Grandma’s Perfect Pie Crust Recipe?
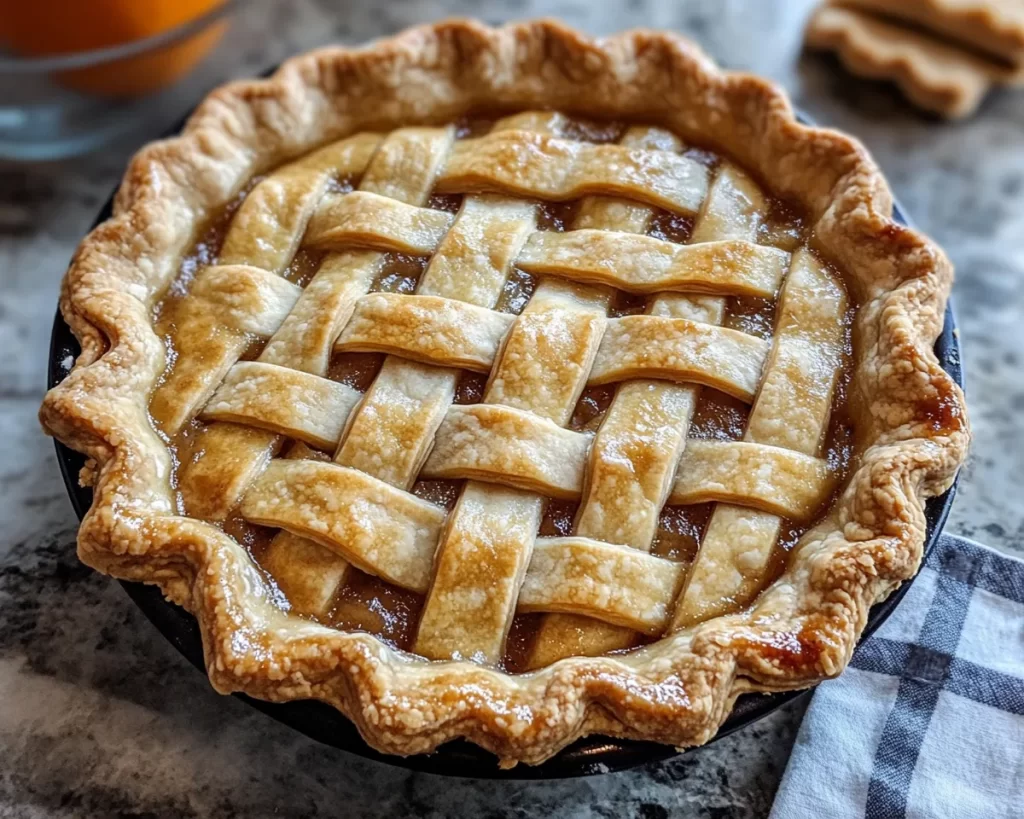
Grandma’s Perfect Pie Crust Recipe is a traditional method often passed down through generations. This pie crust is celebrated for its flaky and buttery texture, which provides the ideal base for both sweet and savory fillings. The use of just a few simple ingredients creates a delightful, melt-in-your-mouth experience. Typically, the crust comprises flour, butter, and a pinch of salt, combined with just enough water to bring it together.
What truly sets this recipe apart is the technique—mixing in cold butter, handling the dough minimally, and allowing it to rest, which helps develop the perfect texture. The crust comes out golden and crisp, offering a beautiful contrast to creamy or fruity fillings. It’s not just a crust; it’s a canvas for your favorite fillings, and it’s versatile enough to suit a range of flavors from tart cherry to rich custard. A well-prepared pie crust can elevate even the simplest of fillings into a show-stopping dessert.
Why You’ll Love This
There are many reasons to adore Grandma’s Perfect Pie Crust Recipe. To begin with, its simple ingredients make it an economical choice for home bakers. You’re likely to have flour, salt, and butter on hand, keeping your grocery list minimal. Despite its simplicity, the flavor and texture of this pie crust are anything but basic. The buttery richness complements virtually any filling, while the homemade aspect adds a special touch that store-bought crusts simply cannot compete with.
One common misconception is that pie crusts are difficult to make and should be avoided by beginners. In reality, this recipe is designed to be user-friendly while still yielding professional results. A few tips and tricks will ensure your success. For example, avoid overworking the dough to maintain the flakiness, and always use cold ingredients—this prevents the butter from melting before baking, which helps generate that signature flaky texture when baked. Each bite will speak volumes, making you the baking star of your family gatherings.
Ingredients You’ll Need
To embark on this delightful pie-making journey, gather the following ingredients:
- All-purpose flour: The base of the crust gives structure. For a gluten-free option, consider using a 1:1 gluten-free flour blend.
- Cold unsalted butter: Provides richness and flavor. Ensure it’s cold to achieve that perfect flakiness. You can substitute with vegetable shortening or coconut oil for a dairy-free option.
- Granulated sugar: While optional, a tablespoon of sugar can enhance flavor, especially in sweet pies.
- Salt: Balances the sweetness and enhances flavor. Kosher salt is commonly used as it dissolves easily.
- Ice water: Helps bring the dough together without warming the butter. Always use very cold water.
Each ingredient plays a crucial role in bringing this recipe to life. The flour is your foundation, while the butter delivers that luxurious tenderness. Sugar and salt amplify the flavors, making each bite unforgettable.
How to Make
Creating this pie crust is a process that anyone, regardless of skill level, can master. Here’s your step-by-step guide:
- Start by preparing your work surface. Clean a spacious countertop or use a large mixing bowl. Sift all-purpose flour into a bowl, adding in salt and, if desired, sugar to enhance flavor. Mix these dry ingredients thoroughly.
- Next, cut your cold unsalted butter into small cubes, about half an inch thick. If you prefer, you can also use a food processor for this step. Add the butter cubes to the flour mixture, and use your fingers or a pastry cutter to rub the butter into the flour until the mixture resembles coarse crumbs with small pea-sized bits of butter remaining.
- Once the butter is properly incorporated, gradually add the ice water one tablespoon at a time. Mix gently with a fork or your hands until the dough comes together. Be cautious not to add too much water; the dough should be slightly shaggy yet hold its shape when pressed.
- When the dough reaches the right consistency, shape it into a disc, wrap it in plastic wrap, and refrigerate for at least one hour. This step is crucial; resting helps relax the gluten, preventing the crust from shrinking during baking.
- After chilling, on a flour-dusted surface, roll out the dough to about 1/8-inch thick. Use a rolling pin and apply even pressure, being careful not to stretch the dough too much. The goal is to maintain its integrity while creating a shape large enough for your pie pan.
- Gently transfer the rolled-out dough into your pie pan by rolling it onto the pin and unloading it into the pan. Press the dough into the edges and trim any excess, leaving about an inch of overhang for crimping.
- Crimp the edges for a great presentation using your fingers or a fork. If your recipe requires a pre-baked crust, pierce the bottom with a fork to avoid bubbling. Bake as per your pie recipe’s instructions.
Baking your pie crust to golden perfection is an art, and with these clear steps, you’re well on your way. Each stage allows bakers to express their creativity, and before you know it, you’ll be proudly serving your homemade pie to eager family and friends.
Variations & Substitutions
Whole Wheat Crust: For a healthier version, you can substitute half or all of the all-purpose flour with whole wheat flour. This will give a nutty flavor and a denser texture. Even though it may not be quite as flaky, the added nutrients will be a welcome benefit!
Gluten-Free Crust: Need a gluten-free option? Try using a gluten-free flour blend that’s intended for baking. It’s essential to follow the package instructions for moisture as gluten-free flour can behave differently. You might also consider adding a tablespoon of xanthan gum to help improve the texture and elasticity.
Dairy-Free Option: If you’re aiming for a dairy-free crust, replace the cold butter with coconut oil or a plant-based butter alternative. Coconut oil will lend a subtle coconut flavor, which can be delightful in sweet pies, while margarine or other substitutes provide a more neutral option.
Herb-Infused Crust: To elevate savory pies, consider adding some finely chopped fresh herbs such as rosemary or thyme into the flour mixture. This will infuse a delightful aroma and meaningfully enrich the flavor of savory fillings, making every bite even more delightful.
Each of these variations allows for delicious creativity. Don’t hesitate to experiment and find the version that suits your tables best!
Common Mistakes to Avoid
Making a pie crust can be straightforward, but several pitfalls can lead to disappointment. Here are some of the most common mistakes and how to avoid them:
Overworking the Dough: One of the most critical missteps is overworking the dough. This can result in a tough crust that lacks the delicate flakiness you desire. When mixing, aim for just enough action to combine the ingredients, and when rolling out, use gentle, even pressure.
Using Warm Ingredients: Another frequent error is using warm butter or room-temperature water. Cold ingredients are key to achieving that perfect texture. Make sure to chill all ingredients beforehand, including your mixing bowl if you can.
Not Chilling the Dough: Skipping the resting period is a common mistake that can lead to shrinking or a tough crust. Allowing the dough to chill helps the gluten relax, making it easier to roll out and maintaining its shape during baking.
Be aware of these hurdles as you prepare your crust, and you’ll be one step closer to mastering this essential kitchen skill.
Storage, Freezing & Reheating Tips
If you’ve baked more crusts than you can use immediately, don’t worry! Storing and freezing them is a great way to maintain freshness.
To store a baked pie crust, allow it to cool to room temperature before covering it tightly with plastic wrap. Keep it in an airtight container in the refrigerator for up to five days. If you want to store it even longer, unbaked dough can be frozen. Just wrap it tightly in plastic wrap and then place it into a zip-top freezer bag. It can remain frozen for up to three months.
When you’re ready to bake the frozen dough, simply take it out of the freezer and let it thaw in the refrigerator overnight. Aim to bake the crust directly from the refrigerator to avoid any mess or hassle. If you’re using a frozen baked crust, it can be reheated in a 350°F oven for about 10-15 minutes, until warmed through. Always ensure that food safety standards are followed to avoid any contamination.
Frequently Asked Questions
Can I make the pie crust ahead of time?
Absolutely! You can prepare the dough ahead of time and store it in the refrigerator for up to three days. Alternatively, you can freeze it for up to three months. Just remember to follow the thawing instructions before rolling it out.
Why does my pie crust shrink during baking?
Shrinking often occurs due to overworking the dough or not allowing it enough time to chill. Ensure that you’re handling the dough gently and giving it a proper resting period before baking.
Can I use a different type of flour?
While all-purpose flour is standard, you can experiment with options like whole wheat flour or gluten-free blends. Keep in mind, each type of flour will affect the texture and flavor of your crust.
Why is my crust tough?
A tough crust is commonly caused by overworking the dough or using too much water. Try to mix only until combined and keep the water just enough to bring the dough together.
Can I use margarine instead of butter?
Yes, you can use margarine as a substitute for butter. However, the taste and texture may differ slightly. For the best results, use a high-fat margarine to maintain flakiness.
Conclusion:
This recipe for Grandma’s Perfect Pie Crust is a beautiful blend of tradition, simplicity, and deliciousness. With a few minutes of prep time, you’ll craft something that not only tastes amazing but also brings families and friends together over a shared love of homemade meals. Whether you try it with sweet fruits, custard, or savory fillings, you’re sure to create memories that last a lifetime. Don’t wait any longer; gather your ingredients, roll up your sleeves, and dive into this rewarding cooking experience. Happy baking!