Prep time: 20 minutes
Cook time: 20 minutes
Total time: 40 minutes
Servings: 24 cookies
When you’re in the mood for a delightful treat that melts in your mouth, look no further than these Melt-In-Your-Mouth Cream Cheese Snowball Cookies. Their tender texture and rich flavor make them irresistible, perfect for any occasion. These cookies offer the perfect blend of sweetness and creaminess, ideal for sharing with family and friends, or indulging yourself on a cozy evening at home.
What Is Melt-In-Your-Mouth Cream Cheese Snowball Cookies?
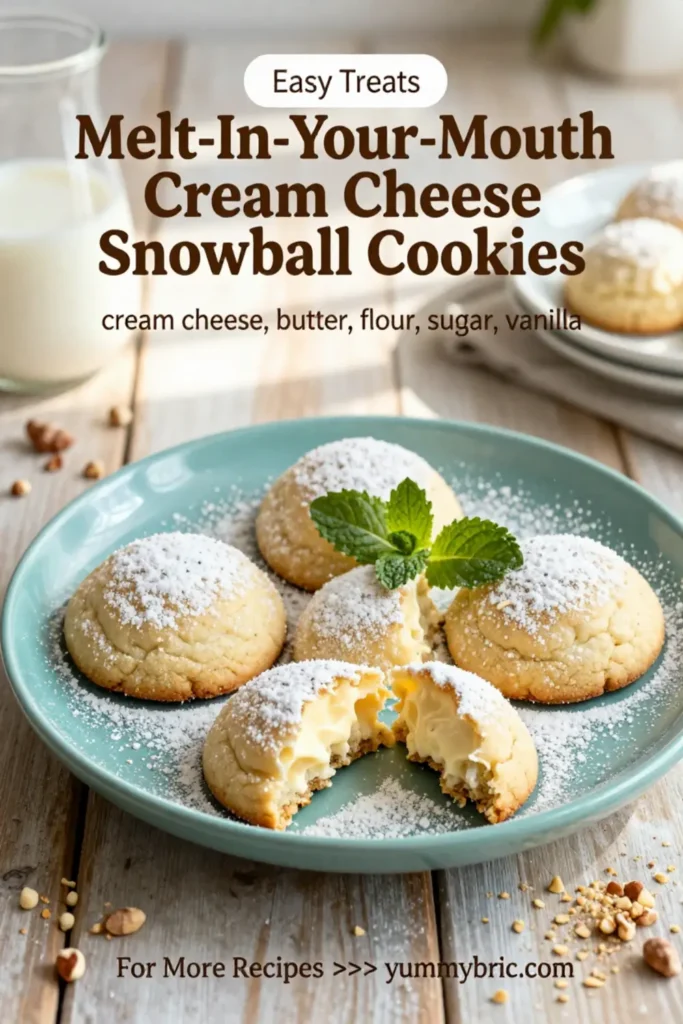
Melt-In-Your-Mouth Cream Cheese Snowball Cookies are delightful confections that are soft, tender, and loaded with flavor. They are known for their rich cream cheese base, which adds an incredible creaminess to the texture, making each bite blissfully satisfying. Traditionally made in a snowy, round shape and dusted with powdered sugar, these cookies are often associated with the winter season and festive gatherings. However, they’re perfect for any time of year, bringing a touch of sweetness to everyday moments.
Why You’ll Love This
This cookie recipe isn’t just about flavor; it’s designed with convenience in mind. The rich, velvety texture paired with simple ingredients makes them a hit with busy families and novice bakers alike. You can whip them up in no time, making them an excellent choice for busy weeknights or as a last-minute addition to a holiday cookie tray. With their unique blend of cream cheese, nuts, and butter, you can expect an exquisite flavor that everyone will love. Plus, they are easily customizable, making it fun to create your own signature version.
Ingredients You’ll Need
- 1 cup of unsalted butter – Provides richness and moisture.
- 8 oz cream cheese, softened – Adds a rich, creamy texture and flavor.
- 1/2 cup of powdered sugar – Sweetens the cookies and contributes to the melt-in-your-mouth quality.
- 1 teaspoon vanilla extract – Introduces a lovely aromatic flavor that complements the sweetness.
- 2 cups all-purpose flour – The base ingredient that gives structure to the cookies.
- 1/2 cup of chopped nuts (walnuts or pecans) – Adds a delightful crunch and nutty flavor.
- Additional powdered sugar for dusting – Adds that snowy appearance and sweetness.

How to Make
- Begin by preheating your oven to 350°F (175°C). This step ensures that your cookies bake evenly and achieve that perfect golden color.
- In a large mixing bowl, beat together the unsalted butter and cream cheese until creamy and well-combined. This might take about 2 to 3 minutes with an electric mixer at medium speed. You want it to be fluffy and light.
- Gradually add in the powdered sugar and vanilla extract, mixing until thoroughly incorporated. The mixture should be smooth and slightly thicker, indicating that the sugar has dissolved well and added sweetness.
- Slowly mix in the all-purpose flour until just combined. Take care not to overmix at this stage; you want to create a tender dough that remains light.
- Gently fold in the chopped nuts. This step introduces texture and flavor, creating lovely little bursts of nuttiness throughout the cookie.
- Using a small cookie scoop or your hands, shape the dough into 1-inch balls and place them on a parchment-lined baking sheet. Leave about 2 inches between each cookie to allow for spreading during baking.
- Bake in the preheated oven for 18 to 20 minutes or until the edges are lightly golden and the center remains soft. You’re looking for a slight puffed appearance; they will firm up as they cool.
- Remove the cookies from the oven and let them cool on the baking sheet for about 5 minutes. This brief resting period allows them to set before moving them to a wire rack to cool completely.
- While the cookies are still warm, dust them generously with additional powdered sugar to give them that signature snowball appearance, enhancing both their visual appeal and sweetness.
Variations & Substitutions
Chocolate Chip Cream Cheese Snowball Cookies
If you’re looking for a variation that introduces a little extra chocolatey goodness, you can fold in a cup of mini chocolate chips instead of or in addition to the chopped nuts. This variation will add a delightful sweetness and a contrasting rich flavor.
Pistachio Snowball Cookies
For a nutty and slightly savory touch, replace the chopped nuts with finely chopped pistachios. This not only changes the flavor profile but also adds a lovely pop of color to your cookies, making them visually stunning and unique.
Gluten-Free Version
To create a gluten-free version, substitute the all-purpose flour with a gluten-free baking blend. Just ensure that your blend contains xanthan gum, which helps in achieving a similar texture to all-purpose flour.
Lemon Zest Version
For a refreshing citrus twist, add the zest of one lemon to the dough. The bright, tangy flavor will balance the richness of the cream cheese beautifully, creating a vibrant cookie perfect for springtime celebrations.
Common Mistakes to Avoid
When preparing your Melt-In-Your-Mouth Cream Cheese Snowball Cookies, one common mistake is not allowing the butter and cream cheese to soften adequately. This can lead to a dense texture and prevent the cookies from achieving that melt-in-your-mouth quality. Always ensure they are at room temperature before starting.
Another mistake is overbaking. These cookies should remain soft in the center, and overbaking can result in a hard texture rather than the tender cookie you desire. Keep an eye on them during the last few minutes of baking, and remember they will continue to cook slightly after being removed from the oven.
Lastly, failing to cool the cookies on the baking sheet can lead to them falling apart or becoming misshaped. Always let them rest on the sheet for a few minutes to set before transferring them to a wire rack.
Storage, Freezing & Reheating Tips
For optimal freshness, store your Melt-In-Your-Mouth Cream Cheese Snowball Cookies in an airtight container at room temperature. They will remain fresh for up to five days. If you want to keep them longer, you can freeze them. Place the cookies in a single layer on a baking sheet until frozen solid, then transfer them to an airtight container or freezer bag for up to three months.
When you’re ready to enjoy them, you can thaw the cookies at room temperature or warm them slightly in the microwave for 10-15 seconds. If you plan to reheat, leave off the additional powdered sugar until after they’ve warmed to maintain that fresh sweetness.
Frequently Asked Questions
Can I use light cream cheese instead of regular cream cheese?
Using light cream cheese is an option; however, it may result in a slightly different texture since light cream cheese contains more water. The cookies might not be as rich and could spread a bit more than desired, so it’s best to use regular cream cheese for that classic melt-in-your-mouth experience.
Can I make the dough ahead of time?
Absolutely! You can prepare the cookie dough and refrigerate it for up to 2 days. Just make sure to wrap it tightly in plastic wrap. When you’re ready to bake, simply form the dough into balls and bake as directed, adding a couple of extra minutes if the dough is cold.
Are there any nut-free options for this recipe?
Yes! You can easily omit the nuts altogether if you’re cooking for someone with nut allergies or simply prefer a nut-free version. If desired, you can add more chocolate chips or try incorporating dried fruits for added texture.
How should I serve the cookies?
These cookies are delightful served at room temperature or slightly warm. They make an excellent addition to any dessert table during gatherings or a cozy night in. Pair them with tea or coffee for a delightful treat anytime!
Can I use alternative sweeteners in this recipe?
Certainly! If you are looking for healthier options, you can try using coconut sugar or other natural sweeteners. Do keep in mind the texture may vary slightly depending on the sweetener selected, so experiment to find what works best for you!
Conclusion: These Melt-In-Your-Mouth Cream Cheese Snowball Cookies are not only easy to make but also incredibly satisfying, offering a unique treat for every occasion. With their tender texture and rich flavor, they’ll quickly become a go-to recipe in your baking repertoire. Enjoy making and sharing them with your loved ones; they’re sure to bring smiles and sweet moments!