Prep time: 20 minutes
Cook time: 30 minutes
Total time: 50 minutes
Servings: 12 servings
Experience the joyful delight of celebrating love with a stunning Pink Funfetti Cake, the ultimate indulgence for Valentine’s Day! There’s something undeniably special about a dessert that combines delightful colors, sweet sprinkles, and delightful memories. This cake not only has stunning aesthetics but also a rich flavor, making it an absolute winner whether you are hosting a romantic dinner or a festive get-together with family and friends. The simplicity of creating a whimsical, colorful cake allows even novice bakers to shine in the kitchen, and this recipe breaks down all the necessary steps for success.
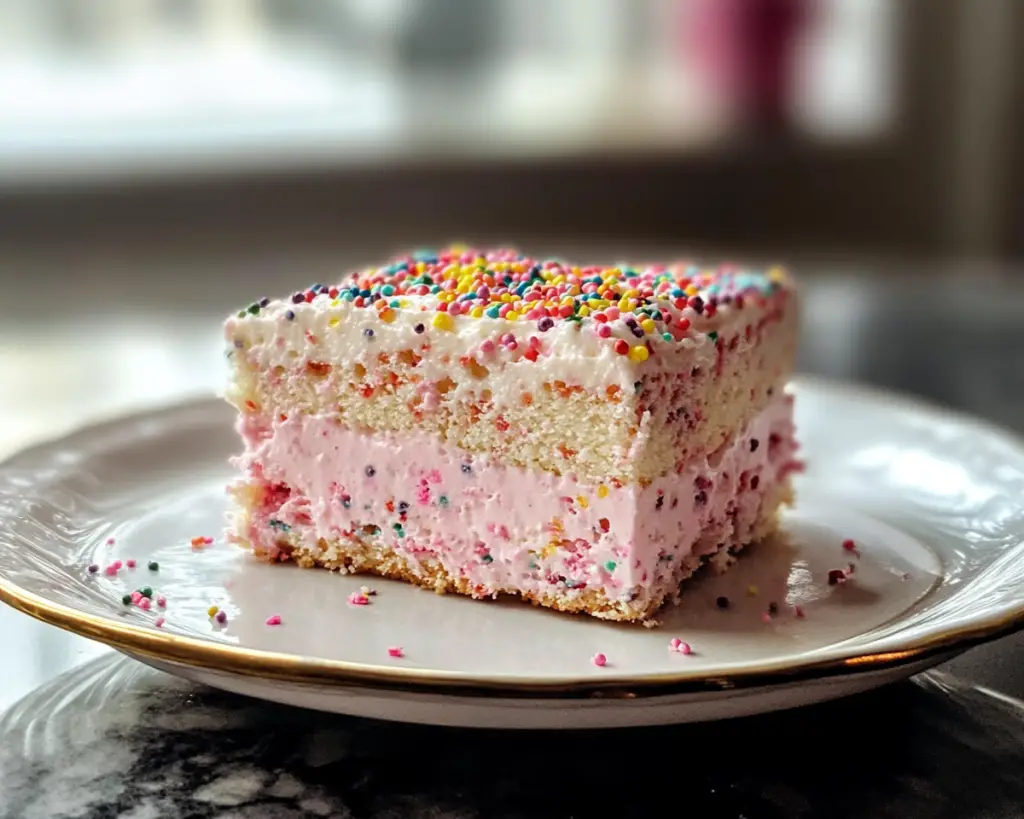
The vibrant pink hue, created by using a combination of rich red food coloring and simple cake mix, greets you warmly as you slice into it. The tender, fluffy cake layered with **whipped cream frosting** and topped off with a shower of sweet rainbow sprinkles creates a dessert that is visually appealing as well as delicious. You’ll find that making this treat doesn’t require complicated techniques or exotic ingredients, making it a wonderful option for busy parents or anyone looking to craft a delightful dessert without spending all day in the kitchen.
What follows will guide you through an easy-to-follow step-by-step process for making this delightful Pink Funfetti Cake, unravel simple yet effective techniques, and offer some fun variations to customize this cake to your unique taste. Prepare for deliciousness as we dive into making this dessert that will steal hearts and make memories!
What Is Pink Funfetti Cake Recipe Easy Valentine’s Day Dessert Idea?
The Pink Funfetti Cake is a festive twist on a classic dessert, combining traditional funfetti cake flavors with a beautiful pink presentation, perfect for Valentine’s Day celebrations. This cake originated as a whimsical treat, featuring flecks of colorful sprinkles baked right into the batter. These sweet bursts of flavor delight everyone with each slice.
The **texture** of this cake is *light and fluffy*, while the addition of sprinkles provides an unexpectedly pleasant crunch. Each bite melts in your mouth, bringing a combination of sweetness and nostalgia. The pink color not only makes this cake visually appealing but also contributes to its festive spirit, perfect for celebrating love and joy. A slice of this cake will make your heart sing not only because of its vibrant appearance but also its delectable flavor profile that dances between light vanilla and sprinkles.
Moreover, making this cake doesn’t require extensive baking knowledge, making it accessible to beginners and seasoned bakers alike. Utilizing a boxed cake mix simplifies the process while leaving room for personalized touches. This cake is versatile, and whether you choose to pair it with classic buttercream frosting or a fluffy whipped cream, you will find satisfaction in creating a dessert that defines celebration.
Why You’ll Love This
The Pink Funfetti Cake will steal your heart for numerous reasons! First and foremost is its **delectable taste**—the sweet vanilla combined with the playful crunch of sprinkles creates a delightful celebration of flavors. This cake brings back the joy of childhood birthdays, making it a nostalgic dessert that appeals to people of all ages.
The ease of making this cake is another key benefit. Using a boxed cake mix means that you won’t have to worry about measuring out flour or sugar, allowing you to focus on the fun aspects of baking—with sprinkles and a lively pink hue stealing the show! Not to mention, the whipping cream frosting enhances the overall experience, offering a creamy contrast to the light cake.
Additionally, this cake is cost-effective, making it a budget-friendly option that doesn’t compromise on fun. Whether you’re planning a grand party or simply want to make a lovely dessert at home, this cake fits the bill. Finally, this recipe is incredibly versatile, allowing you to make delicious adaptations based on your dietary choices or flavor preferences, such as using gluten-free flour or vegan alternatives.
However, some people may think that cakes made from boxed mixes lack flavor, but that is far from the truth. With the addition of high-quality ingredients and your personal touch, you can create a cake that is not just visually stunning but is also bursting with flavor. So, whether you’re baking from scratch or using a mix, rest assured that with a little creativity, you can transform this cake into a memorable dessert experience.
Ingredients You’ll Need
- 1 box of vanilla cake mix: The base of your cake; it provides a sweet vanilla flavor and fluffy texture.
- 1 cup of milk: This adds moisture to your cake, ensuring it stays soft and tender.
- 1/2 cup of vegetable oil: This fat helps keep your cake moist and adds richness.
- 3 large eggs: Eggs are essential for binding the ingredients together and adding structure.
- 1-2 tablespoons of red food coloring: This gives the cake its signature pink hue; adjust based on your desired shade.
- 1 cup of rainbow sprinkles: For a festive touch; make sure to use sprinkles that are suitable for baking.
- 1 cup of heavy whipping cream: This will be whipped into a fluffy frosting that complements the cake beautifully.
- 1/2 cup of powdered sugar: Sweetens the whipped cream frosting.
- 1 teaspoon of vanilla extract: Enhances the flavor profile of the whipped cream.
These ingredients come together to create a cake that is not only beautiful but richly flavored and oh-so-indulgent. You can easily substitute ingredients based on dietary needs. For example, you can opt for almond milk instead of cow’s milk for a dairy-free version, or egg substitutes like flaxseed meal or applesauce for a vegan option.
How to Make
Making the Pink Funfetti Cake is a straightforward process that will leave you with an incredible dessert. Follow this step-by-step guide to ensure success.
- Preheat your oven to 350°F (175°C). As the oven warms up, prepare your baking pans. Grease and lightly flour two 9-inch round cake pans or line them with parchment paper to prevent sticking.
- In a mixing bowl, combine the vanilla cake mix, milk, vegetable oil, and eggs. Mix on medium speed for about two minutes until the batter is smooth and creamy. It’s important not to over-mix; you want to maintain the cake’s airy texture, so stop mixing once all ingredients are well-blended.
- Now for the fun part! Add the red food coloring to the batter while mixing until you reach your desired pink shade. You can adjust the color based on your preference, just remember that the cake will bake slightly lighter than its raw state.
- Gently fold in the rainbow sprinkles using a spatula. Be gentle to prevent the sprinkles from breaking apart or bleeding into the batter. This step gives your cake that playful funfetti touch.
- Distribute the batter evenly between the two prepared cake pans. Give them a gentle jiggle to level the batter out before placing them in the oven. Bake for 25-30 minutes, or until a toothpick inserted in the center comes out clean. The tops should also spring back when lightly touched.
- Once baked, remove the cakes from the oven and let them cool in the pans for about 10-15 minutes. After that, carefully transfer the cakes to a wire rack to cool completely. Cooling is essential to ensure that the frosting, which will be added later, doesn’t melt and become runny.
- While your cakes cool, prepare the frosting. In a clean mixing bowl, pour the heavy whipping cream and add the powdered sugar and vanilla extract. Whip the mixture at medium-high speed until soft peaks form. Be careful not to overwhip, as it can become grainy. This will take around 4-5 minutes.
- Once your cakes are completely cool, place one layer on your serving plate. Use a spatula to spread a generous layer of whipped cream frosting on top of the first cake layer. You can choose to add more sprinkles at this stage for added decoration.
- Carefully place the second layer on top, sandwiching the frosting between the layers. Now, cover the entire cake with the remaining whipped cream frosting. You can smooth it out or create beautiful swirls—whichever you prefer!
- Finally, decorate the top of your cake with additional rainbow sprinkles, as many as your heart desires! It adds that vibrant finish and brings smiles to both kids and adults.
And there you have it! Your Pink Funfetti Cake is ready to be sliced and served. You’ll love the joy and excitement that comes from creating such a colorful and delicious dessert!
Variations & Substitutions
Gluten-Free Version: To make this cake gluten-free, use a gluten-free vanilla cake mix instead of a traditional one. Simply follow the same instructions provided. This way, those with gluten sensitivities or celiac disease can enjoy this delightful treat without feeling left out. Just double-check that the sprinkles you are using are also gluten-free, as not all brands are.
Vegan Funfetti Cake: If you’re looking for a vegan adaptation, you can replace the eggs with 1/4 cup of unsweetened applesauce for each egg. Substitute the milk with plant-based alternatives, such as almond or oat milk. To achieve that lovely fluffy frosting, use coconut cream instead of heavy whipping cream, and whip it similarly with the powdered sugar and vanilla for a delightful topping that aligns with your plant-based diet.
Chocolate Pink Funfetti Cake: For a chocolate twist, incorporate cocoa powder into your cake mix by reducing the cake mix to 2 cups and adding 1/3 cup of cocoa powder. This will provide a rich chocolate flavor while still keeping the funfetti theme intact with the pink coloring and sprinkles.
Layered Pink Funfetti Cheesecake: Combine the funfetti cake with a cheesecake layer. Simply swirl a cheesecake batter made of cream cheese, eggs, sugar, and vanilla extract into the cake batter before baking. This will create a fun twist where every slice contains creamy cheesecake alongside fluffy cake.
These variations empower you to bring your unique preferences to the forefront, making this Pink Funfetti Cake a versatile treat for every occasion. Experiment and make this recipe your own!
Common Mistakes to Avoid
One common mistake many new bakers make is not properly greasing their pans. Always make sure to grease and flour your baking pans—this will prevent your cakes from sticking, which can lead to frustrating outcomes. If you find that sticking does happen despite your efforts, you can run a knife around the edges to help release the cake.
Another error lies in the mixing phase; over-mixing your batter can result in a dense cake. Always mix until combined and be cautious when folding in ingredients like sprinkles—not to break them apart. If you do end up over-mixing, don’t panic! The cake will still be enjoyable, just denser than intended.
Lastly, be cautious with your baking time. Always keep an eye on your cake as it approaches the recommended baking time, as oven temperatures can vary. The toothpick test is your best friend here: the toothpick should come out clean, indicating your cake is ready to come out of the oven.
Storage, Freezing & Reheating Tips
Storing your Pink Funfetti Cake correctly will help maintain its freshness. Once the cake is completely cooled, cover it loosely with plastic wrap or aluminum foil to avoid drying out. The cake can remain fresh at room temperature for up to three days.
If you want to extend its lifespan, consider freezing. To do this, wrap the cake tightly in plastic wrap followed by aluminum foil to prevent freezer burn. It can be kept in the freezer for up to three months. When you’re ready to enjoy it, transfer the cake to the refrigerator the night before to thaw slowly.
If you have leftover frosting, store it in an airtight container in the refrigerator for up to a week. When it’s time to serve, you can re-whip it if necessary to restore its fluffiness. Avoid reheating the cake in the microwave, as this can make it overly dense. Instead, it is best served cold or at room temperature.
Frequently Asked Questions
Can I use a homemade cake mix instead of a boxed mix?
Yes, you can absolutely use a homemade cake mix. Many bakers enjoy the flavor and quality of scrupulously measuring their ingredients and creating a cake from scratch. Just ensure to maintain the correct proportions for a successful cake.
How do I fix a sunken center?
A sunken center is mainly caused by overmixing or under-baking. If you find that your cake has sunk in the middle, it could also be that it was taken out of the oven too early. Always do the toothpick test to ensure it’s fully baked before removing it from the oven.
What type of sprinkles can I use?
While any colorful sprinkles will work, it’s best to use sprinkles that are labeled as “baking sprinkles.” These are less likely to bleed or melt into your batter than regular decorations, especially when baked.
How can I enhance the pink color?
To enhance the pink color, simply add more red food coloring. Although it’s important to add incrementally, as the cake will bake slightly lighter than the batter appears. Test a tiny amount before adding, ensuring you get the pink hue you desire.
Can I make this cake ahead of time?
Absolutely! You can prepare the cake layers in advance and store them separately wrapped in plastic wrap. Frosting can also be made ahead of time and stored in an airtight container. When you’re ready to serve, just assemble the cake!
Conclusion:
In summary, the Pink Funfetti Cake is everything you want in a celebratory dessert. From the delightful aesthetic to the ease of preparation and various fun variations, this cake is a keeper. With the ability to customize and adjust, you can transform this cake into an expression of your taste. So grab those ingredients, get your loved ones involved, and create a stunning masterpiece that is sure to charm everyone at your gathering. Everyone will appreciate your effort both visually and in flavor! Don’t forget to share your delightful creation with family and friends—baking is best enjoyed together!


