**Meta Title:** Smashing Patty Melts with Signature Sauce Recipe
**Meta Description:** Discover how to make juicy, cheesy smashing patty melts with a signature sauce. Perfect for a quick dinner or family meal!
—
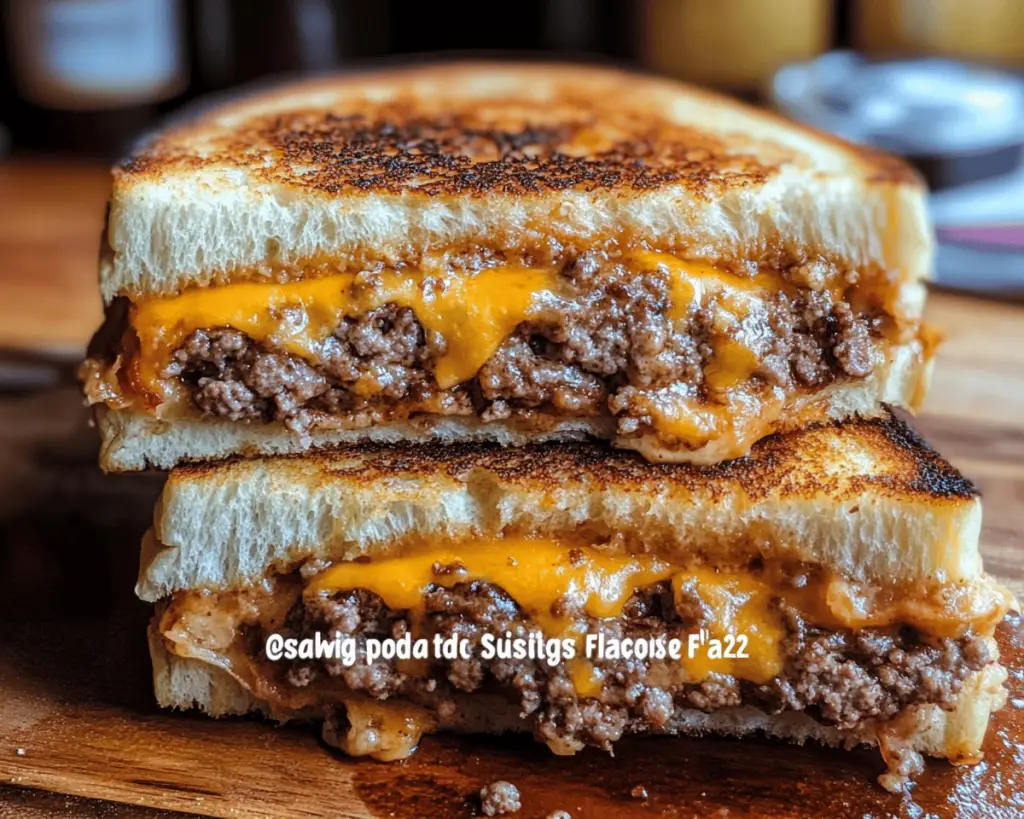
There’s something undeniably comforting about biting into a freshly made patty melt: the juicy, seasoned beef; the melted cheese; and that perfectly crispy, buttery bread. It’s a meal that conjures up memories of cozy diners and late-night cravings. If you’ve ever searched for the ultimate comfort food that melds savory and cheesy in every bite, you’re in for a treat with these smashing patty melts with signature sauce.
What makes this dish so special? Imagine succulent beef patties generously topped with ooey-gooey cheese, nestled between grilled bread that creates a delightful crunch every time you take a bite. And let’s not forget about our signature sauce, which adds a fantastic flavor punch to the melty goodness! Join me as we whip up this delicious recipe that’s destined to be a hit at your next family dinner or casual gathering.
—
What is a Smashing Patty Melt?
A **patty melt** is a classic American sandwich made by combining a burger with the comforting layers of a grilled cheese sandwich — it truly is the best of both worlds! This dish usually consists of a beef patty (or two!) topped with cheese and sautéed onions, grilled between two slices of bread until golden brown. The combination of textures—crispy on the outside and soft on the inside—creates an experience that’s genuinely hard to resist.
At the heart of a fantastic patty melt lies its **juiciness, flavor, and cheese pull**. We’re enhancing the experience with our signature sauce that will take these melts to the next level. Whether you opt for classic American cheese, sharp cheddar, or a combination of your favorites, you’ll be met with that divine melding of flavors.
Patty melts not only offer a satisfying taste but also evoke feelings of nostalgia, harkening back to diners from the ’50s and ’60s—places that served up comfort and joy on a plate. What’s more, this dish isn’t just tasty; it’s also a versatile choice for gatherings or quick weeknight dinners!
—
Why You’ll Love This Smashing Patty Melt Recipe
– **Comforting and Nutritious**: This dish combines proteins and dairy, packing a delicious punch with each bite—perfect for those busy weeknights.
– **Quick and Easy**: In under 30 minutes, you can whip up these savory delights—a meal that fits right into our fast-paced lives!
– **Customizable**: Choose your favorite cheese, add veggies, or switch up the sauces to personalize the experience to your taste.
– **Family-Friendly**: Kids and adults alike will enjoy these melty, cheesy delights, making them a go-to for family meals or parties.
– **Perfect for Leftovers**: If you have any patties or sauce left over, they can easily be reheated for an easy lunch option the next day.
– **Irresistible Sauce**: The signature sauce we’re making adds depth and an unforgettable flavor boost that’s sure to impress everyone at your table.
– **Great for Meal Prep**: These patties can be prepared in advance and stored, making dinner a breeze on hectic nights.
—
Ingredients You’ll Need
Here’s everything you’ll need to create your smashing patty melts with signature sauce:
– **For the Patty Melts**
– 1 lb ground beef (80/20 is ideal for juiciness)
– Use lean ground beef for a healthier option, but a higher fat content gives that perfect melt-in-your-mouth experience.
– 6 slices of cheese (American, Swiss, or cheddar)
– Feel free to mix and match your favorite cheeses!
– 4 slices of rye or sourdough bread
– Choose a rustic bread for extra flavor, or use classic white for nostalgia.
– 1 large onion, thinly sliced
– Sautéed onions will add sweetness and depth to your melts.
– 2 tbsp unsalted butter
– Butter gives the bread that marvelous golden crust when grilled.
– **For the Signature Sauce**
– ½ cup mayonnaise
– Creaminess is key for an exceptional sauce.
– 1 tbsp ketchup
– Adds a hint of tang.
– 1 tbsp Dijon mustard
– For a kick of flavor that pairs perfectly with beef.
– 1 tsp garlic powder
– 1 tsp onion powder
– Salt and pepper to taste
Each ingredient plays a crucial role in creating the unique flavor profile that sets these smashing patty melts apart!
—
How to Make Smashing Patty Melts
Ready to dive into cooking these smashing patty melts? Follow these simple steps for a delightful meal:
1. **Prepare the Signature Sauce**: In a bowl, combine the mayonnaise, ketchup, Dijon mustard, garlic powder, onion powder, salt, and pepper. Mix well and taste test to adjust the seasoning. Set it aside so the flavors can meld together while you cook the patties.
2. **Cook the Onions**: In a skillet over medium heat, melt 1 tablespoon of butter. Add the thinly sliced onions and sauté for about 10-12 minutes until they are caramelized and golden brown. Stir occasionally to avoid burning and ensure even cooking. Once done, set them aside on a plate.
3. **Form the Patties**: While the onions are cooking, shape the ground beef into 4 equal patties, slightly larger than the bread slices—remember, they’ll shrink as they cook. Season both sides generously with salt and pepper.
4. **Cook the Beef Patties**: In the same skillet, add the remaining tablespoon of butter over medium-high heat. Place the beef patties in the skillet, cooking for 3-4 minutes on each side, until they are cooked through and reach your desired doneness. In the final minute of cooking, place a slice of cheese on each patty and cover the skillet to help the cheese melt beautifully.
5. **Assemble the Patty Melts**: On one slice of bread, spread a generous amount of the signature sauce, place a patty with melted cheese, top with a spoonful of sautéed onions, and finish with another slice of bread. Repeat this for each melt.
6. **Grill to Perfection**: Wipe down the skillet and return it to medium heat. Add a little more butter if needed, then grill the assembled sandwiches for about 3-4 minutes per side, or until the bread is golden brown and crispy. Don’t forget to press the sandwich down slightly with a spatula to get the perfect crisp!
7. **Serve it Up**: Once nicely toasted, remove the patty melts from the skillet. Let them cool for a minute before slicing in half to reveal that delicious, cheesy inside.
—
Expert Tips, Tricks & Variations
– **Make Ahead**: If you’re meal prepping, cook the patties and onions ahead of time. Assemble and grill them fresh for the best texture and flavor!
– **Customize Your Cheese**: Try different cheese combinations for a unique taste. Pepper jack offers a spicy kick, while gooey mozzarella creates an extra stretchy bite.
– **Add Extra Veggies**: For a more wholesome melt, add sautéed mushrooms, spinach, or even jalapeños for some heat.
– **Perfectly Toasted Bread**: For an extra crispy exterior, spread a thin layer of mayo on the bread before grilling instead of butter—it will give you fantastic flavor and texture!
– **Unique Sauces**: Change up the sauce! Consider adding sriracha for a spicy kick or a splash of Worcestershire sauce for extra depth.
—
What to Serve With Smashing Patty Melts
To balance out your smashing patty melts, consider serving them with:
– **Golden Fries**: Classic french fries or sweet potato fries that add crunch. Serve them with a side of your favorite dipping sauce.
– **Coleslaw**: A tangy, crunchy coleslaw can provide a refreshing contrast to the richness of the melts.
– **Pickles or Pickled Veggies**: Serve with tangy pickles or quick-pickled veggies for an added crunch.
– **Tomato Soup**: For a twist on comfort food, serve your melts with a warm bowl of creamy tomato soup for dipping
—
Storage, Freezing & Meal Prep
If you find yourself with leftovers, here’s how to store them:
– **Refrigerate**: Place any leftover patty melts in an airtight container and store them in the fridge for up to 3 days. When you’re ready to enjoy them, simply reheat on a skillet over low heat until warmed through.
– **Freezing**: You can freeze the cooked patties individually on a baking sheet, then transfer them to a freezer bag for up to 3 months. When you’re ready to eat, reheat directly from frozen in the oven or skillet.
– **Meal Prep**: Prepare the patties and signature sauce a day beforehand for quick assembly during the busy week. Just grill them fresh when you’re ready for a meal!
—
Frequently Asked Questions
**1. Can I use turkey or chicken instead of beef?**
Absolutely! Ground turkey or chicken can be substituted for a lighter option, but be sure to season it well, as it tends to be dryer than beef.
**2. How do I know when my patties are cooked perfectly?**
Use a meat thermometer to check doneness; 160°F is typically the safe temperature for ground meat. If you prefer your burgers medium, aim for 140°F.
**3. What’s a good side for my patty melts?**
In addition to fries and coleslaw, consider a green salad with a light vinaigrette for a refreshing dish that complements the richness of the melts.
**4. Can I make the sauce vegan?**
Definitely! Replace mayonnaise with a vegan alternative, like avocado or cashew cream, and you’ll have a delicious vegan version of the sauce.
**5. How should I store extra sauce?**
Store any leftover signature sauce in an airtight container in the fridge. It can last up to a week, perfect for dipping or spreading on sandwiches!
—
Now it’s your turn—grab your ingredients and create this magic in your kitchen tonight! Whether it’s a weeknight dinner or a weekend feast, these smashing patty melts with signature sauce are sure to become a family favorite. Tag me when you try it—you won’t regret it!