Prep time: 15 minutes
Cook time: 30 minutes
Total time: 45 minutes
Servings: 8 slices
Spring is an enchanting season that often inspires creativity and celebration. What better way to embrace this vibrant time of year than with a stunning dessert? The **Spring Cakes: Pastel Ombre Layer Cake** is not only visually captivating, but it also bursts with flavor and sweetness, making it perfect for any gathering, from birthday parties to elegant tea times. Best of all, you can create this delightful cake in just 45 minutes!
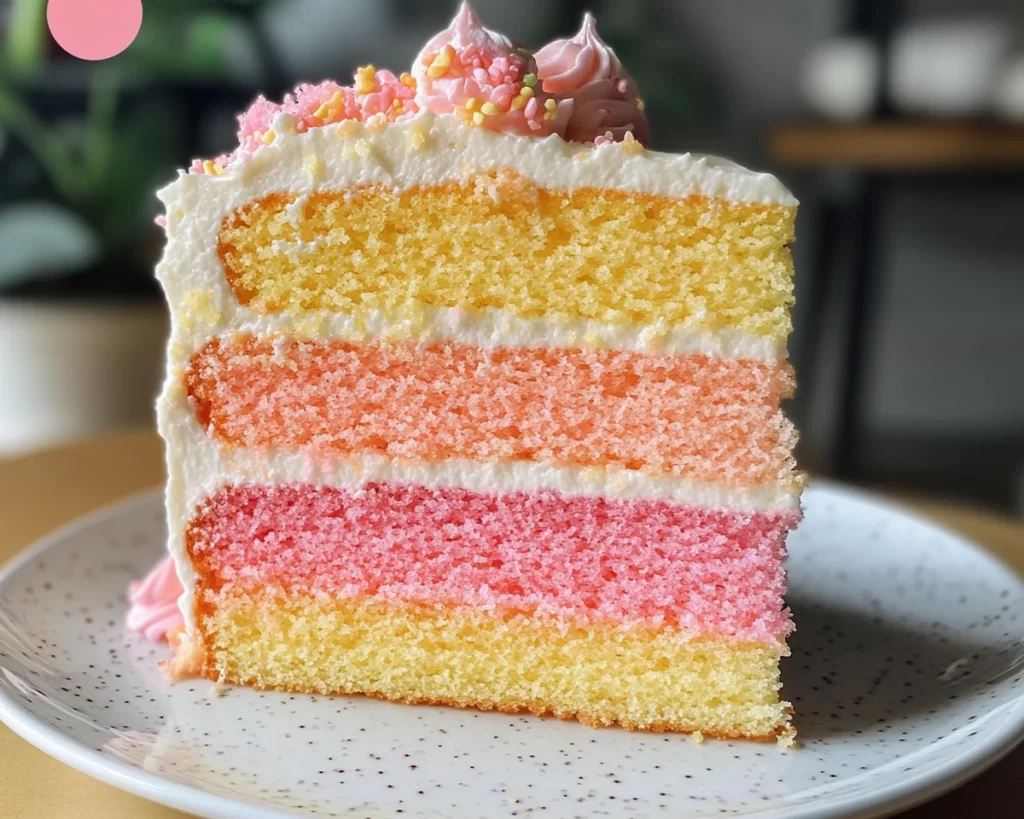
This cake features layers of soft and moist cake, delicately tinted in soft pastel colors that transition from one hue to another, reminiscent of blooming flowers. The combination of flavors and textures will have your guests eagerly reaching for seconds, making it a splendid centerpiece for any occasion.
What Is Spring Cakes: Pastel Ombre Layer Cake in 45 Minutes?
Spring Cakes: Pastel Ombre Layer Cake is a layered cake that showcases a gradient of pastel colors, offering a stunning visual. Each layer is perfectly baked to deliver a light, fluffy texture, complemented by a rich and creamy frosting that holds everything together. This cake embodies the essence of spring—fresh, vibrant, and full of life.
The beauty of this cake lies not only in its colors but also in its ease of preparation. In under an hour, both novice bakers and seasoned chefs can whip up this treat that looks professionally made.
Why You’ll Love This
There are countless reasons to adore this Spring Cake. Firstly, it’s incredibly versatile; you can personalize the cake’s flavors and colors to match any theme or celebration. You will delight your guests with a taste that speaks of fresh ingredients and creativity.
Additionally, the pastel ombre design is simple and forgiving, making it enjoyable to decorate without the stress of perfection. This cake is perfect for busy parents or kitchen beginners who wish to impress without an extensive baking background. Moreover, it’s a fantastic project for family bonding or a fun weekend activity.
Ingredients You’ll Need
Here’s a list of ingredients required to create this beautiful cake, along with explanations for each:
- 2 cups all-purpose flour: Forms the base of the cake, providing structure.
- 1 ½ cups granulated sugar: Sweetens the cake and helps to create a tender crumb.
- ½ cup unsalted butter, softened: Adds richness and moisture.
- 1 cup milk: Contributes to the cake’s moist texture.
- 3 large eggs: Bind the ingredients together while also providing structure.
- 2 tsp baking powder: Helps the cake rise, resulting in lightness.
- 1 tsp vanilla extract: Enhances the flavor of the cake.
- Food coloring (pink, yellow, and mint green): For creating the charming ombre effect.
- 2 cups unsweetened whipped cream: For frosting and filling; adds a light and fluffy texture.
- Fresh flowers or sprinkles (optional): For decorating the cake.
How to Make
Creating the Spring Cakes: Pastel Ombre Layer Cake is a fun and straightforward process. Follow these steps to bring your cake to life:
- Preheat your oven: Begin by preheating your oven to 350°F (175°C). Prepare three 8-inch round cake pans by greasing and lining them with parchment paper. This step ensures the cake layers release smoothly after baking.
- Mix the dry ingredients: In a large mixing bowl, combine the all-purpose flour and baking powder. Whisk them together, ensuring they are evenly mixed, which will help the cake rise uniformly.
- Cream the butter and sugar: In another mixing bowl, beat the softened butter and granulated sugar together using an electric mixer until the mixture becomes light and fluffy. This step is vital, as it will create a beautiful texture for your cake.
- Add wet ingredients: Gradually add the eggs, one at a time, mixing well after each addition. Pour in the vanilla extract, then slowly pour in the milk, mixing until a smooth batter forms.
- Incorporate dry ingredients: Gradually add the flour mixture to the wet ingredients, mixing until just combined. Avoid over-mixing to ensure a tender crumb.
- Divide and tint the batter: Split the batter evenly into three bowls. Add food coloring to each bowl, creating soft pastel hues. Stir gently until the colors are well incorporated. You can adjust the colors according to your preference.
- Pour and bake: Pour each colored batter into the prepared cake pans. Bake for 25 to 30 minutes or until a toothpick inserted into the center comes out clean. Allow the cakes to cool in their pans for about 10 minutes before transferring them to a wire rack to cool completely.
- Assemble the cake: Once the cakes are completely cool, place the purple layer on a serving plate or cake stand. Spread a layer of whipped cream on top. Repeat with the pink and yellow layers, adding whipped cream between each layer. Once assembled, frost the top and sides of the cake with the remaining whipped cream.
- Decorate: For added decoration, adorn your cake with fresh flowers or colorful sprinkles that resonate with the spring theme. Serve immediately or refrigerate to set before serving.
Variations & Substitutions
Chocolate Ombre Cake: If you want to switch up flavors, replace half of the all-purpose flour with cocoa powder for a rich chocolate version. Follow the same steps and adjust the food coloring accordingly to represent different shades of chocolate.
Fruit-Flavored Layers: Experiment with adding fruit puree to the batter for natural flavor and color. For example, use raspberry puree for a pink layer and mango puree for a yellow layer, making sure to adjust the sugar accordingly based on the sweetness of the fruit.
Gluten-Free Option: Use a gluten-free flour blend to create a gluten-free version of this cake. Make sure to follow a suitable recipe for baked goods, adjusting moisture levels as necessary.
Dairy-Free Replacement: Substitute the milk with almond milk or coconut milk and utilize a dairy-free butter alternative to make the cake dairy-free while maintaining flavor and moisture.
Common Mistakes to Avoid
One common mistake is over-mixing the batter, which can yield a dense cake. Ensure that you mix until just combined to maintain a light texture.
Another issue is underbaking the layers. To avoid this, always check for doneness by inserting a toothpick into the center; if it comes out clean, the cakes are done. Also, make sure your oven is correctly preheated, as oven temperatures can vary significantly.
Lastly, don’t skip letting your cakes cool in the pans and on a wire rack. This cooling process is critical in maintaining the correct texture and preventing a soggy bottom.
Storage, Freezing & Reheating Tips
To ensure maximum freshness, store the cake in an airtight container in the refrigerator for up to 3 to 5 days. If you plan to consume the cake later, you can freeze it. Wrap each layer in plastic wrap and store them in a freezer-safe bag or container for up to three months.
When ready to serve, allow the layers to thaw overnight in the refrigerator. Frost them just before serving for the best texture and appearance. If you have leftover cake, it can also be individually wrapped and frozen for future enjoyment.
Frequently Asked Questions
Can I use different flavors for the frosting?
Absolutely! While whipped cream is a light choice that works wonderfully, you can easily swap it out for other frostings such as cream cheese, buttercream, or even ganache, depending on your flavor preference. Each of these alternatives can provide a unique twist to your cake, making it even more delectable.
How do I ensure the layers are even?
To achieve even layers, use a kitchen scale to measure the batter in each bowl. This ensures that each layer has the same weight, resulting in uniform thickness. Additionally, leveling the batter in each pan with a spatula can further ensure an even bake.
Is this cake suitable for advanced decorating?
Certainly! This cake provides an excellent canvas for both beginner and more advanced decorators. You can pair it with fondant, create intricate piping designs, or add edible decorations like edible glitter or fresh fruits for a more sophisticated look.
Can I use non-pastel colors for the cake?
Definitely! Feel free to use vibrant, bold colors if you desire a more striking appearance. The joy of baking lies in your creativity, so don’t be afraid to express yourself with different shades, making the cake uniquely yours.
What’s the best way to serve this cake?
This cake is best served at room temperature. Allow it to sit out for approximately 20 to 30 minutes after taking it out of the fridge to enhance the texture and flavor. Pair it with a cup of tea or coffee for an elegant touch, making it a delightful option for afternoon gatherings or celebrations.
Conclusion: This Spring Cakes: Pastel Ombre Layer Cake is a perfect representation of joy and freshness that comes with the season. Simple yet stunning, it allows bakers of all levels to showcase their skills while indulging in a sweet treat. Whether you’re preparing for a special occasion or simply want to celebrate the beautiful vibes of spring, this cake is sure to leave a lasting impression on your family and friends. Happy baking!