Prep time: 20 minutes
Cook time: 40 minutes
Total time: 1 hour
Servings: 8
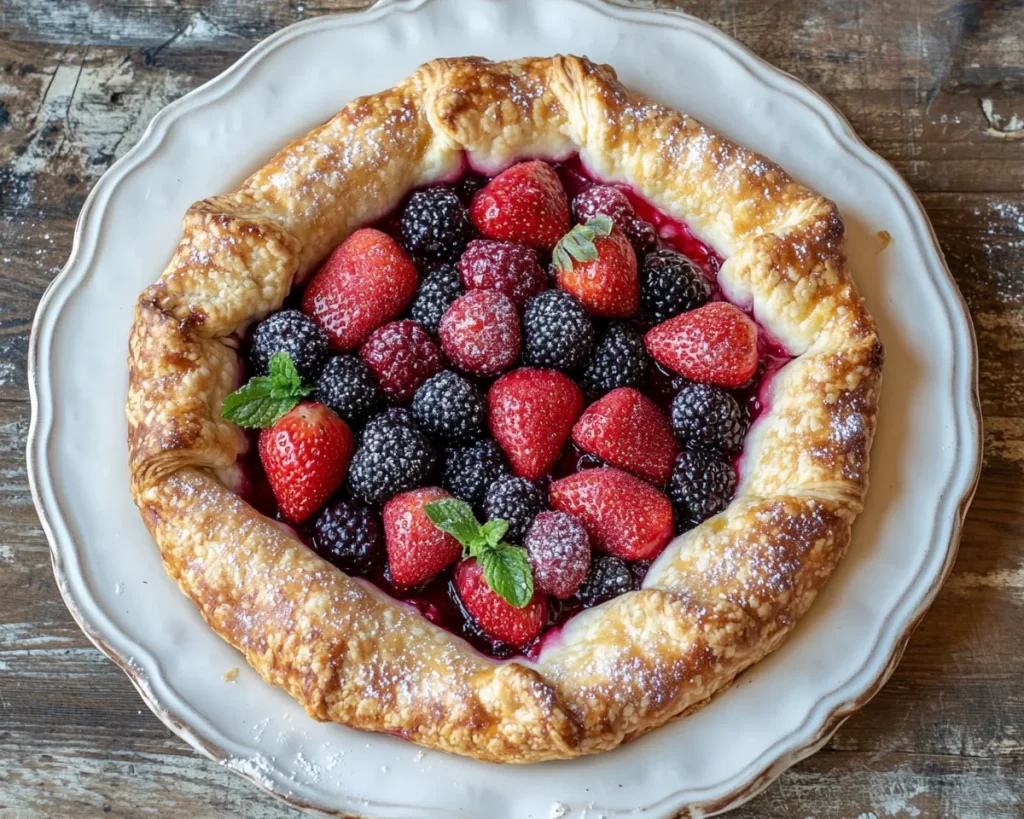
If you’re looking to impress with a delightful treat that’s perfect for spring gatherings, look no further than the Berry Galette. It’s a simple yet elegant dessert that showcases the best of seasonal berries, enveloped in a buttery crust. Not only is it stunning to look at, but it’s also incredibly easy to make. This recipe will guide you through each step, ensuring you create a mouthwatering galette that’s bursting with flavor and texture.
What Is Spring Desserts: Berry Galette in 5 Steps?
A galette is a rustic pie that can feature sweet or savory fillings, making it a versatile dish. This particular version, *Berry Galette*, uses fresh spring berries, making it a vibrant and colorful dessert. The dough is rolled out into a free-form shape that’s folded over the filling, creating a visually appealing, casual presentation. The charm of a galette lies in its imperfections and homey feel, making it an ideal choice for celebrations or a cozy night in.
Why You’ll Love This
– **Simplicity**: Unlike traditional pies, a galette doesn’t require a perfect crust or pie dish. The free-form design allows for creativity and flexibility.
– **Fresh Ingredients**: Using seasonal berries means you’re maximizing flavor while enjoying components that are abundant in spring.
– **Versatile**: You can easily swap out berries based on what you have available. Furthermore, it pairs wonderfully with ice cream or whipped cream for added indulgence.
– **Healthy Option**: It can serve as a fresher alternative to other sugary desserts, allowing you to savor the natural sweetness of the berries without feeling guilty.
Ingredients You’ll Need
- 1 ½ cups all-purpose flour – This forms the base of your dough, providing structure.
- ½ cup unsalted butter, cold and cubed – The key to a flaky crust; keep it chilled.
- ¼ cup granulated sugar – Adds sweetness to the dough; you can adjust it based on berry tartness.
- ¼ teaspoon salt – Balances the sweetness in the pie crust.
- ½ teaspoon almond extract – Enhances the flavor of the berries.
- 3 cups mixed berries (strawberries, blueberries, raspberries) – Fresh is best for maximum flavor.
- 1 tablespoon cornstarch – Helps thicken the filling and absorb juices.
- 1 tablespoon lemon juice – Adds acidity to brighten the flavors.
- 1 egg (for egg wash) – Gives the crust a golden color when baked.

How to Make
- Prepare Your Dough: In a large mixing bowl, whisk together the flour, sugar, and salt. Then add the cold, cubed butter. Using a pastry cutter or your fingers, mix until the mixture resembles coarse crumbs. Be careful not to overwork the dough; you want it flaky.
- Chill the Dough: Once your mixture is combined, add the almond extract and cold water gradually until it forms a cohesive dough. Form it into a disk, wrap it in plastic wrap, and refrigerate for at least 30 minutes. This will help solidify the butter for a flaky crust.
- Prepare the Filling: In a medium bowl, toss the mixed berries with cornstarch, sugar, and lemon juice. Allow them to sit for about 10 minutes; this lets the flavors meld and juices to accumulate.
- Assemble the Galette: Preheat your oven to 375°F (190°C). Roll out the chilled dough on a floured surface into a large circle, about 12 inches in diameter. Transfer it to a parchment-lined baking sheet. Place the berry mixture in the center and leave a two-inch border around the edges. Fold the edges of the dough over the berries, pleating them to create a rustic look.
- Bake and Serve: Brush the crust with the beaten egg wash for a golden finish. Bake for 35-40 minutes until the crust is golden and the berries are bubbly. Let it cool slightly before slicing and serving. Enjoy with a scoop of vanilla ice cream or a dollop of whipped cream for an extra treat!
Variations & Substitutions
Fruit Variations: You can easily adapt this recipe based on your tastes or what’s available. Consider using peaches or cherries if berries aren’t in season. They provide a delightful sweetness and work perfectly with the buttery crust. For a tropical twist, you might mix in some diced mango or pineapple. Each fruit brings its unique flavor, making this dish endlessly customizable.
Healthy Substitutions: If you’re looking for a healthier option, consider using whole wheat flour instead of all-purpose flour. It adds a nutty flavor while increasing the nutritional value. Additionally, replace granulated sugar with honey or maple syrup for a natural sweetener. The sweetness can be adjusted based on the type of fruit you use, allowing for greater control over sugar intake.
Gluten-Free Option: For those with gluten sensitivities or celiac disease, substitute a gluten-free flour blend for the all-purpose flour. There are many excellent mixtures available that can mimic the texture of wheat flour. Ensure that the other ingredients like baking powder and cornstarch are also certified gluten-free.
Common Mistakes to Avoid
Overworking the Dough: One of the biggest mistakes when making pie dough is overworking it, leading to tough, chewy crusts instead of flaky ones. Keep your ingredients cold and handle the dough as little as possible. This ensures that small pieces of butter remain intact, creating the desired flakiness when baked.
Baking on a Cold Surface: Prepare your galette on a cold baking sheet to avoid a soggy bottom. The heat should start cooking the crust immediately as it goes into the oven. If possible, preheat your baking sheet while the oven is warming up.
Not Letting the Filling Sit: Allow your berries to sit after mixing with cornstarch and sugar. This step is essential; it helps the cornstarch absorb excess juices from the berries, preventing a runny filling that can spoil your beautiful galette.
Storage, Freezing & Reheating Tips
Proper storage of your Berry Galette can keep it fresh and delicious. Store any leftovers in an airtight container in the refrigerator and consume within three days for peak quality. For longer storage, freeze the galette wrapped tightly in plastic wrap and then in aluminum foil. This way, it can last up to two months.
When you’re ready to enjoy it again, reheat your frozen galette in a preheated oven at 350°F (175°C) for about 25-30 minutes until warmed through. This maintains the crust’s texture, ensuring it remains crispy rather than soggy.
Frequently Asked Questions
Can I use frozen berries for this recipe?
Yes, you can use frozen berries if fresh ones aren’t available. Just be sure to thaw and drain them before adding to your filling mixture. This helps to reduce excess moisture and avoids a soggy crust.
How can I prevent a soggy bottom crust?
To prevent a soggy bottom crust, make sure to chill the dough before baking. You can also sprinkle a thin layer of cornstarch or flour on the baking sheet before placing the galette. Lastly, ensure that your filling is not overly wet by allowing it to sit before using.
Can I make the dough ahead of time?
Absolutely! You can prepare the dough up to two days in advance. Just keep it wrapped in plastic wrap and store it in the refrigerator. Allow it to come to room temperature before rolling it out.
What can I serve with the Berry Galette?
This dessert pairs beautifully with a variety of accompaniments. Try it warm with a scoop of vanilla ice cream, a dollop of freshly whipped cream, or even yogurt for a healthier option. You can also drizzle it with honey or a fruit compote for added sweetness.
How do I know when my galette is done baking?
Your galette is done baking when the crust is golden brown and the filling is bubbling around the edges. You should also carefully monitor the crust to avoid burning; every oven can vary slightly, so keep an eye on it after the 35-minute mark.
Conclusion: The Berry Galette is a delightful dessert that beautifully showcases the flavors of spring. With its simple preparation and the ability to customize with various fruits, it’s a versatile dish perfect for any occasion. Whether serving it for a family gathering or a casual summer get-together, this recipe is sure to impress your guests and leave them wanting more. Happy baking!