Prep time: 20 minutes
Cook time: 15 minutes
Total time: 35 minutes
Servings: 12
Spring Desserts: Raspberry Lemon Mini Cheesecakes in 7 Steps is a delightful recipe that captures the essence of the season. The tartness of fresh raspberries combined with the zesty flavor of lemons creates a refreshing dessert that’s perfect for any occasion. These mini cheesecakes are not only visually stunning but also easy to make, making them a great choice for busy parents, kitchen beginners, or anyone wanting to impress their guests without spending hours in the kitchen.
What Is Spring Desserts: Raspberry Lemon Mini Cheesecakes in 7 Steps?
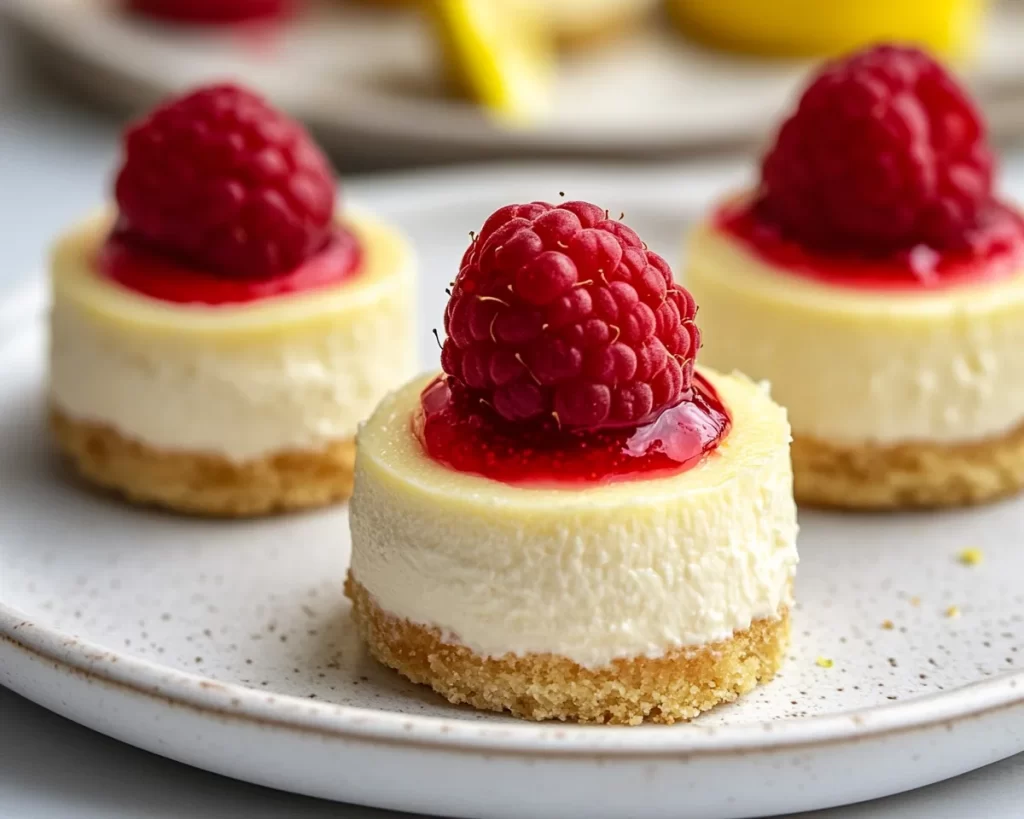
This recipe features individual cheesecakes that are creamy and smooth, held by a buttery crumb crust. Each mini cheesecake is balanced with the bright flavors of lemon and the sweet-tart notes of raspberries. They are baked in muffin tins, allowing for perfect portion control, and can be topped with additional lemon zest or whole raspberries for a beautiful finish. Spring Desserts: Raspberry Lemon Mini Cheesecakes are ideal for potlucks, brunch, or a sweet treat after dinner.
Why You’ll Love This
There are plenty of reasons to love these mini cheesecakes. First, they are incredibly easy to prepare! With simple ingredients and straightforward steps, you won’t need to be an expert baker to achieve mouthwatering results. The texture is rich and creamy, while the combination of flavors is so refreshing. Additionally, they can easily be made ahead of time, guaranteeing that you will always have a delightful dessert ready to go, which is a lifesaver for busy families. Plus, they are perfect for spring gatherings, adding a touch of elegance to your table.
Ingredients You’ll Need
- For the crust:
- 1 cup graham cracker crumbs – Provides a sweet and buttery foundation for your cheesecake.
- 5 tablespoons unsalted butter, melted – Helps bind the crumbs together while adding richness.
- 2 tablespoons sugar – Adds sweetness to the crust, balancing the tart filling.
- For the filling:
- 16 ounces cream cheese, softened – Creates a rich and creamy texture that is essential for any cheesecake.
- 1 cup granulated sugar – Sweetens the filling perfectly.
- 2 large eggs – Provides structure to the cheesecake; they need to be at room temperature for better mixing.
- 1 teaspoon vanilla extract – Adds a warm, sweet flavor.
- 1 teaspoon lemon zest – Brightens the flavor significantly.
- 1/2 cup sour cream – Contributes to the creaminess and provides a slight tang that complements the sweetness.
- For the raspberry topping:
- 1 cup fresh raspberries – Adds a fresh, tart kick; essential for that spring flavor.
- 1 tablespoon sugar – Helps macerate the raspberries and enhances their sweetness.
How to Make
- Preheat your oven to 325°F (160°C). This ensures that your cheesecakes bake evenly from the start. While your oven heats, gather all your ingredients, ensuring that your cream cheese is softened to room temperature; this will make mixing much easier and prevent lumps.
- In a medium bowl, combine the graham cracker crumbs, melted butter, and sugar. Mix until the crumbs are well coated with butter. The mixture should resemble wet sand. Press the crust mixture firmly into the bottoms of a greased muffin tin, filling each cup about 1/3 of the way up. This will create a solid base for your mini cheesecakes that won’t crumble under pressure.
- Bake the crusts in the preheated oven for about 8 minutes, or until lightly golden. Keep an eye on them to prevent burning. Once finished, allow them to cool while preparing the filling.
- In a large bowl, beat the softened cream cheese until smooth and creamy, free of any lumps. An electric mixer is ideal for this but a whisk can also do the job if you have some muscle. Gradually add the sugar, mixing until fully incorporated. Add the eggs one at a time; ensure you mix thoroughly after each addition to maintain a smooth consistency.
- Stir in the vanilla extract, lemon zest, and sour cream until just combined. Make sure not to overmix at this stage to avoid incorporating too much air, which can lead to cracks in your cheesecakes.
- Pour the filling over the crusts, filling each cup about 3/4 of the way. Tap the muffin tin gently against your countertop to remove any air bubbles. Bake for 15 to 18 minutes or until the edges are set, but the center is still slightly jiggly. The residual heat will continue cooking the filling even after they are removed from the oven.
- Allow the cheesecakes to cool to room temperature in the tin, then refrigerate for at least 2 hours or until completely chilled. This step helps the flavors meld together and enhances the texture.
Variations & Substitutions
No-Bake Option: If you’re short on time or prefer not to bake, you can make a no-bake version. After preparing the crust, simply mix the filling ingredients, pour it over the crust, and refrigerate until set, which usually takes about 4 hours. This method will yield a slightly softer cheesecake but retains the rich flavors.
Fruit Toppings: While raspberries are a fantastic option, you can easily substitute them with strawberries, blueberries, or a mix of your favorite berries. Experimenting with fruit allows you to change the flavor profile according to what’s in season or what you have on hand.
Gluten-Free Variation: For a gluten-free version, use gluten-free graham cracker crumbs or almond flour as the base for the crust. Ensure that all other ingredients, especially the sugar, are certified gluten-free.
Vegan Version: Swap cream cheese with vegan cream cheese and use flax eggs or applesauce instead of regular eggs. Additionally, replace sour cream with vegan yogurt, using agave syrup or coconut sugar in place of granulated sugar. This variation provides a dairy-free option without compromising flavor.
Common Mistakes to Avoid
Not Soaking Cream Cheese: One common mistake is forgetting to let the cream cheese soften before mixing. Using cold cream cheese can result in a lumpy filling that is hard to smooth out. Make sure to allow it to sit at room temperature for at least 30 minutes prior to use.
Overbaking: Be careful not to overbake the cheesecakes. The centers should still be slightly jiggly when you take them out of the oven; they will firm up as they cool. Overbaking leads to a dry texture, which is not ideal for cheesecakes.
Skipping the Chilling Step: Patience is key when making cheesecakes. Skipping the chilling step can result in a filling that is too soft and not able to hold its shape when served. Ensure you allow ample cooling time in the fridge before serving.
Storage, Freezing & Reheating Tips
These mini cheesecakes can be stored in the refrigerator for up to 5 days. To maintain their freshness, cover them tightly with plastic wrap or aluminum foil. If you plan to enjoy them later, consider freezing them for up to three months. To freeze, ensure they are completely cooled, then wrap each cheesecake individually in plastic wrap and place them in a freezer-safe bag or container. When ready to enjoy, thaw them in the refrigerator overnight and serve chilled.
For reheating, if you prefer a slightly warm cheesecake, place them in a preheated oven at 250°F (120°C) for about 10-15 minutes, keeping a close eye to prevent overheating. Enjoy them fresh with a dollop of whipped cream and a few extra fruits on top for added flavor.
Frequently Asked Questions
Can I use frozen raspberries instead of fresh? Yes, you can use frozen raspberries for this recipe. However, be sure to thaw them first and drain any excess liquid to avoid adding too much moisture to your cheesecakes. Frozen raspberries can be a great alternative, especially when fresh ones are out of season.
How do I know when the mini cheesecakes are done? The mini cheesecakes are done when the edges are set, and the center has a slight jiggle. It’s essential not to wait until the center is entirely firm, as the residual heat will continue to cook the filling once it’s out of the oven.
Can I make these mini cheesecakes ahead of time? Absolutely! These mini cheesecakes can be made a day in advance and stored in the refrigerator. They are perfect for preparing ahead for parties, ensuring stress-free serving when guests arrive.
What can I serve with raspberry lemon mini cheesecakes? These mini cheesecakes pair wonderfully with a variety of garnishes. Consider serving them with a dollop of whipped cream, additional fresh raspberries, or even a drizzle of lemon curd for an extra touch of elegance.
Can I add other flavorings to the cheesecake batter? Yes, feel free to experiment! Adding a tablespoon of your favorite liqueur, such as lemoncello or vanilla extract, can elevate the flavor. You can also mix in some chocolate chips or citrus zest for added variety.
Conclusion: The Spring Desserts: Raspberry Lemon Mini Cheesecakes in 7 Steps offer a refreshing treat that embodies the flavors of the season. Perfect for any occasion, this recipe is not only delicious but also adaptable to suit various dietary needs. You’ll find that with just a few steps, you can create a dessert that is not only pleasing to the eye but also a delight to the taste buds. Enjoy this delightful treat with family and friends, and watch them rave about your baking skills!